
Pixel-Shot/Shutterstock.com
Julia Kostiuchenko/Shutterstock.com
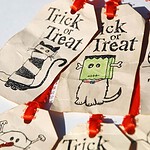
"Trick-or-treat 'Boo Bag' Tags" by GlitterandFrills is licensed under BY 2.0.
AJSTAR212 / Pixabay
"Halloween card" by Pearl Mountain is licensed under BY-SA 2.0.
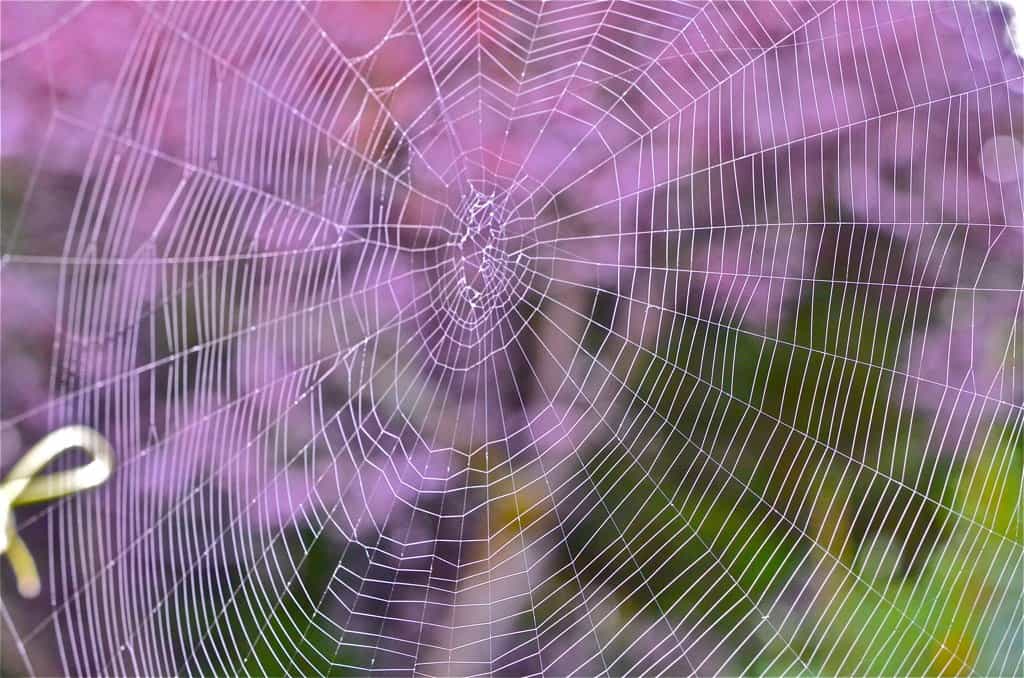
"Spiders' Web" by You As A Machine is licensed under BY-SA 2.0.
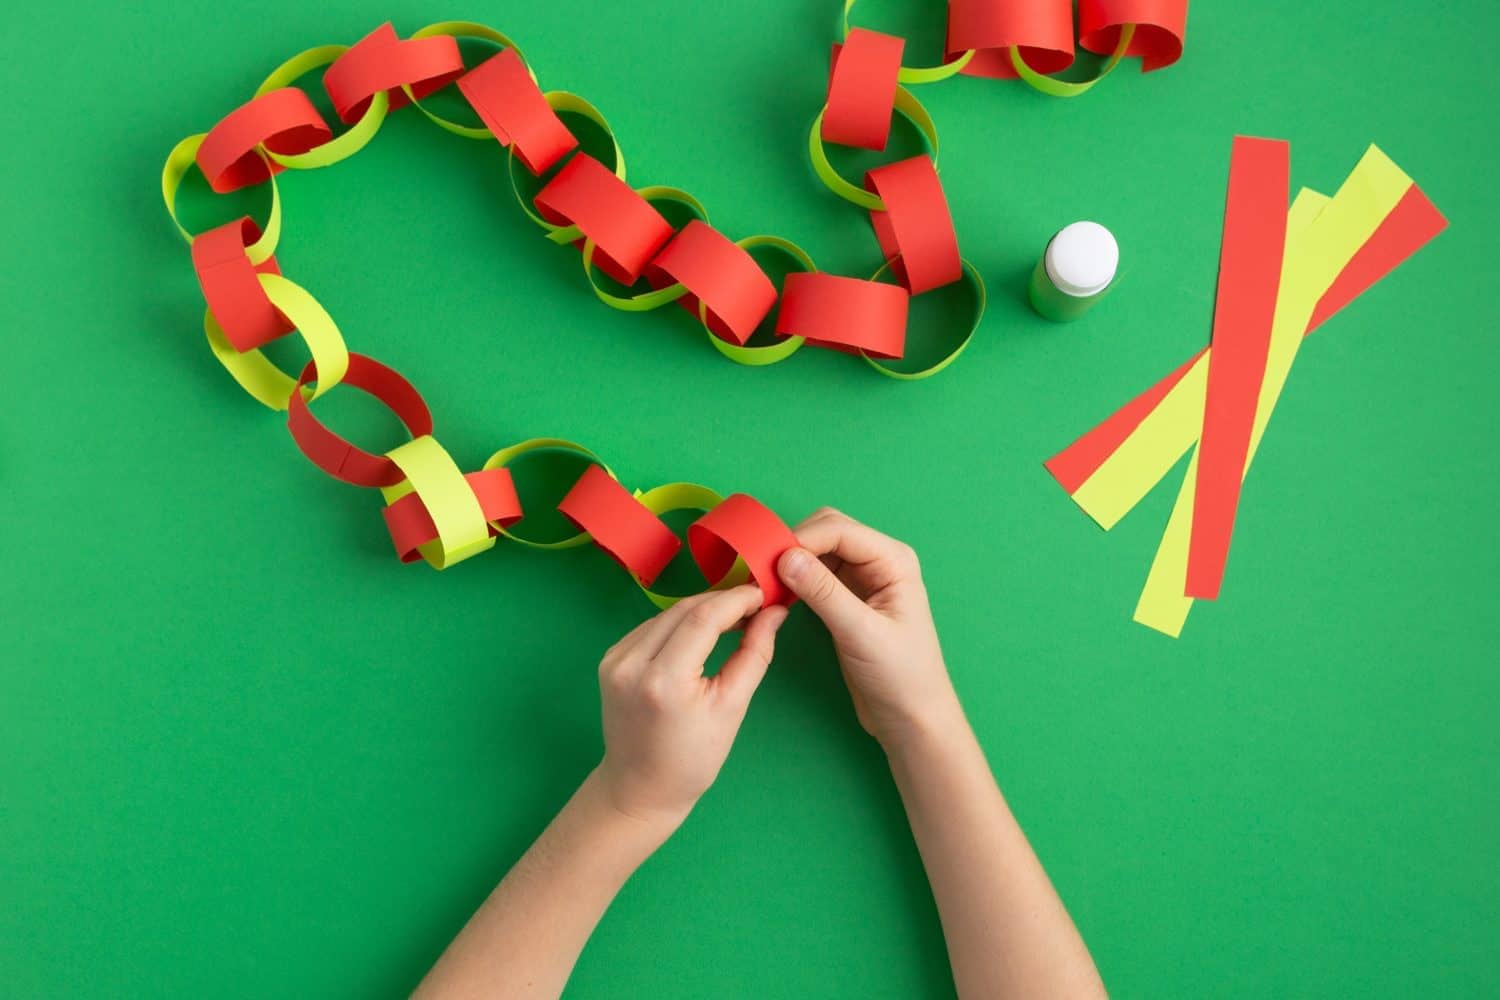
Angelina Zinovieva/Shutterstock.com
Longfin Media/Shutterstock.com
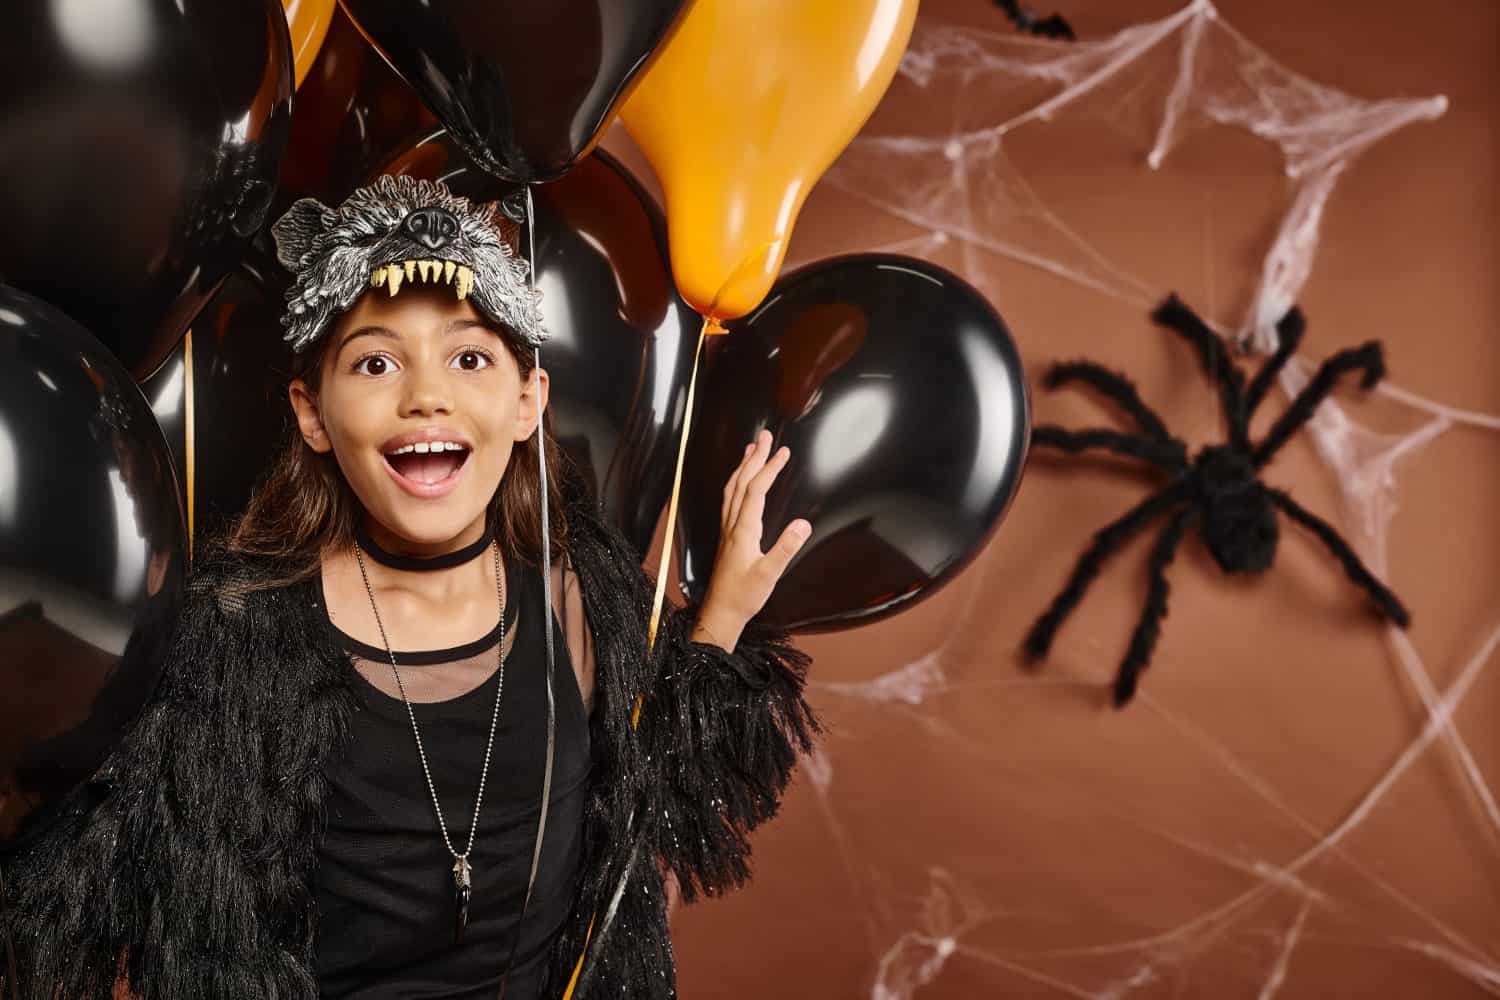
LightField Studios/Shutterstock.com
Inspiration GP/Shutterstock.com
JoyfulArtByHeather/Shutterstock.com
Luiza Kamalova/Shutterstock.com
LightField Studios/Shutterstock.com
Cynthia Liang/Shutterstock.com
Wirestock Creators/Shutterstock.com
Evgeny Atamanenko/Shutterstock.com
Pixel-Shot/Shutterstock.com
AnaWein/Shutterstock.com
NONGNUCH VIKRUTHA/Shutterstock.com
Oksana_Schmidt/iStock via Getty Images
Taras Grebinets/Shutterstock.com
zapzarap/Shutterstock.com
Anna_Pustynnikova/Shutterstock.com
FamStudio/Shutterstock.com
siam.pukkato/Shutterstock.com
"Halloween Tree!" by Suzie T is licensed under BY 2.0.
New Africa/Shutterstock.com
Teri Virbickis/Shutterstock.com
Emvat Mosakovskis/Shutterstock.com
Iana Alter / Shutterstock.com








29 Last-Minute Halloween Crafts to Make With Kids
Halloween is almost here, and if you've got kids at home, there's a good chance they're already bouncing off the walls with excitement. Maybe the costumes are ready, the candy bowl is stocked, and you've already carved the pumpkins. Or maybe you've been busy with everything else and just realized you could use a few last-minute activities to keep everyone entertained. Either way, a little Halloween crafting can be a fun way to spend an afternoon without making another trip to the store.
The good news is that you don't need to be particularly artistic or have a closet full of expensive supplies. Many Halloween decorations can be made with things you probably already have around the house, including construction paper, cardboard, glue, and a few odds and ends. Think homemade ghosts, paper bats, spooky decorations, and other projects that let the kids get creative without turning your kitchen into a complete disaster. Well, hopefully.
We've rounded up 29 Halloween craft ideas for families, from quick projects younger kids can enjoy to slightly more involved creations that might need a little help from an adult. Some take just a few minutes, while others give everyone something to work on together. Pick a couple, clear off the kitchen table, and let the Halloween festivities begin. And if the decorations end up looking a little crooked, that's half the charm.
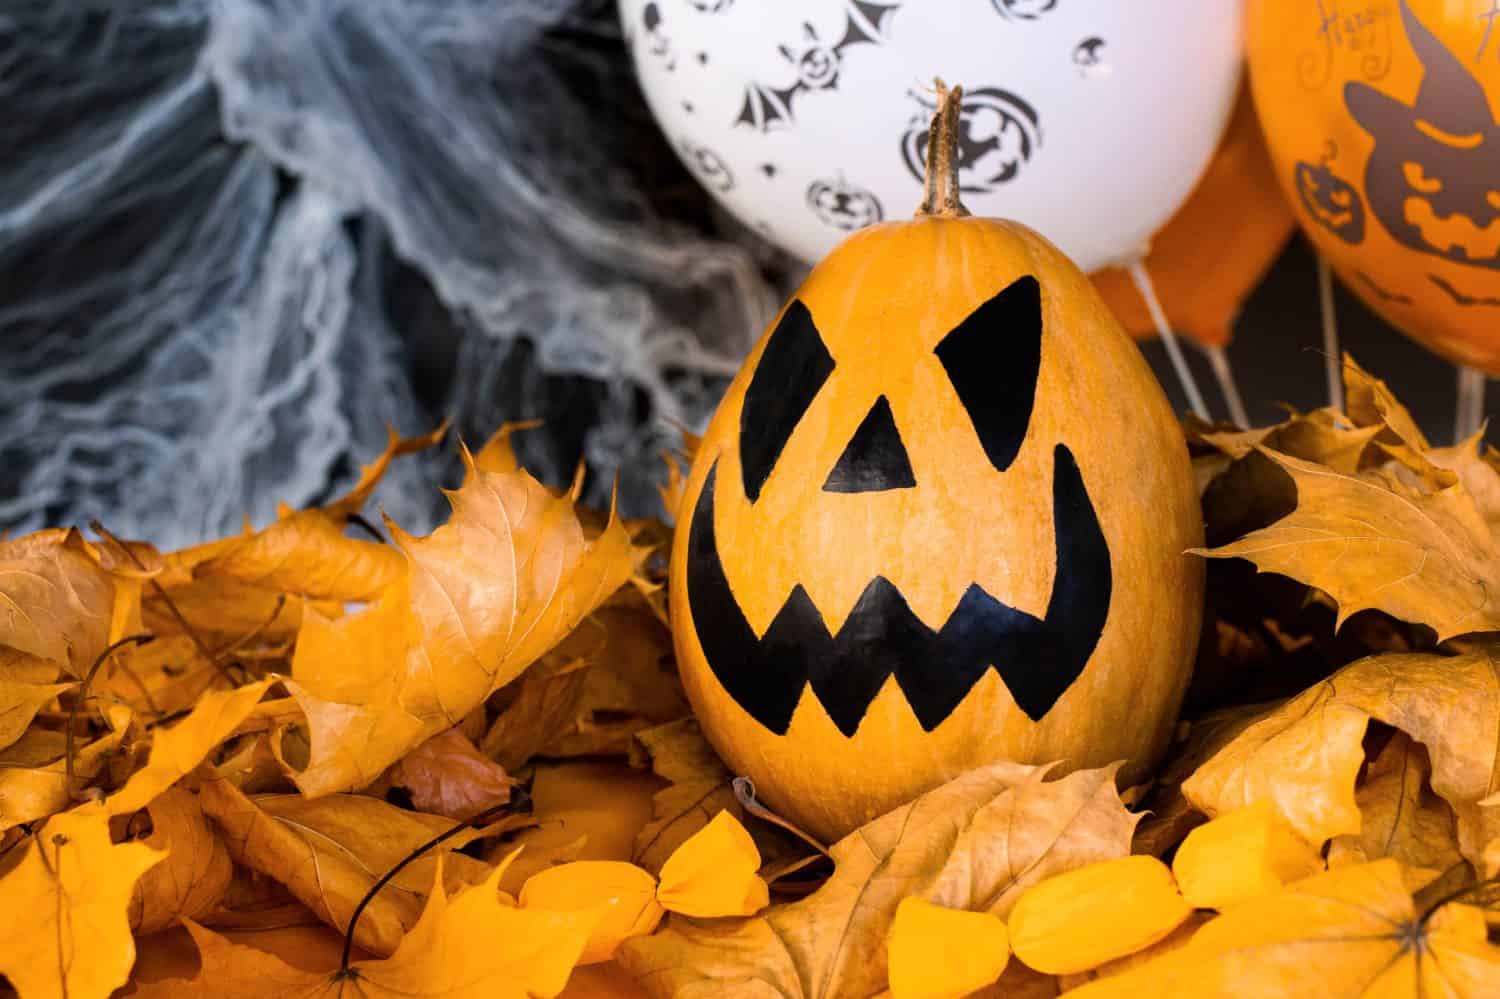
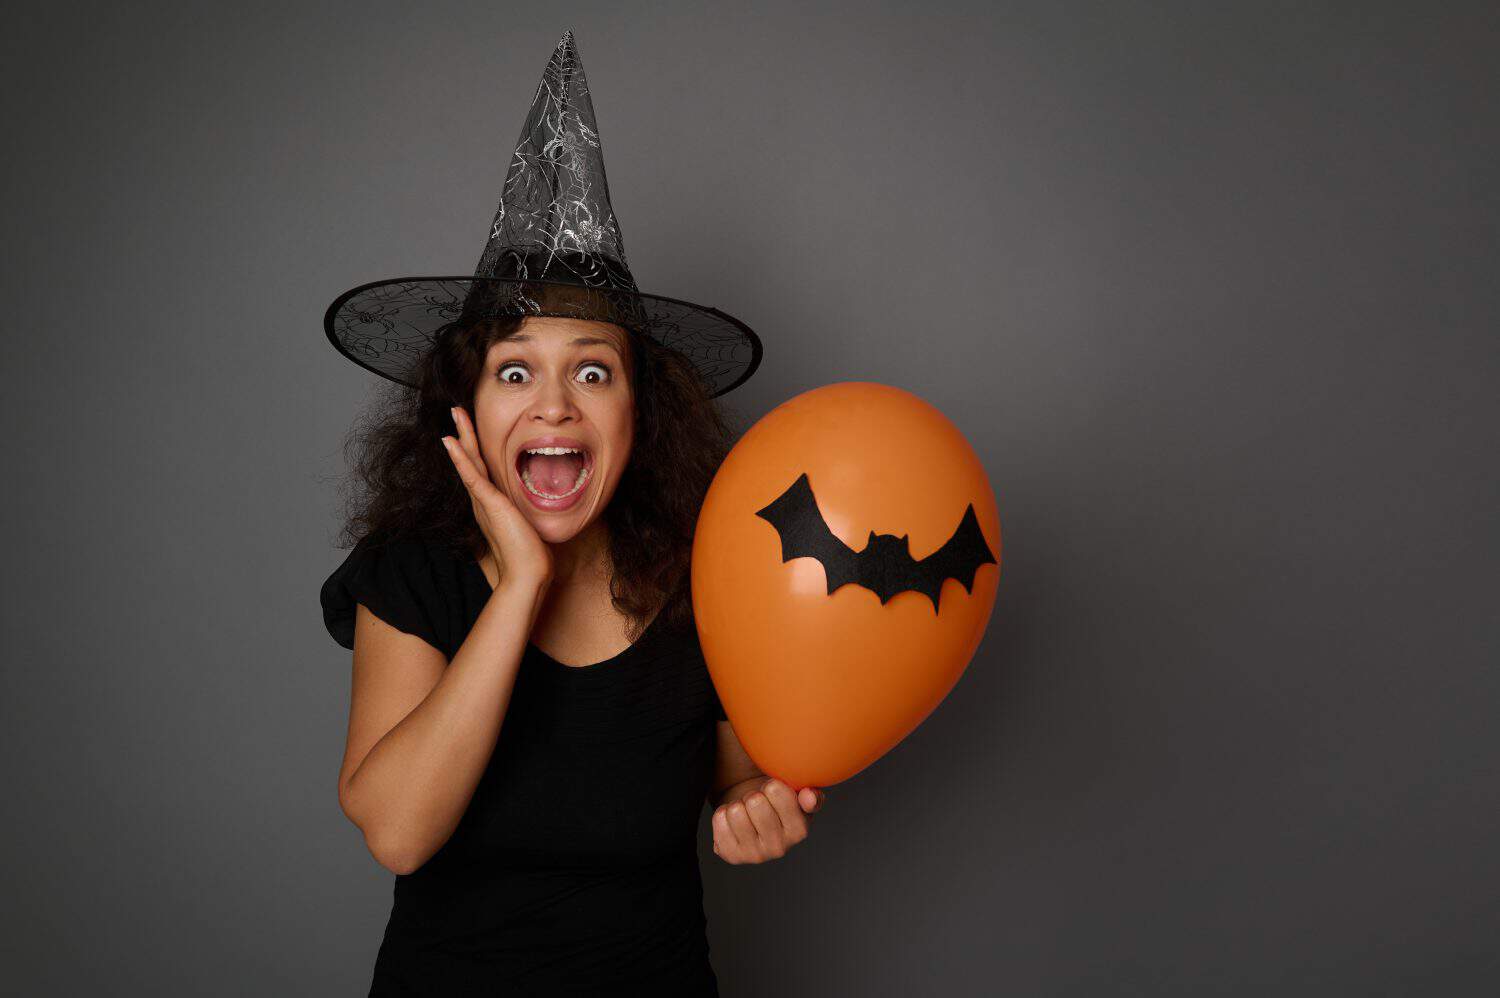
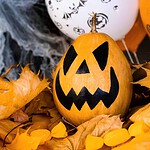
Jack-o'-Lantern Balloons
No carving tools, no pumpkin guts, and very little cleanup. A few orange balloons can give a party table or doorway a Halloween makeover in minutes.
Supplies: Orange balloons, black water-based paint marker or paper face stickers, balloon pump, string or removable tape
Directions:
- Inflate the orange balloons, leaving enough room to tie them without stretching them too tightly.
- Draw simple jack-o'-lantern faces with a marker suitable for balloons, or use lightweight paper stickers. Allow any ink to dry.
- Group the balloons on a table or secure them indoors with string or removable tape. Keep uninflated and broken balloons away from small children.
Decorated Trick-or-Treat Bags
A reusable bag is more practical than a plastic pumpkin bucket, especially when trick-or-treating involves a long walk and the weather refuses to cooperate.
Supplies: Plain canvas tote or sturdy paper bag, Halloween stickers or stencils, fabric markers or washable craft markers
Directions:
- Start with a clean, dry tote or paper bag.
- Sketch a pumpkin, ghost, or bat design, then add it using stickers, stencils, or markers appropriate for the bag material.
- Let the design dry before use. For fabric paint, follow the label's drying and heat-setting instructions.
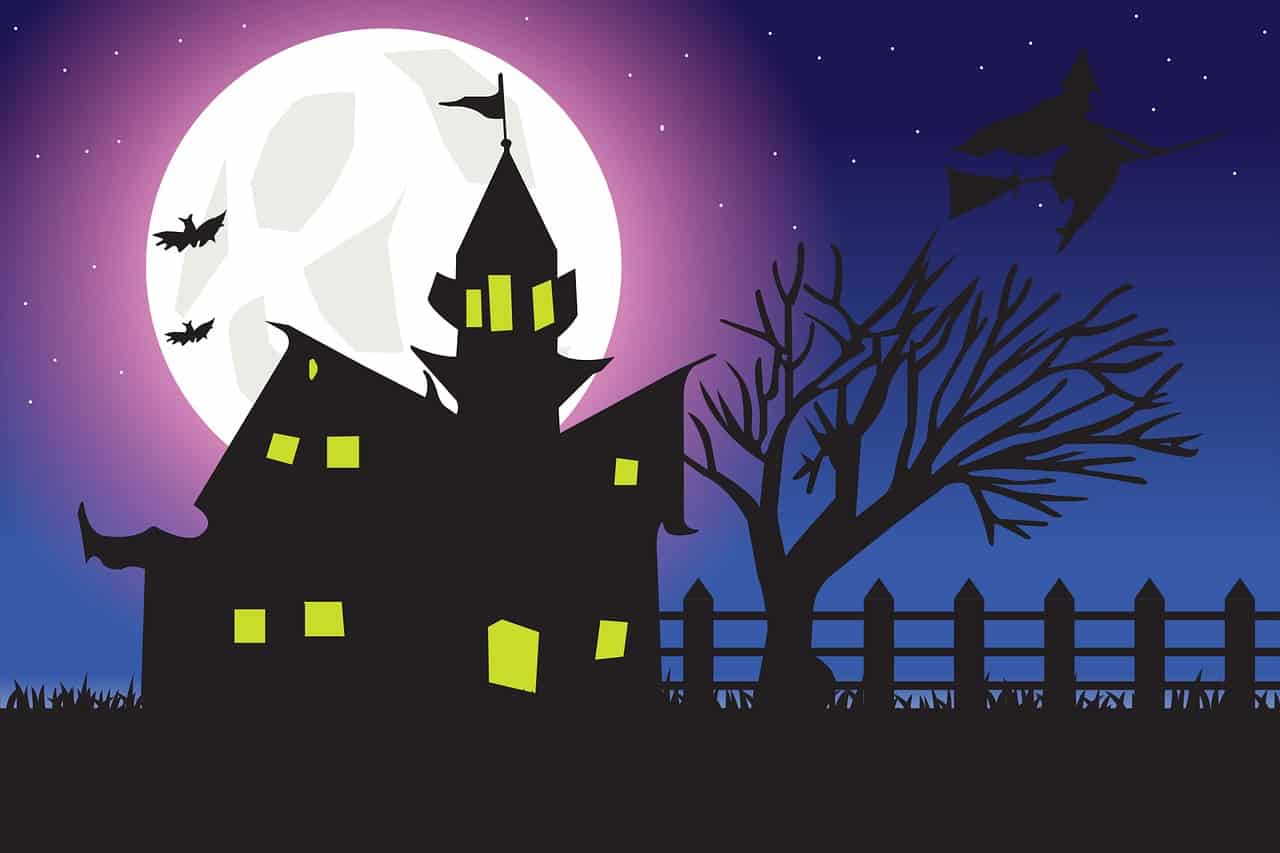
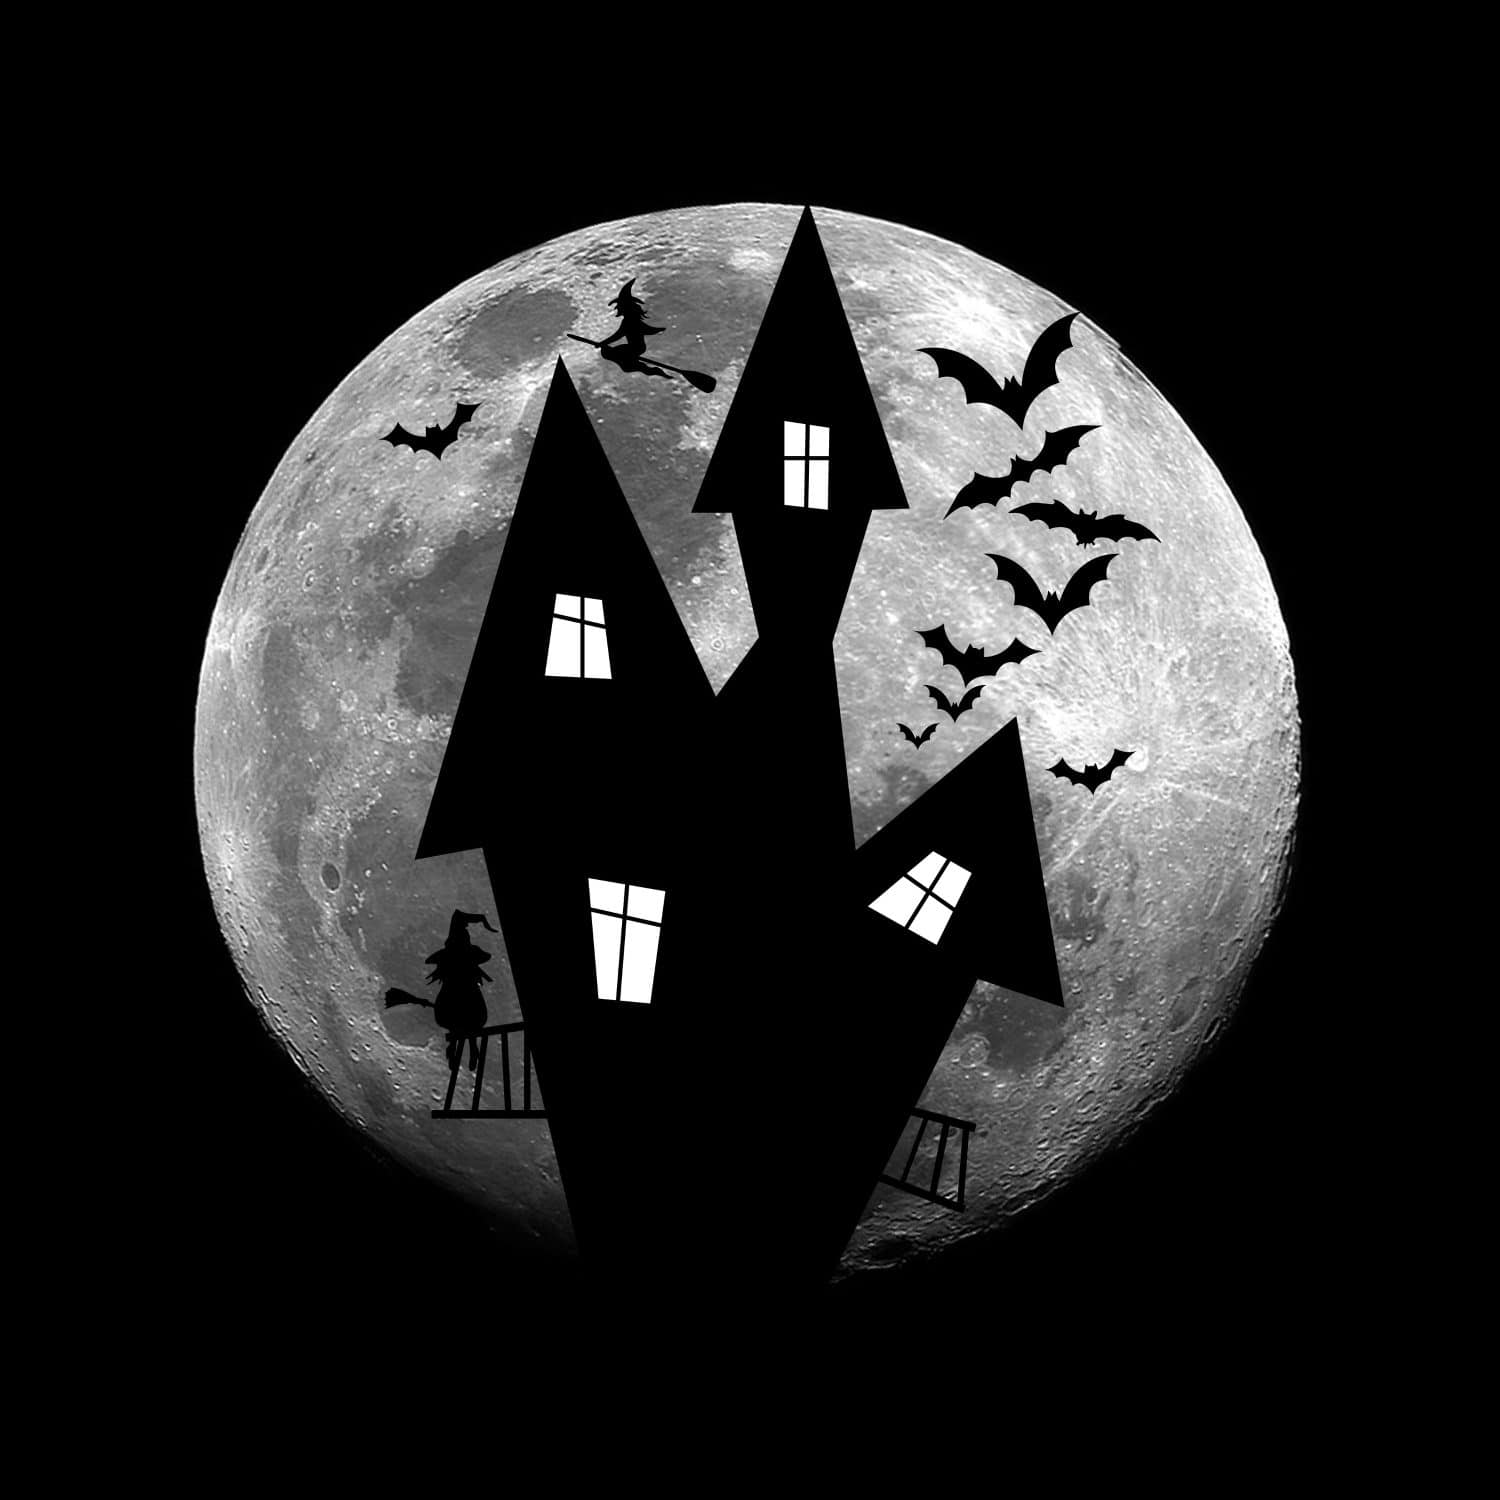
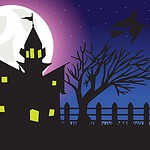
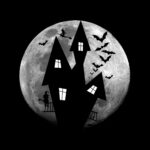
Haunted House Wall Hanging
This one looks more complicated than it is. Black paper and a few glowing yellow windows do most of the heavy lifting.
Supplies: Black poster board, yellow tissue or construction paper, pencil, scissors, glue, removable hanging strips
Directions:
- Sketch a crooked-roof haunted house on black poster board and cut out its outline.
- With adult help if needed, cut window shapes into the house. Glue yellow paper behind each opening.
- Add paper ghosts, bats, or a moon, then hang the finished house on an indoor wall using a removable strip.
Pumpkin Party Invitations
Digital invites are convenient, but a little pumpkin-shaped card is a fun touch for a Halloween get-together. It doesn't need to be fancy to work.
Supplies: Orange cardstock, black marker, yellow paper, scissors, glue, envelopes
Directions:
- Fold orange cardstock in half, draw a pumpkin shape with one side against the fold, and cut it out without cutting through the folded edge.
- Draw a jack-o'-lantern face on the front, or glue on black and yellow paper shapes.
- Write the date, time, address, and RSVP details inside. Check that the card fits the envelope before making a whole batch.
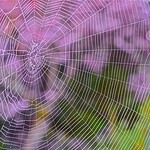
Indoor Spider Webs
You don't need to turn the entire room into a haunted mansion. A little yarn stretched across a corner can make the point without blocking a doorway.
Supplies: White or gray yarn, removable hooks or painter's tape, paper or lightweight plastic spiders
Directions:
- Choose an indoor corner or wall where the web won't cross a doorway or walking path.
- Stretch several pieces of yarn outward from a central point and secure the ends with removable hooks or tape.
- Weave additional yarn in widening circles to connect the spokes, then add a few lightweight spiders.
Orange-and-Black Paper Chain
The old paper-chain trick still works, and switching to orange and black makes it perfect for Halloween. It's also a good project for people who aren't particularly crafty.
Supplies: Orange and black construction paper, scissors, glue stick or tape
Directions:
- Cut the paper into strips about 1 inch wide.
- Form the first strip into a loop and glue or tape the ends together.
- Thread the next strip through the first loop, seal it, and keep alternating colors until the chain is as long as you want.
- Hang the finished chain away from lights, heaters, and other heat sources.
Tissue-Paper Pumpkin Centerpiece
If real pumpkins aren't in the budget—or you just don't want another thing to throw away in November—these paper versions make an easy table decoration.
Supplies: Orange tissue paper, scrap paper, green pipe cleaners, tape, shallow bowl or tray
Directions:
- Crumple scrap paper into a ball for each pumpkin, making a few different sizes.
- Wrap each ball in orange tissue paper and twist the extra paper together at the top.
- Secure a green pipe cleaner around the top to make a stem, then arrange the pumpkins on a tray with artificial autumn leaves.
Balloon Spiders
A black balloon with eight paper legs is a spider you probably won't mind seeing on the ceiling. Make a few and you've got a quick party display.
Supplies: Black balloons, black construction paper, white paper, tape, scissors, string
Directions:
- Inflate a black balloon for the spider's body.
- Cut eight paper strips for legs, fold each strip into a zigzag, and tape four to each side of the balloon.
- Add paper eyes and hang the spider indoors with string. Keep broken balloons and loose pieces away from young children.
Hanging Halloween Mobile
This is a good project for anyone who'd rather decorate one corner than cover every surface in the house with plastic cobwebs.
Supplies: Embroidery hoop, orange and black cardstock, scissors, hole punch, string, markers
Directions:
- Cut several Halloween shapes—pumpkins, bats, ghosts, or stars—from cardstock and decorate them.
- Punch a hole near the top of each shape and tie on a length of string.
- Attach the strings around an embroidery hoop at different lengths, then hang the mobile securely indoors and out of reach of small children.
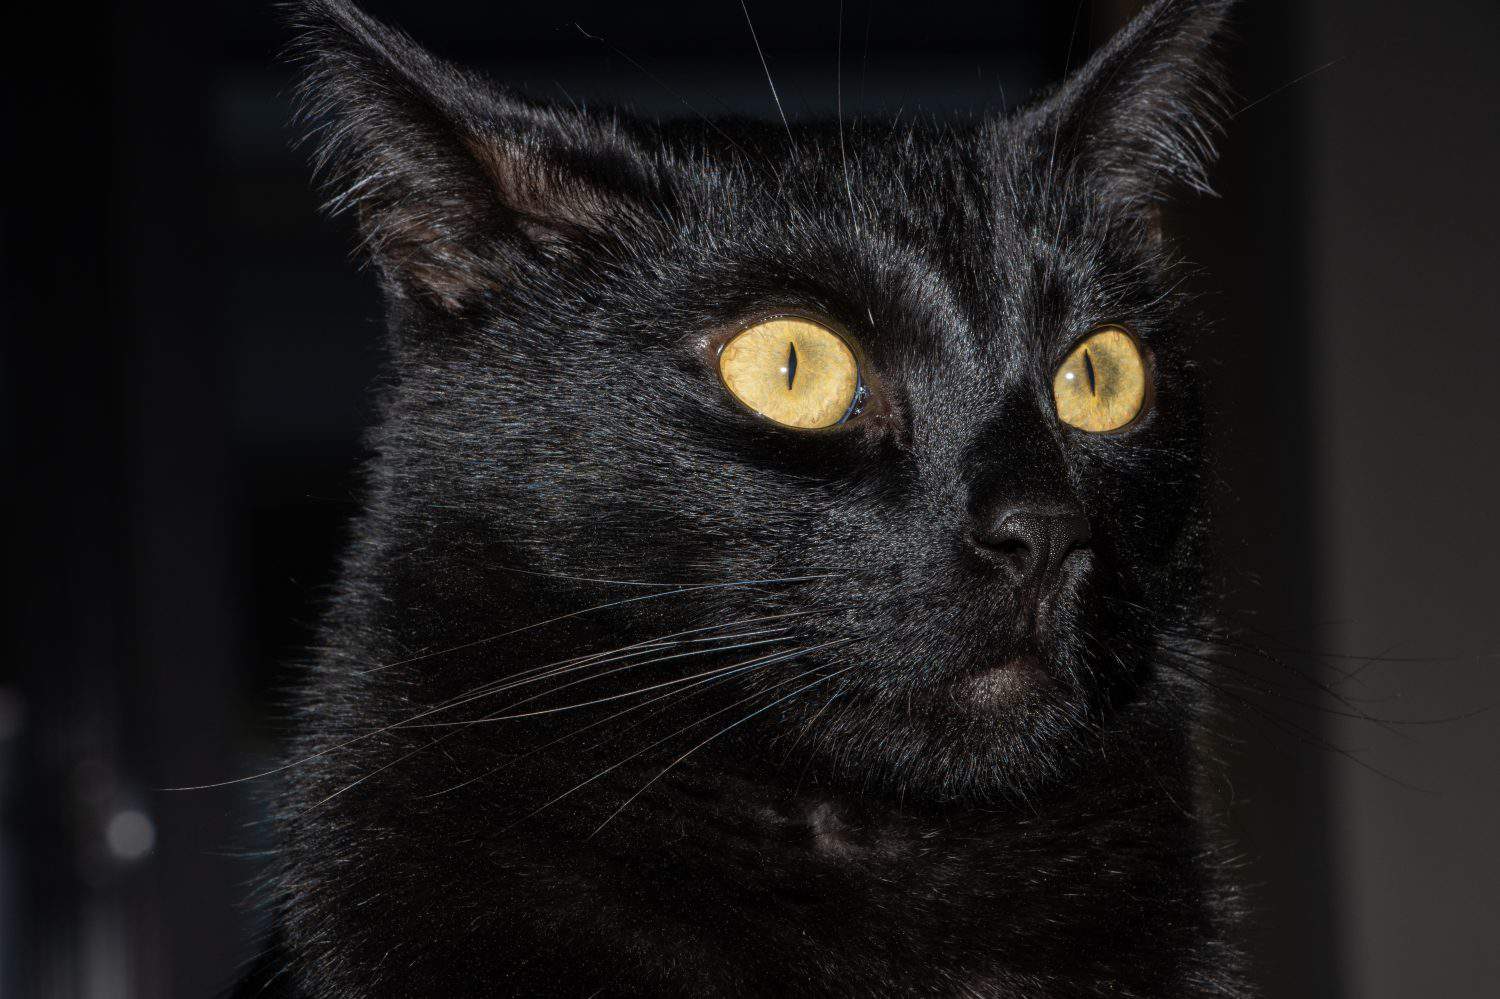
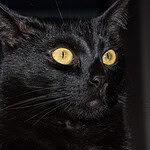
Fuzzy Black Cat Cutout
A little crumpled tissue paper gives this black cat a furry look. The finished cutout works on a wall, door, or party backdrop.
Supplies: Black cardstock, black tissue paper, yellow and white paper, pencil, scissors, glue
Directions:
- Draw and cut out a sitting-cat silhouette from black cardstock.
- Crumple small pieces of black tissue paper and glue them across the cat's body for texture.
- Add yellow eyes and small white highlights, then let the glue dry before displaying it.
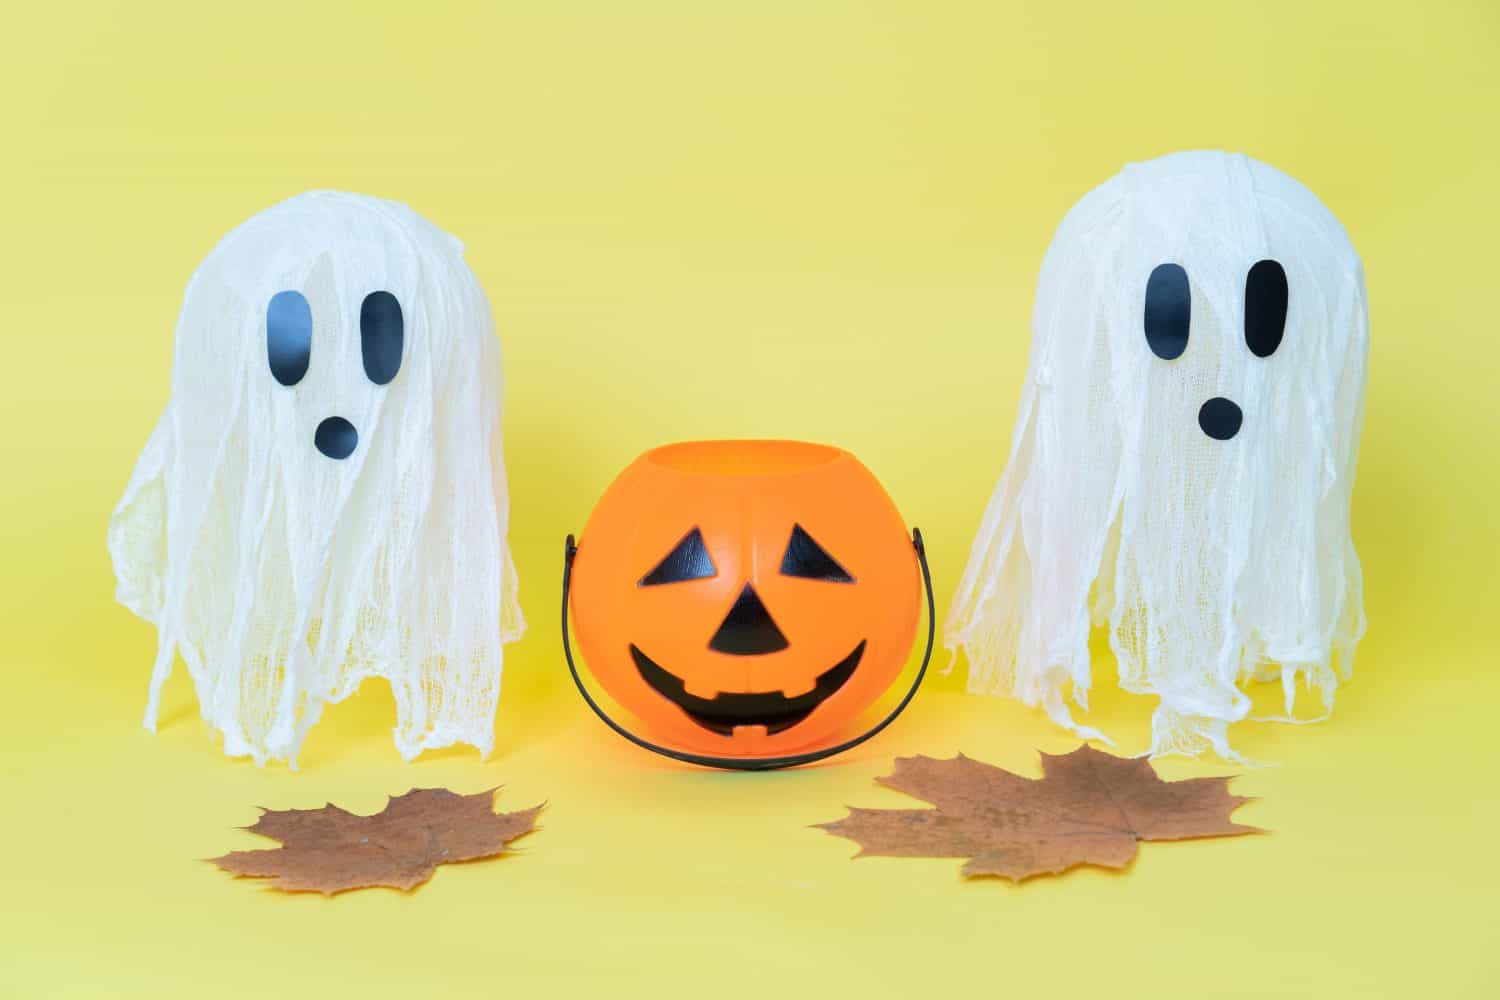
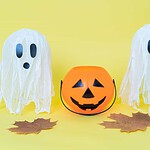
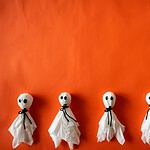
Hanging Fabric Ghosts
These are the classic floating ghosts, minus the need for helium. Light fabric and a little string are enough to make a few friendly apparitions.
Supplies: Lightweight white fabric or cheesecloth, small foam balls or crumpled paper, white string, black felt or marker
Directions:
- Place a small foam ball or tightly crumpled paper ball in the middle of a piece of white fabric.
- Gather the fabric loosely beneath the ball and tie it to form the ghost's head.
- Add a simple face, attach a hanging loop at the top, and suspend the ghost from an indoor hook or curtain rod.
Tissue-Paper Spiders
These little spiders work in a window, on a mantel, or tucked into the web from an earlier project. Fortunately, none of them can actually crawl away.
Supplies: Black tissue paper, scrap paper, four black pipe cleaners, glue, white paper
Directions:
- Crumple scrap paper into a small ball and wrap it in black tissue paper to make the body.
- Cut four pipe cleaners in half to create eight legs, then glue them beneath the body.
- Bend the legs into shape and glue on two small white paper eyes. Let everything dry before displaying.
Stamped Halloween Table Decor
You don't need a new set of party supplies every October. A few inexpensive stamps can turn plain paper decorations into something that looks coordinated.
Supplies: Plain paper treat bags or paper table runner, Halloween rubber stamps, washable craft ink
Directions:
- Spread the bags or table runner over a protected work surface.
- Stamp pumpkins, ghosts, or bats in a loose repeating pattern, leaving room between designs.
- Let the ink dry before setting out the decorations. Keep craft ink off surfaces that will touch food directly.
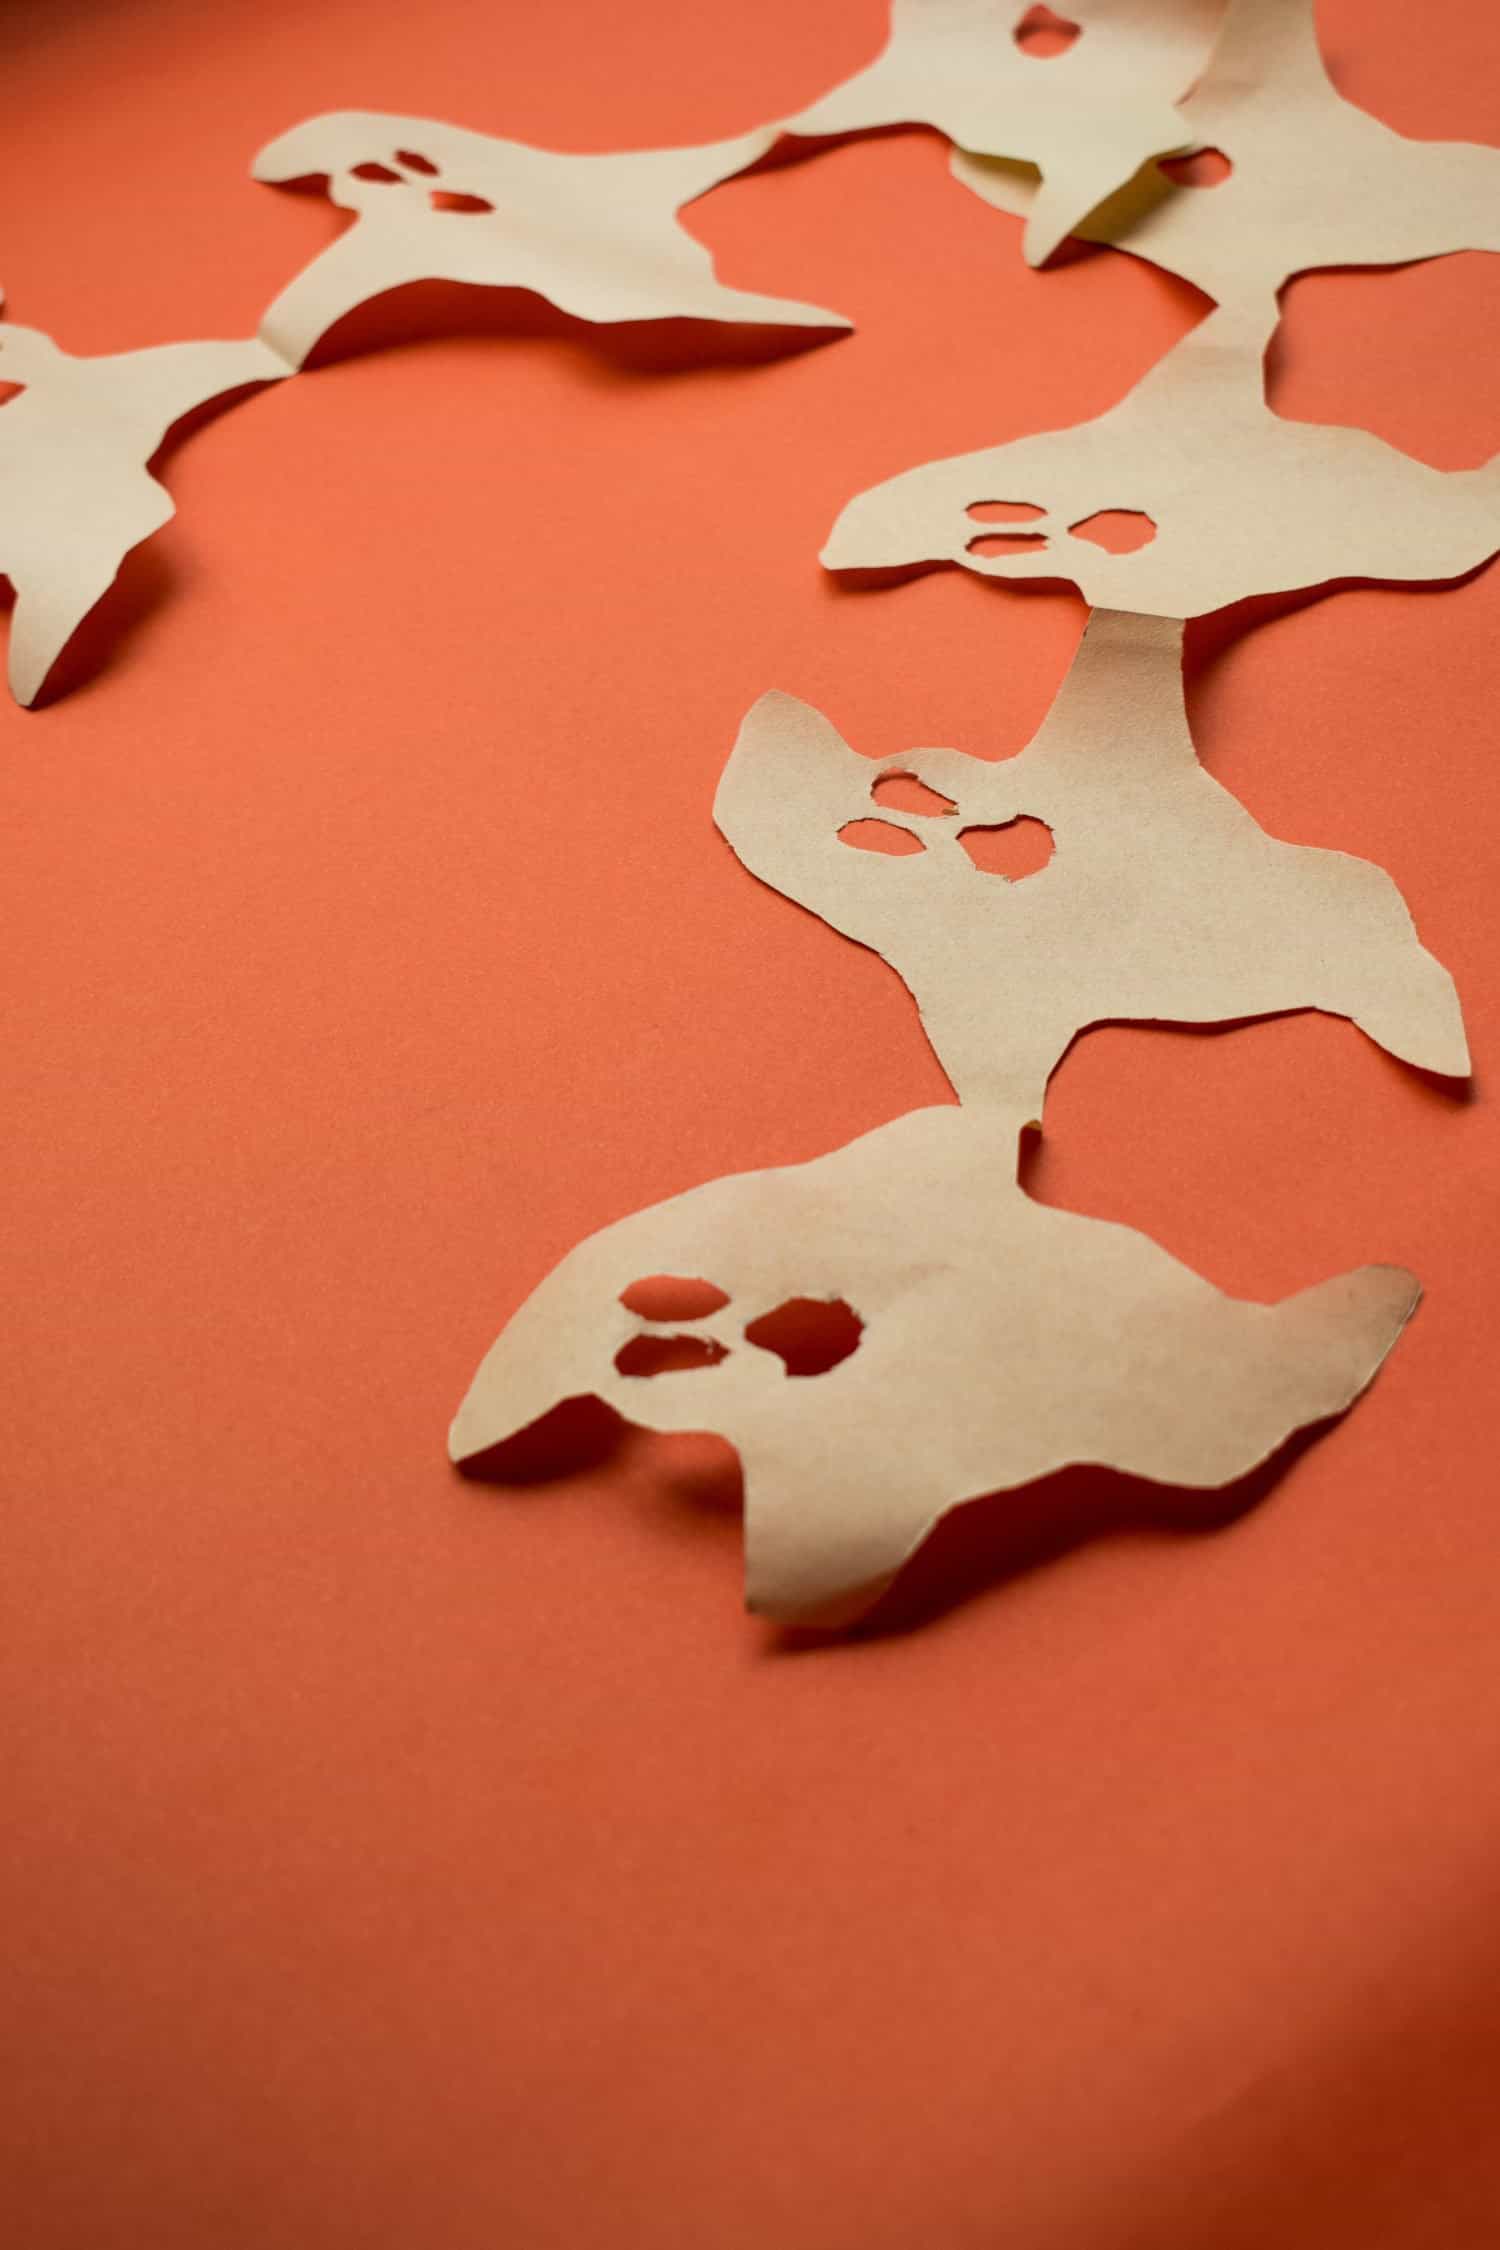
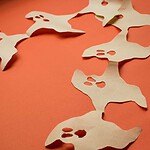
Folded Paper Ghost Garland
A row of connected paper ghosts looks surprisingly good across a doorway or window, and there's no need for special equipment.
Supplies: White or black paper, pencil, scissors, marker, tape
Directions:
- Fold a long strip of paper back and forth like an accordion.
- Draw a ghost or bat on the top layer so part of its sides touches both folded edges.
- Cut along the outline without cutting through the connecting sections, then unfold the chain.
- Add faces and tape several chains together if you want a longer garland.
Spider Web Door Decoration
An embroidery hoop makes a tidy little web that won't leave string all over the house. It's a good choice for an apartment door or a small entryway.
Supplies: Embroidery hoop, black or white yarn, lightweight paper spider, scissors, removable door hook
Directions:
- Tie several pieces of yarn across the hoop so they meet near the center like the spokes of a wheel.
- Weave another length of yarn around those spokes in widening circles, tying off the end when you're done.
- Add a lightweight spider and hang the hoop on the inside of a door or an indoor wall.
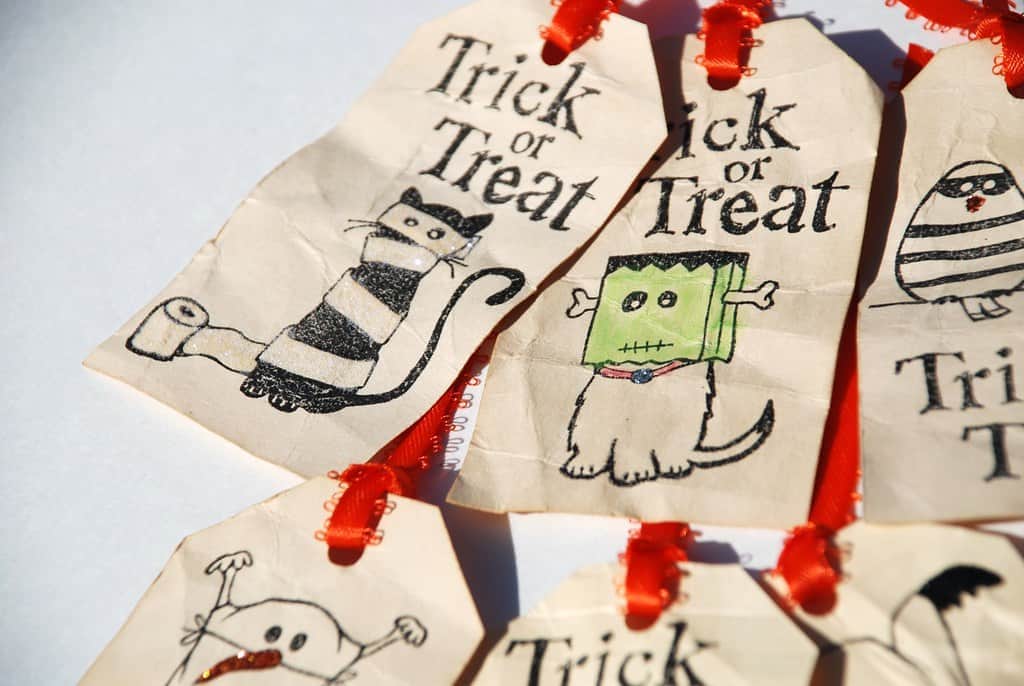
Halloween Party Favor Bags
These are for handing out treats at a gathering, rather than hauling candy home from the neighborhood. Same basic idea, smaller scale.
Supplies: Small kraft gift bags, Halloween stickers or stamps, orange tissue paper, ribbon, gift tags, wrapped treats
Directions:
- Decorate the fronts of the bags with stamps or stickers.
- Add a little tissue paper, then fill each bag with wrapped candy or age-appropriate small favors.
- Tie a name tag or ribbon to the handle and place the bags near the exit for guests to take home.
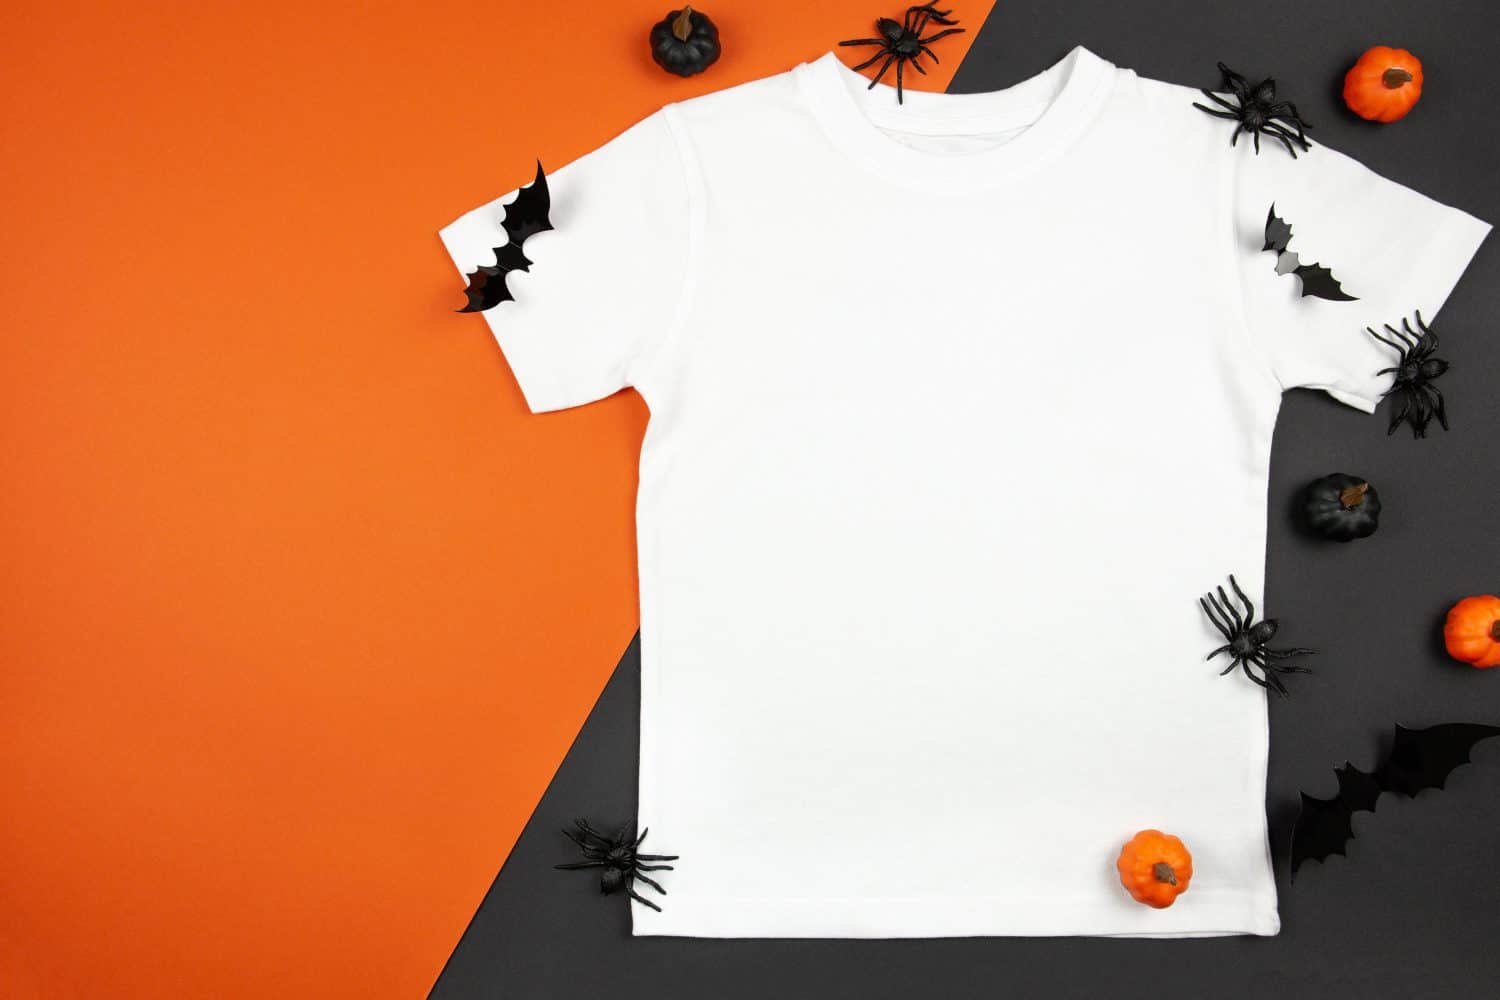
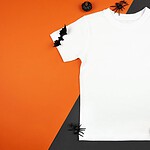
Halloween Iron-On Shirts
A plain shirt or sweatshirt can become a Halloween outfit without requiring an elaborate costume. It's also something you might actually wear again.
Supplies: Plain cotton shirt or sweatshirt, printable fabric transfer paper, printer, scissors, iron or heat press
Directions:
- Choose a Halloween graphic you have permission to use and print it on transfer paper suited to the fabric color.
- Trim the image and position it on a clean shirt, following the transfer paper's placement directions.
- Have an adult apply heat according to the paper and garment instructions, then let the design cool before wearing.
Haunted House Party Invitations
If pumpkins feel a little too cheerful, try a crooked haunted-house card instead. The yellow windows make the design stand out against black paper.
Supplies: Black cardstock, yellow and white paper, pencil, scissors, glue, marker, envelopes
Directions:
- Fold black cardstock and draw a simple house outline with one side touching the fold.
- Cut out the house shape, keeping the fold intact, then glue yellow window shapes to the front.
- Glue a white paper panel inside and write the party date, time, place, and RSVP information.
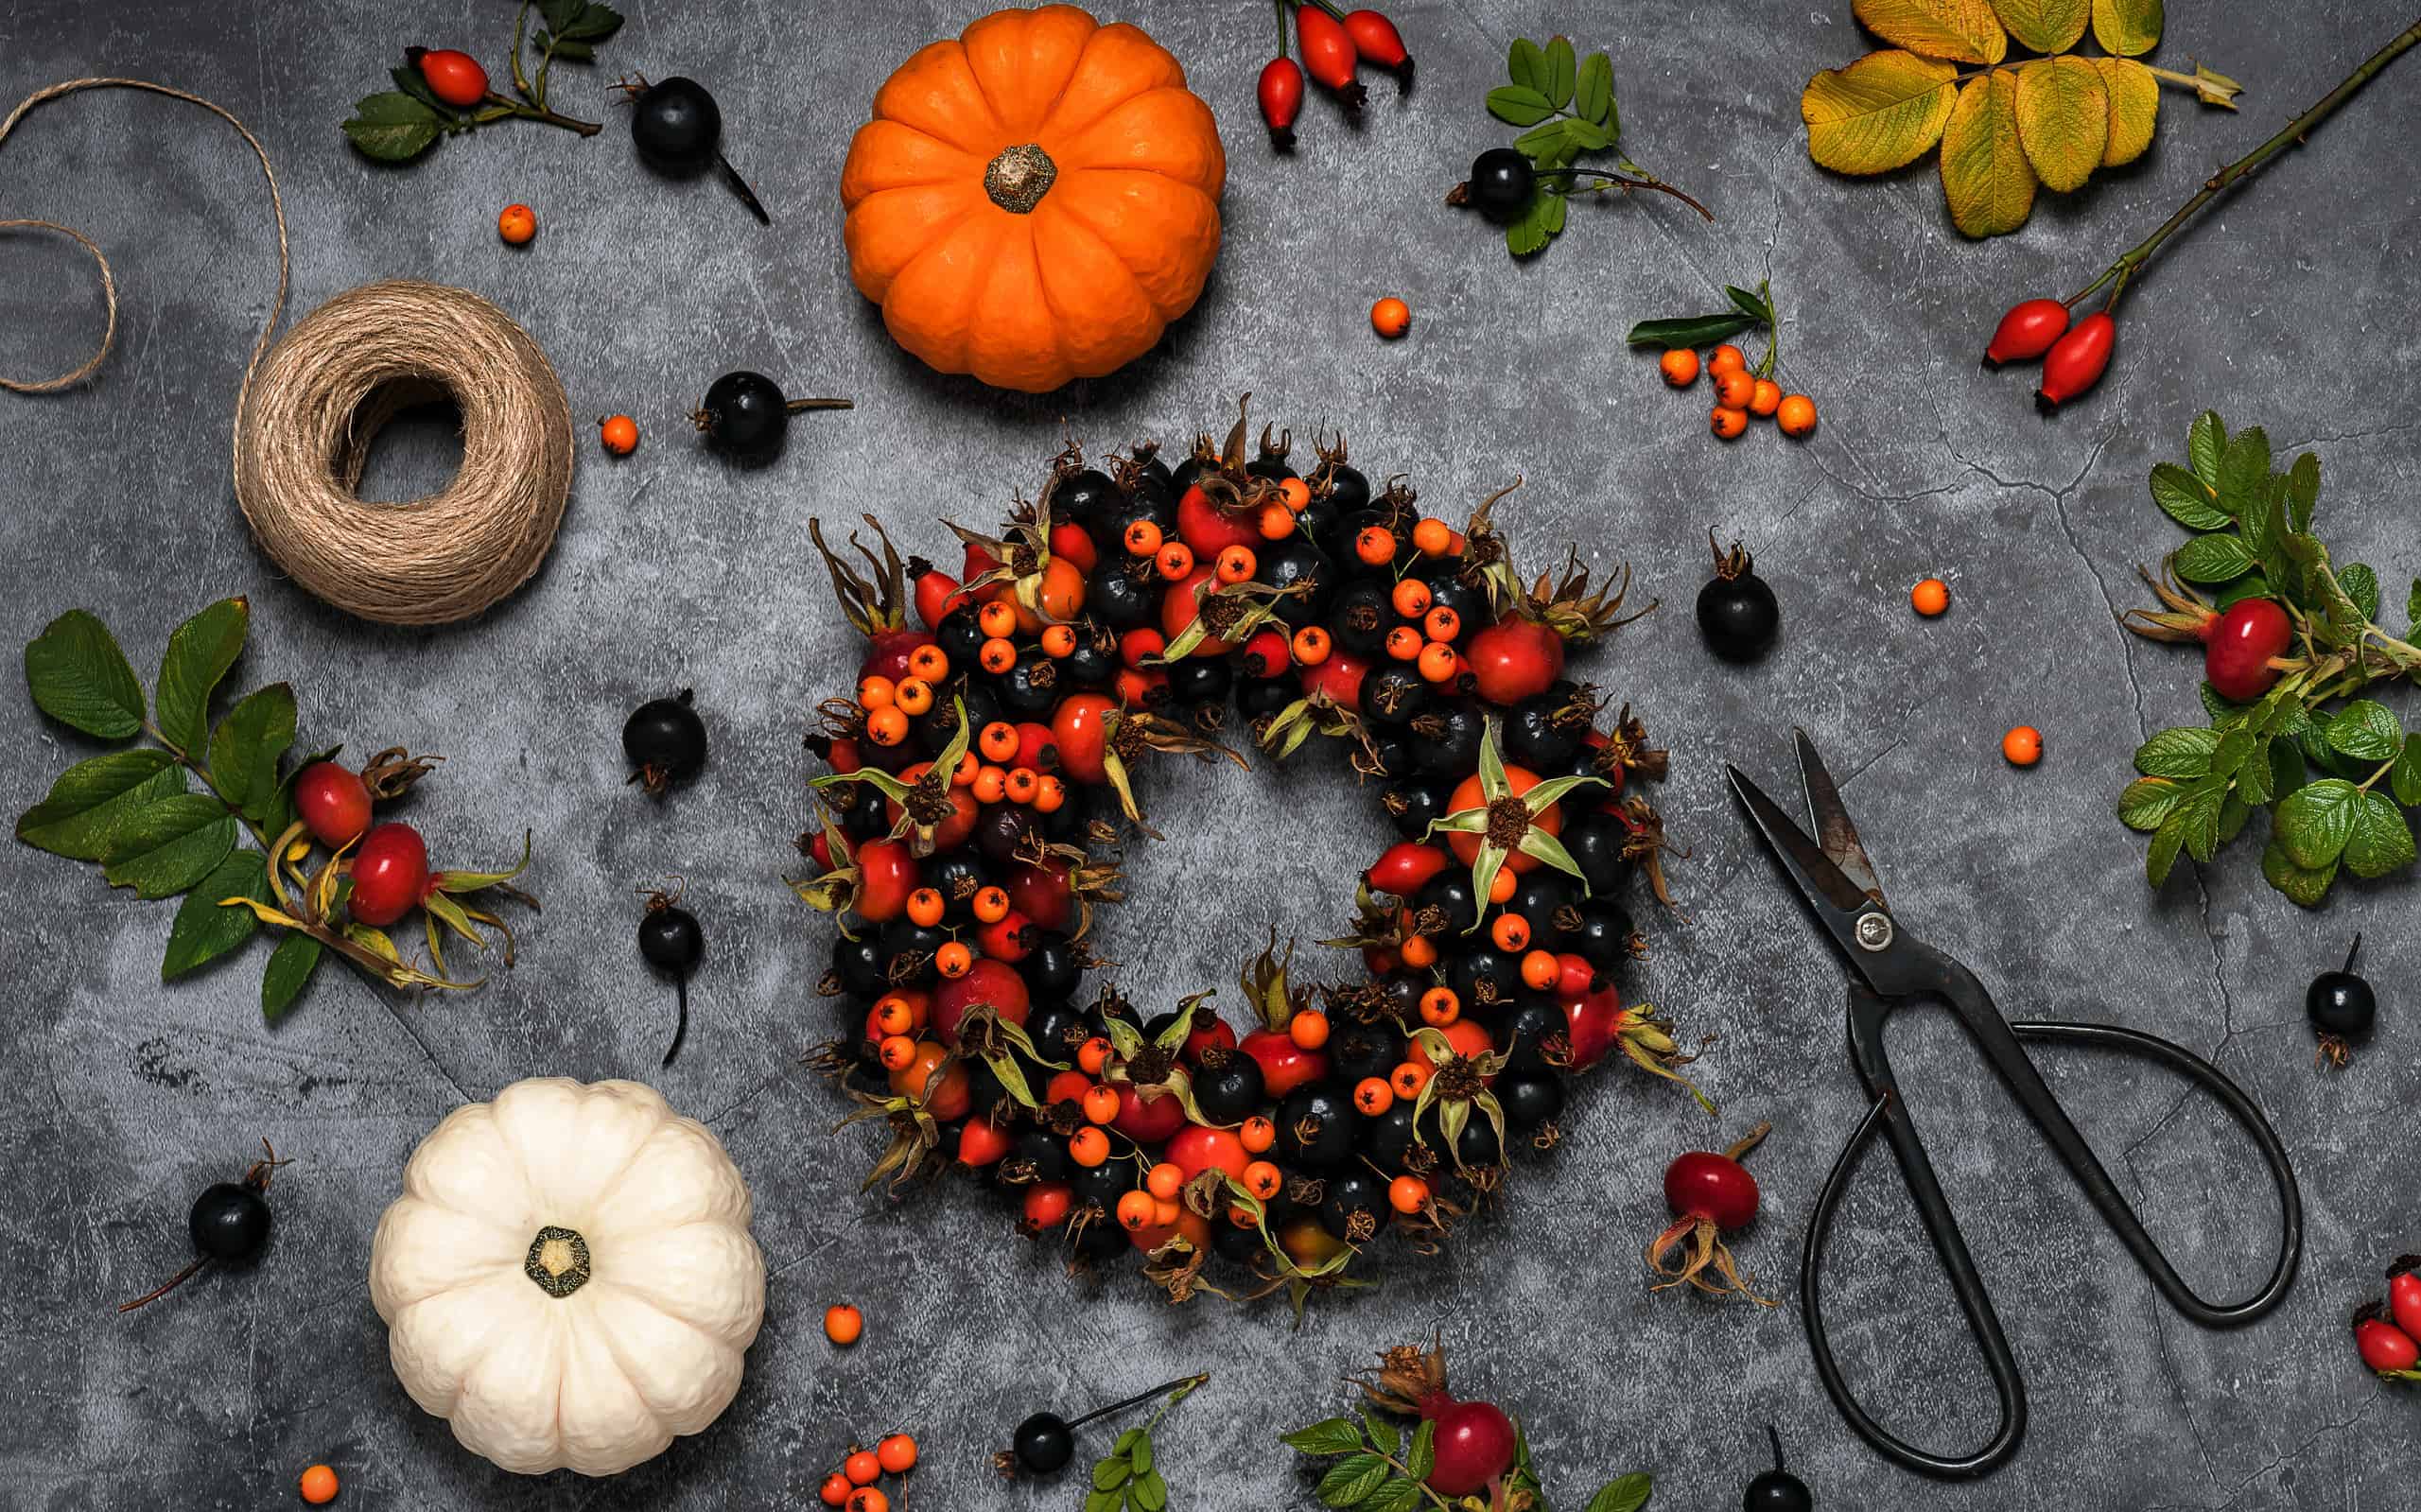
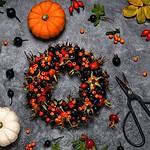
Halloween Door Wreath
A fall wreath doesn't need a complete replacement to work for Halloween. A few bats or pumpkins can give it a seasonal update.
Supplies: Plain fall wreath, black and orange cardstock, ribbon, craft glue or floral wire, scissors
Directions:
- Cut a few bats, pumpkins, or ghost shapes from cardstock.
- Attach the decorations to the wreath with craft glue or floral wire, keeping the weight balanced around the ring.
- Add a ribbon and hang the wreath where wind and rain won't damage the paper pieces.
Bat Balloons
Black balloons make surprisingly convincing little bats once you add wings and ears. They work best indoors, where the paper pieces won't get soaked.
Supplies: Black balloons, black cardstock, white paint marker, scissors, double-sided tape, string
Directions:
- Inflate a black balloon and draw a simple bat face using a marker suitable for balloons.
- Cut two wings and two pointed ears from cardstock; fold small tabs on each piece.
- Attach the tabs with double-sided tape and hang the finished balloon with string. Avoid placing balloons near sharp objects or small children.
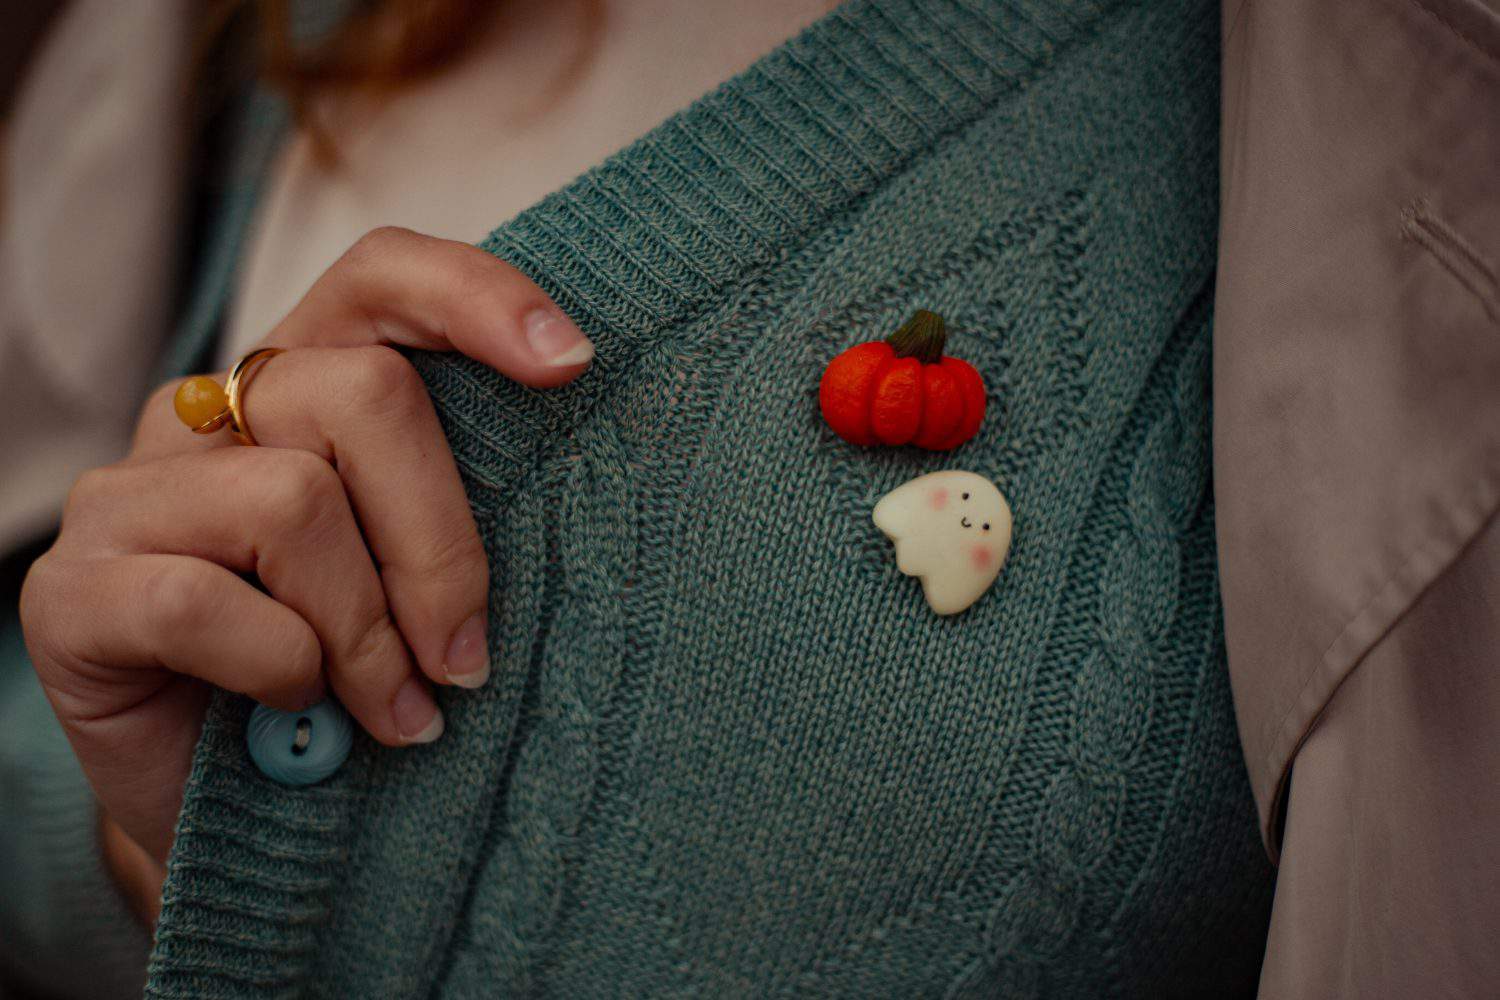
DIY Halloween Pins
These small decorations can dress up a jacket, backpack, or treat bag. They're also a way to use up leftover paint from other projects.
Supplies: Air-dry craft clay, Halloween-shaped craft cutters or molds, acrylic paint, small paintbrush, adhesive pin backs, craft adhesive
Directions:
- Press air-dry clay into a small craft mold or cut it into a pumpkin, ghost, or bat shape. Don't reuse craft molds for food.
- Let the piece dry completely according to the clay instructions, then paint it.
- After the paint dries, attach a pin back with adhesive made for the materials and allow it to cure. An adult should handle sharp pin hardware.
Decorated Halloween Placemats
This works especially well for a casual party table: everyone can make a different design, and the finished placemats help catch the inevitable candy crumbs.
Supplies: Heavy paper or cardstock, crayons or markers, clear self-adhesive laminating sheets, scissors
Directions:
- Draw pumpkins, spider webs, or a Halloween scene on a sheet of cardstock.
- Cover both sides with clear self-adhesive sheets and smooth out air bubbles.
- Trim the edges, leaving a sealed border, and use the placemat with cool dishes rather than hot cookware.
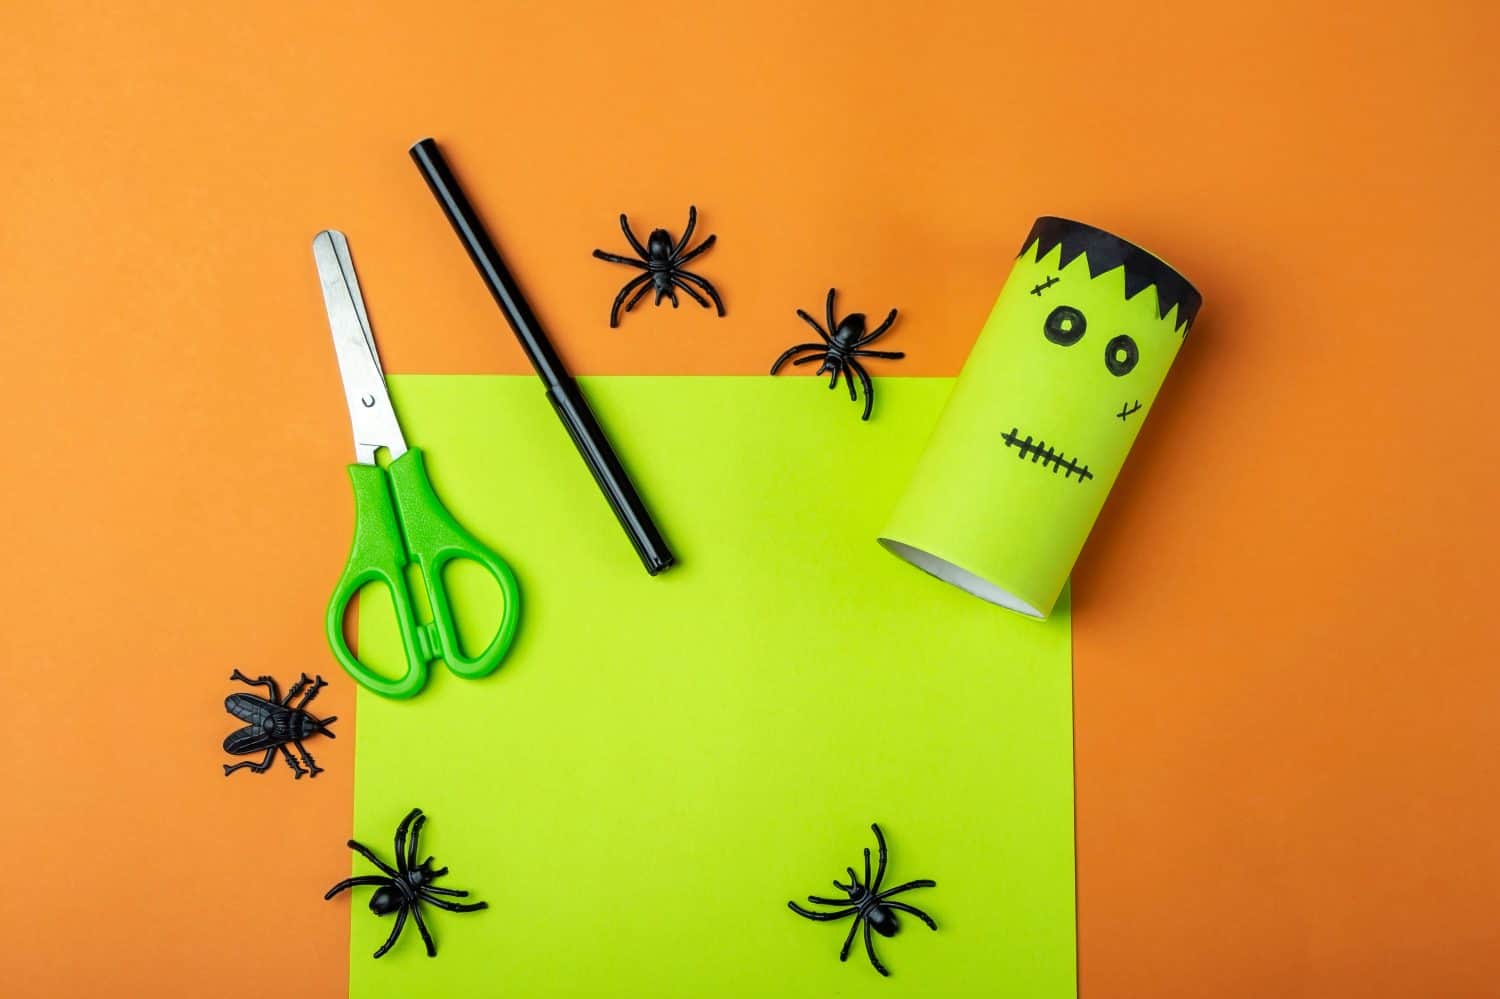
Cardboard Tube Frankenstein Monster
Before tossing out that empty cardboard tube, turn it into a tiny Frankenstein-style monster. This is a lot easier than building the creature in the original novel.
Supplies: Empty cardboard tube, green paint or green paper, black cardstock, white paper, black marker, glue
Directions:
- Paint the tube green, or wrap it in green paper, and let it dry.
- Cut a jagged hairline from black cardstock and glue it around the top.
- Add paper eyes, a mouth, and a scar with black marker. Small paper bolts on the sides finish the look.
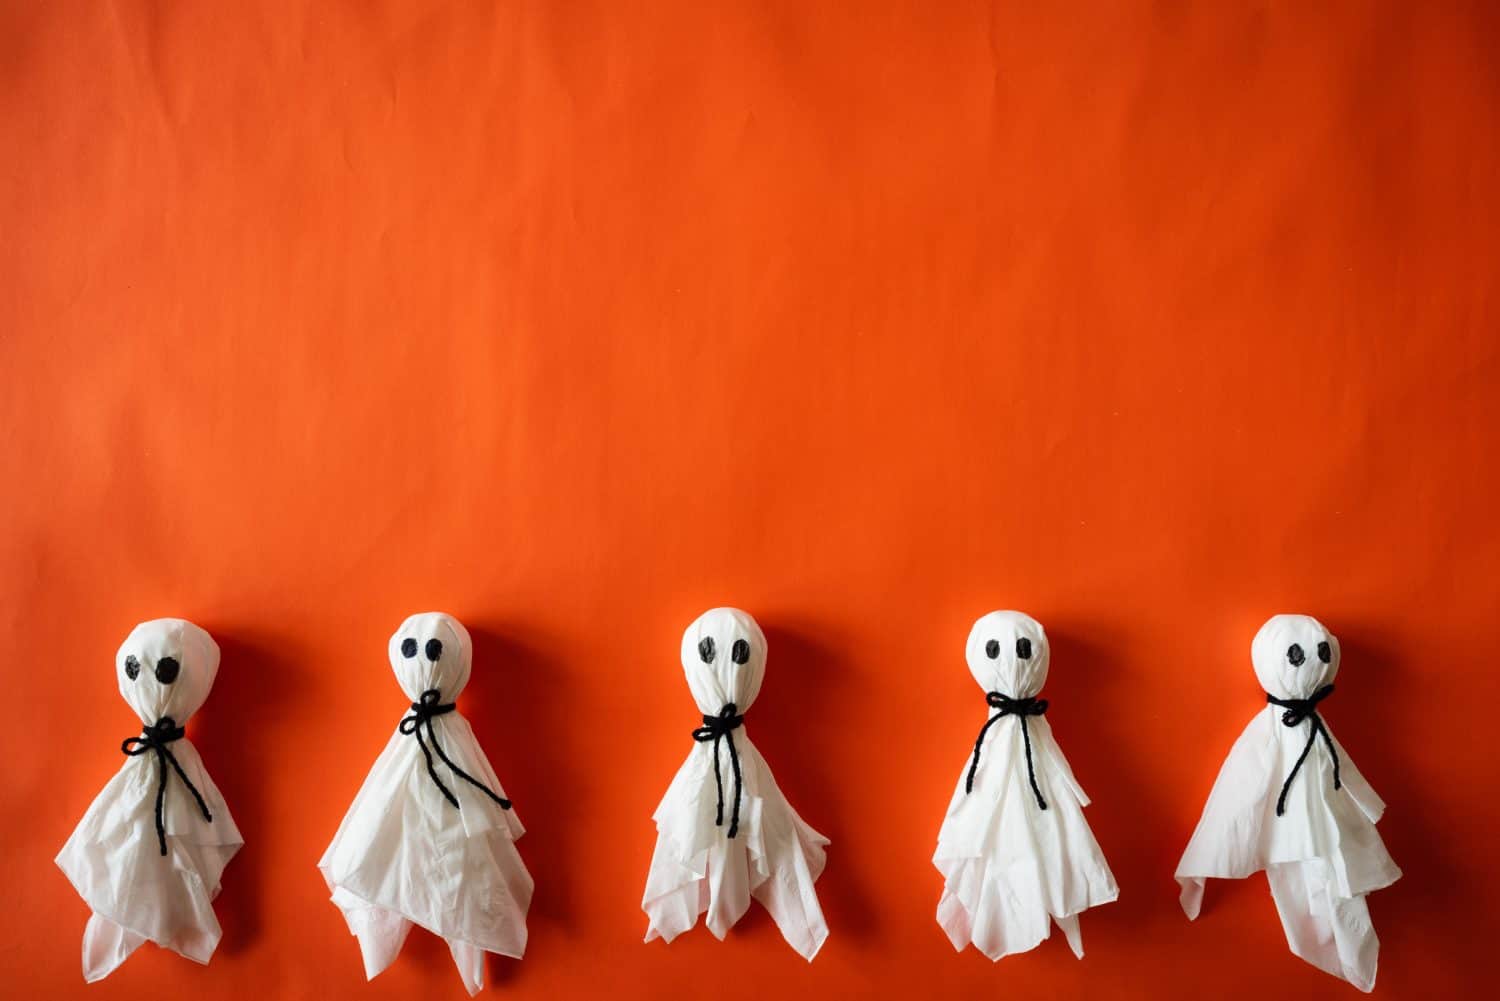
Small Tissue-Paper Ghosts
A few small tissue ghosts are handy for filling the gaps between larger decorations. Hang them in a window or line them up along a shelf.
Supplies: White tissue paper, scrap paper, string, black marker or paper, tape
Directions:
- Crumple a little scrap paper into a ball and place it at the center of a white tissue-paper sheet.
- Pull the tissue down around the ball and tie string beneath it to form the head.
- Draw or glue on eyes and a mouth, then hang the ghost from a lightweight indoor hook.
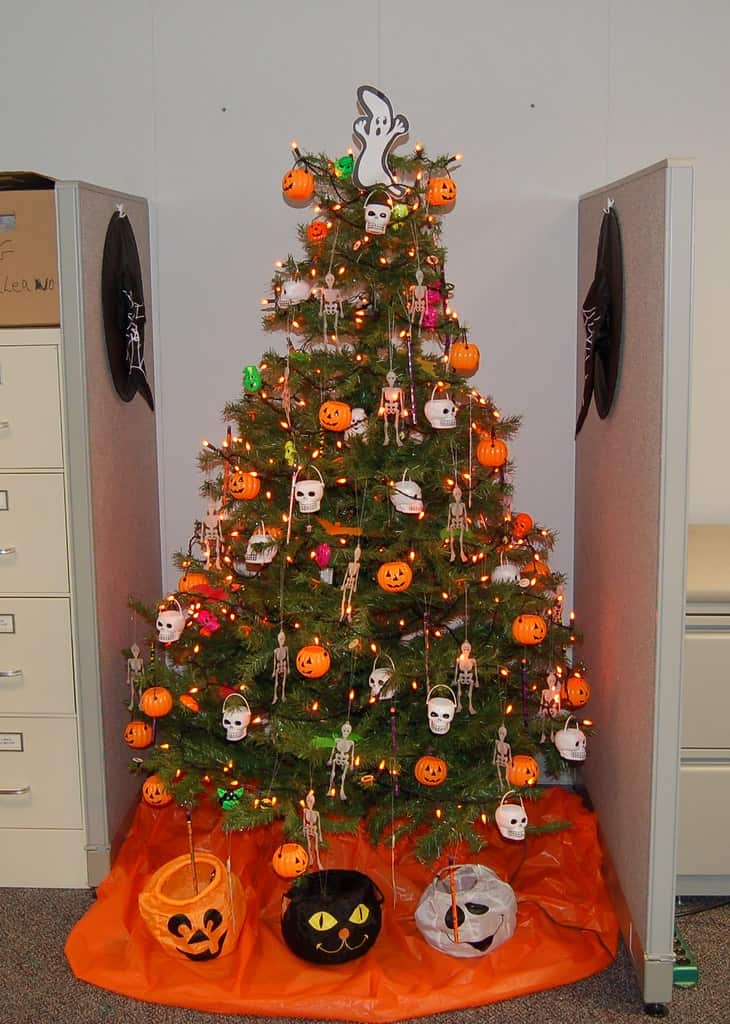
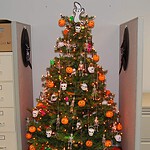
Tabletop Halloween Tree
Halloween trees have become their own little decorating tradition. You can keep this one small enough for an entry table rather than sacrificing the whole living room.
Supplies: Small artificial tabletop tree or sturdy bare branches in a weighted vase, battery-powered LED string lights, paper bats and ghosts, string
Directions:
- Set up a small tree or arrange dry branches in a stable, weighted container.
- Wrap with battery-powered LED lights, keeping paper decorations away from any warm electrical components.
- Hang paper ghosts, bats, and pumpkins from the branches. Skip candles and other open flames.
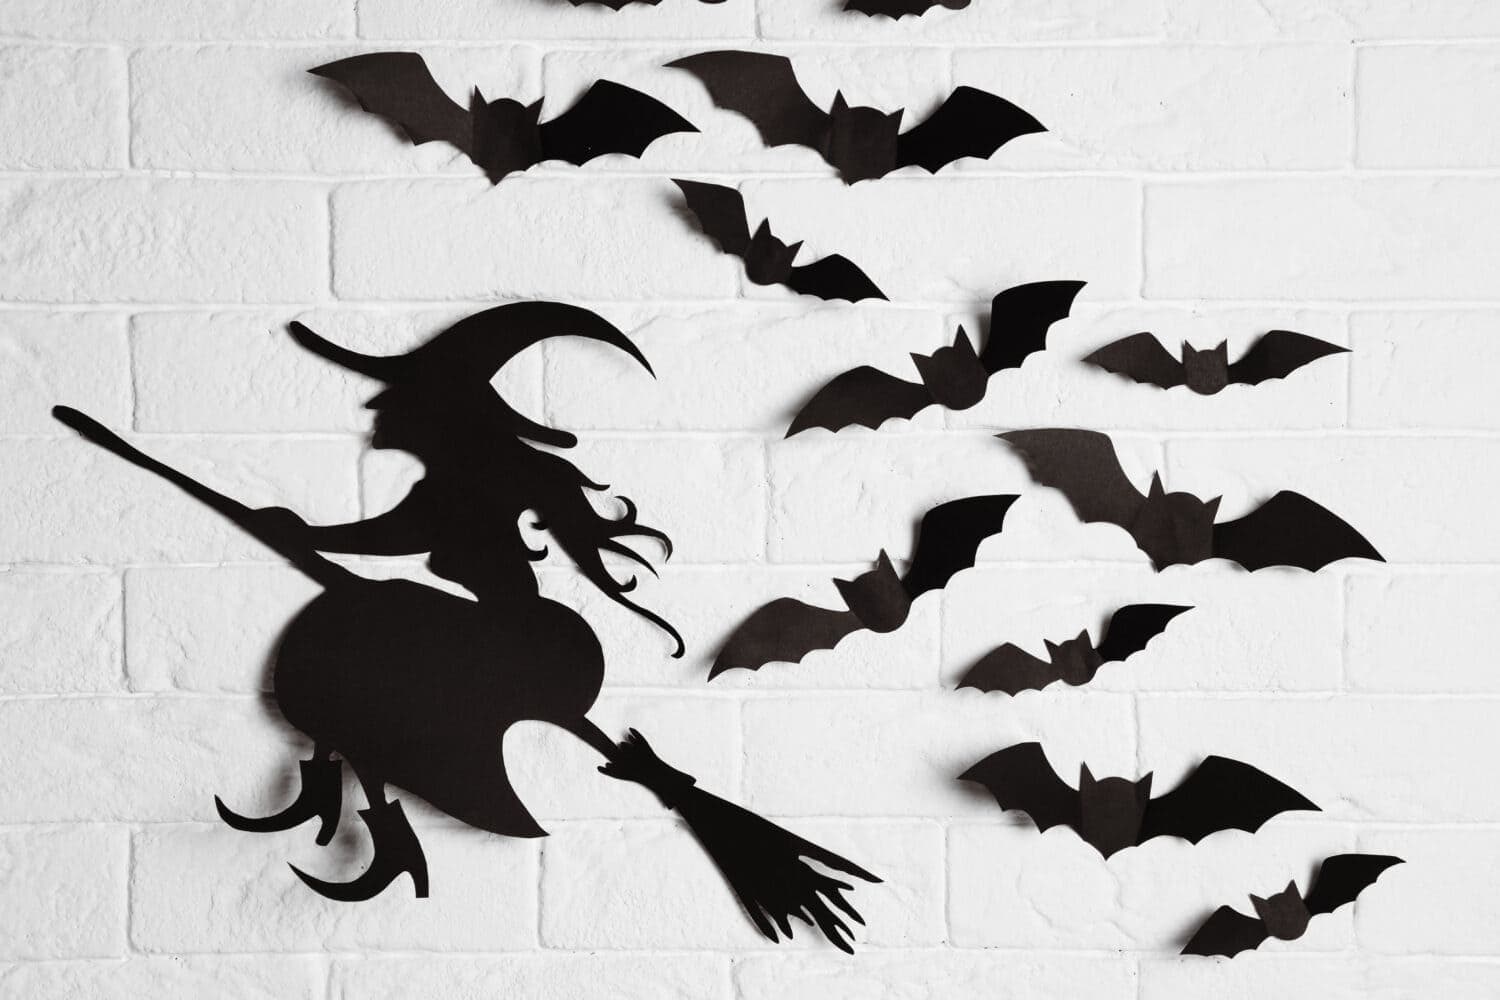
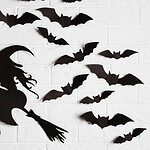
Hanging Halloween Silhouettes
A paper witch crossing the moon is a Halloween classic for a reason. This version makes lightweight decorations for a window or party backdrop.
Supplies: Orange or yellow cardstock, black paper, scissors, glue, string, hole punch
Directions:
- Cut large circles from orange or yellow cardstock to make moons.
- Cut out black silhouettes of bats, cats, or a witch and glue one or more over each moon.
- Punch a hole near the top, attach string, and hang the decorations at different heights indoors.
Candy-Filled Tissue Ghosts
Think of these as tiny Halloween goodie bags disguised as ghosts. They're better suited to a party table than a long night of trick-or-treating.
Supplies: Individually wrapped candy, white tissue paper, small food-safe treat bags, ribbon, black marker
Directions:
- Put a few individually wrapped candies into a small food-safe bag and seal it.
- Wrap the bag in white tissue paper so it forms the ghost's head, then tie beneath it with ribbon.
- Draw a face on the tissue. Label any allergen information as needed and keep small candy away from children for whom it could be a choking hazard.
Backlit Halloween Window Scene
One glowing window can do more for curb appeal than a dozen decorations scattered around the yard. You only need a few silhouettes and a safe light source.
Supplies: Black cardstock, scissors, removable tape, translucent tissue or cellophane, battery-powered LED lights
Directions:
- Cut out bats, ghosts, or a haunted-house silhouette from cardstock.
- Tape the shapes to the inside of a window, adding translucent colored paper behind them if you want a tinted effect.
- Place battery-powered LED lights safely nearby to illuminate the scene after dark. Don't use candles against the window decorations.
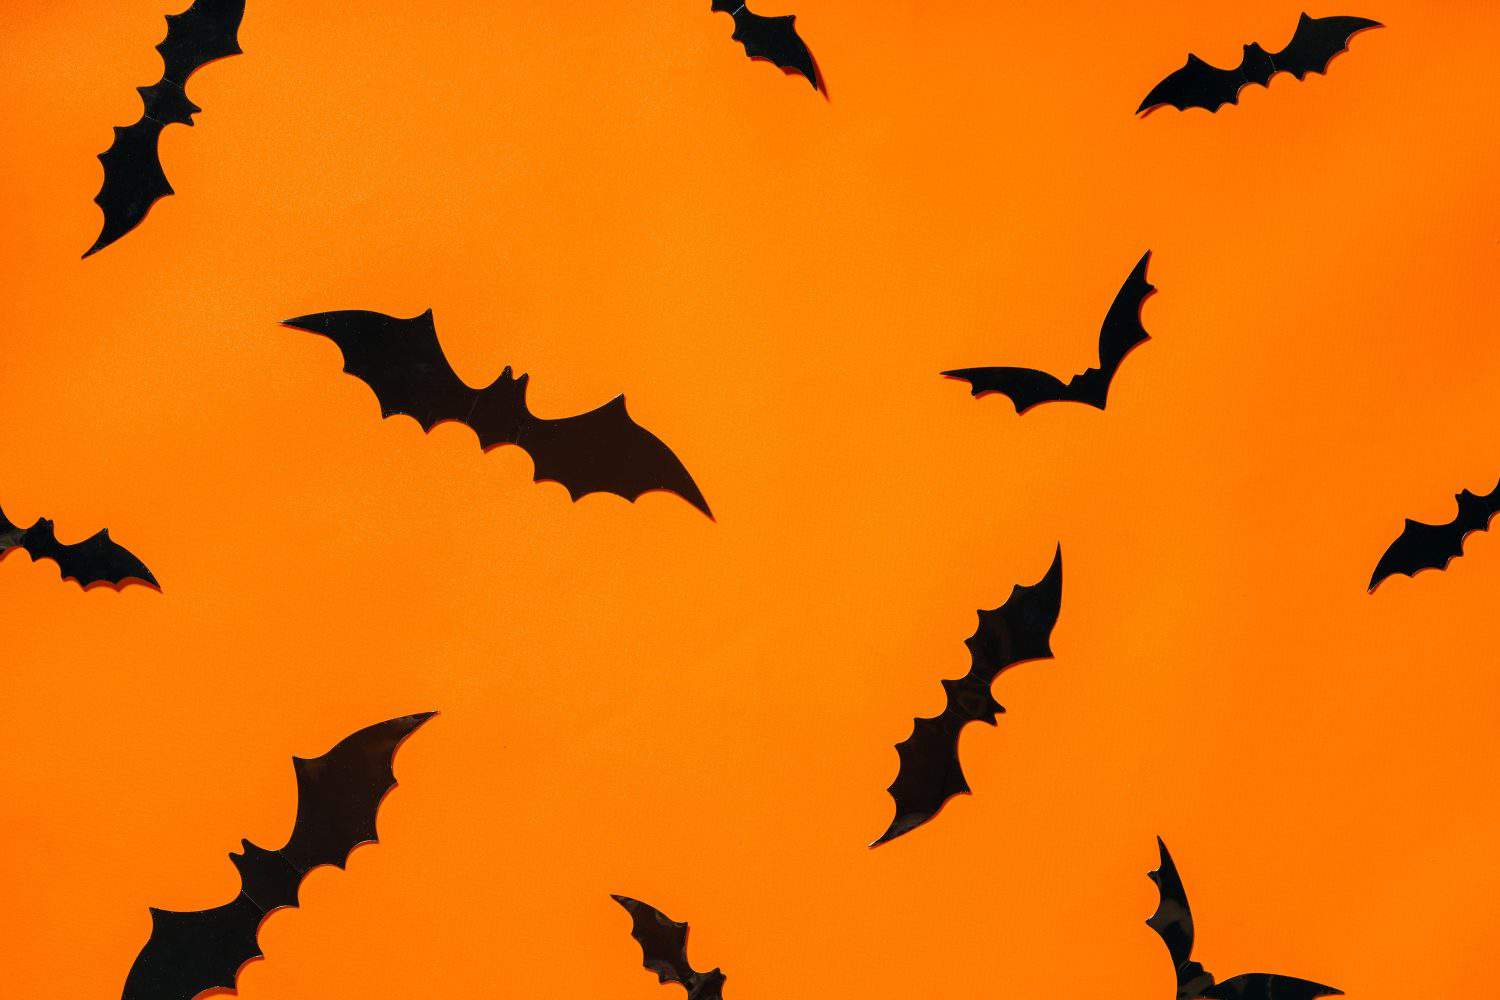
Hanging Paper Bats
A handful of black bats can turn a plain wall or window into a Halloween display. And unlike a real bat, these will stay exactly where you put them.
Supplies: Black cardstock, pencil, scissors, white paper or marker, string, tape
Directions:
- Fold black cardstock in half and draw half a bat along the fold.
- Cut out the outline and unfold it to reveal a symmetrical bat.
- Add eyes if you like, gently bend the wings for a three-dimensional effect, and tape or hang the bats indoors.