
A useful kitchen tip should make dinner easier, not turn a five-minute job into an elaborate experiment. Sometimes the difference is as simple as storing lettuce properly, reaching for a spoon instead of a knife, or knowing when to turn down the heat. You don’t need specialized gadgets or a social-media-worthy setup to get better results.
These 29 everyday cooking and food-storage tips cover the little frustrations that add up over a week. A few popular tricks don’t work as advertised, so we’ve replaced those with methods that are more dependable. Whether you cook every night or mostly want your groceries to last until Friday, there’s something here you can actually use.
Peel Garlic Without Fighting the Skin
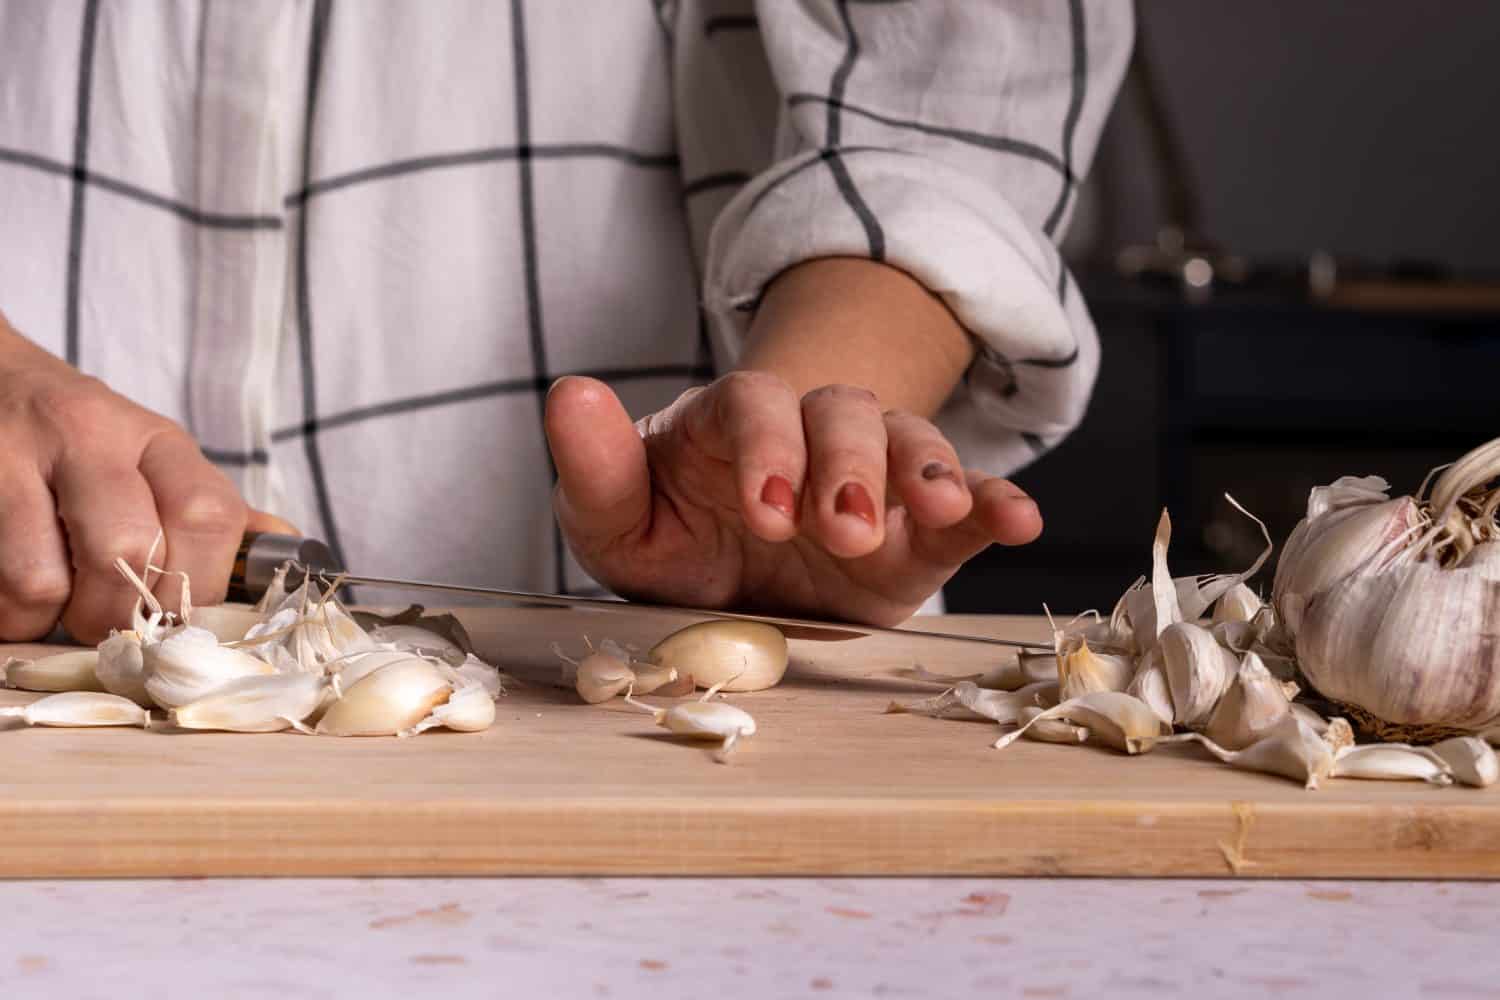
Garlic is great in dinner and considerably less great when its papery skin refuses to come off. Put a clove on a cutting board, lay the broad, flat side of a chef’s knife over it, and give the blade a careful, firm press with the heel of your hand. Keep your palm well away from the sharp edge. The clove will crack just enough to loosen the skin, which you can usually peel away in one or two pieces. It works especially well when the recipe calls for chopped or minced garlic. If you need perfectly intact cloves, trim the root end and peel them without smashing.
Store Leafy Greens With a Paper Towel

A fresh container of lettuce can turn into a soggy disappointment surprisingly quickly. The problem usually isn’t that the greens need more water; it’s moisture sitting against delicate leaves, especially when they’ve been packed tightly into a bag. Sort out any slimy or damaged pieces, line a roomy container with a clean paper towel, and add the dry greens. Place another towel on top if needed, close the container, and keep it in the refrigerator’s produce drawer. Change the towel when it becomes soaked instead of letting the leaves sit in a puddle.
The goal is to control excess surface moisture without drying the greens into confetti. Keep heavy produce from crushing them, and use the freshest leaves first. If you bought loose greens, wash them under cool running water before eating and dry them well; for longer storage, the Colorado State University Extension recommends storing greens in a paper-towel-lined container. Packages marked prewashed or ready to eat generally don’t need another rinse. None of this makes lettuce last forever, but it makes those ambitious Sunday salad plans a bit more realistic.
Prevent Pasta Water From Boiling Over
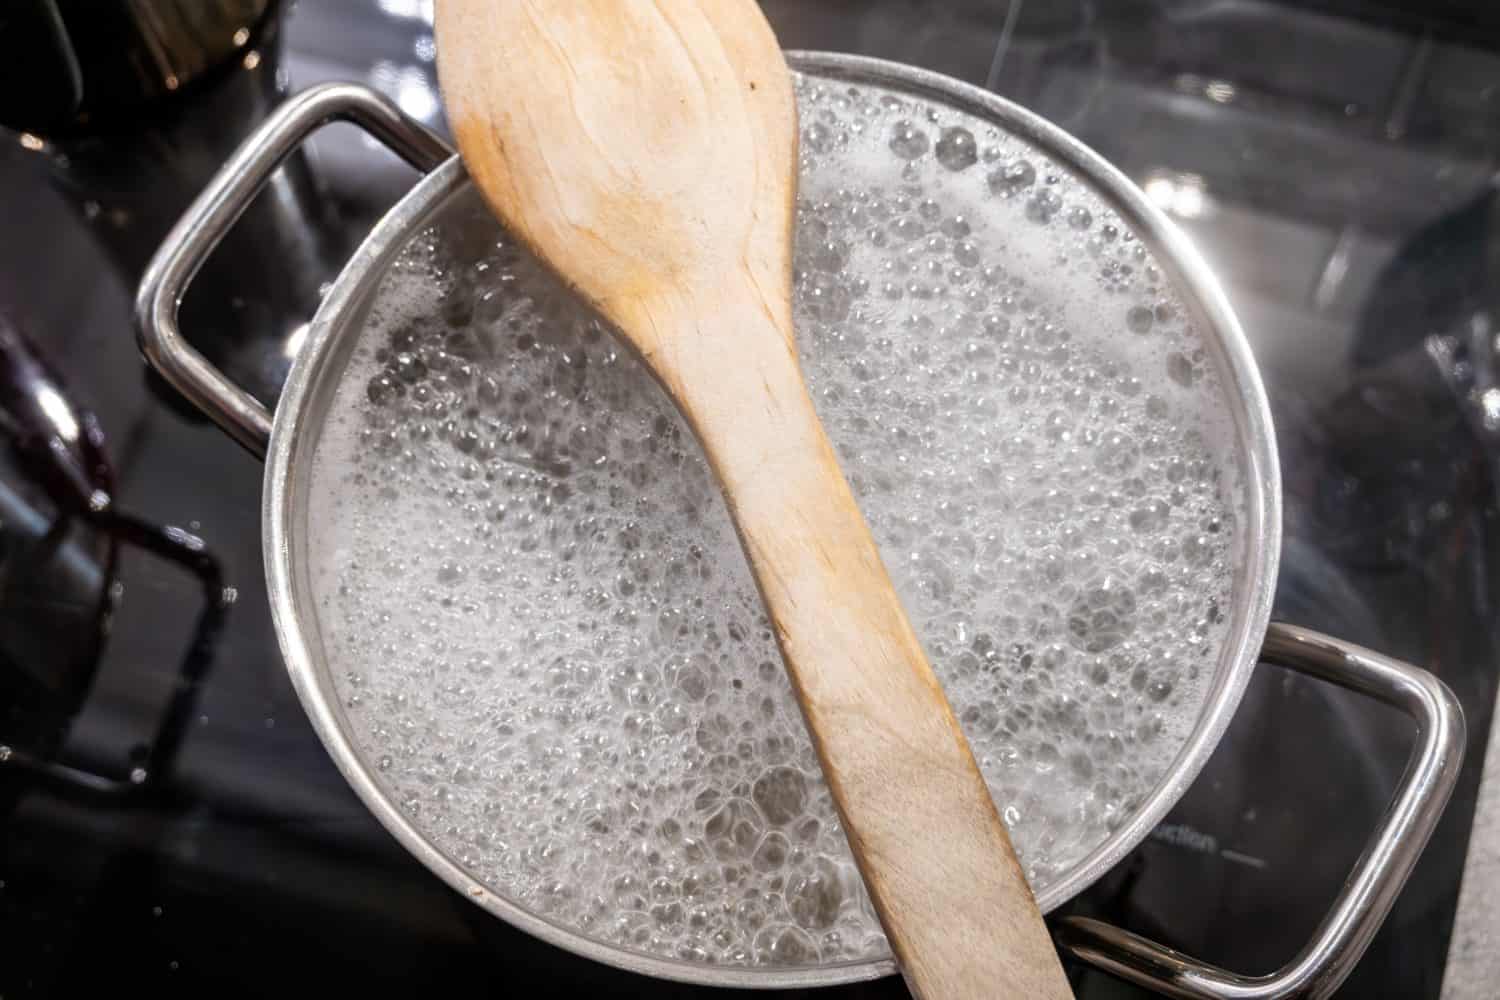
You’ve probably seen the trick where someone lays a wooden spoon across a pot of pasta and declares the boil-over problem solved. It may break a few bubbles briefly, but it won’t stop a vigorous, starchy boil from climbing over the rim. And once the spoon gets wet and hot, it becomes a lot less helpful. Food Network’s kitchen testing recommends stirring and controlling the boil instead.
The better fix is boring, which is probably why it hasn’t gone viral a thousand times: use a pot with enough headroom, leave the lid off once the water returns to a boil, and reduce the heat to a steady simmer. Stir during the first minute or two to keep the noodles from sticking together and to break up the foam. You don’t need water splashing all over the stovetop to cook pasta properly. A little attention and a lower burner setting are much more dependable than balancing kitchen utensils across a pot of boiling water.
Give Stale Bread a Brief Oven Revival
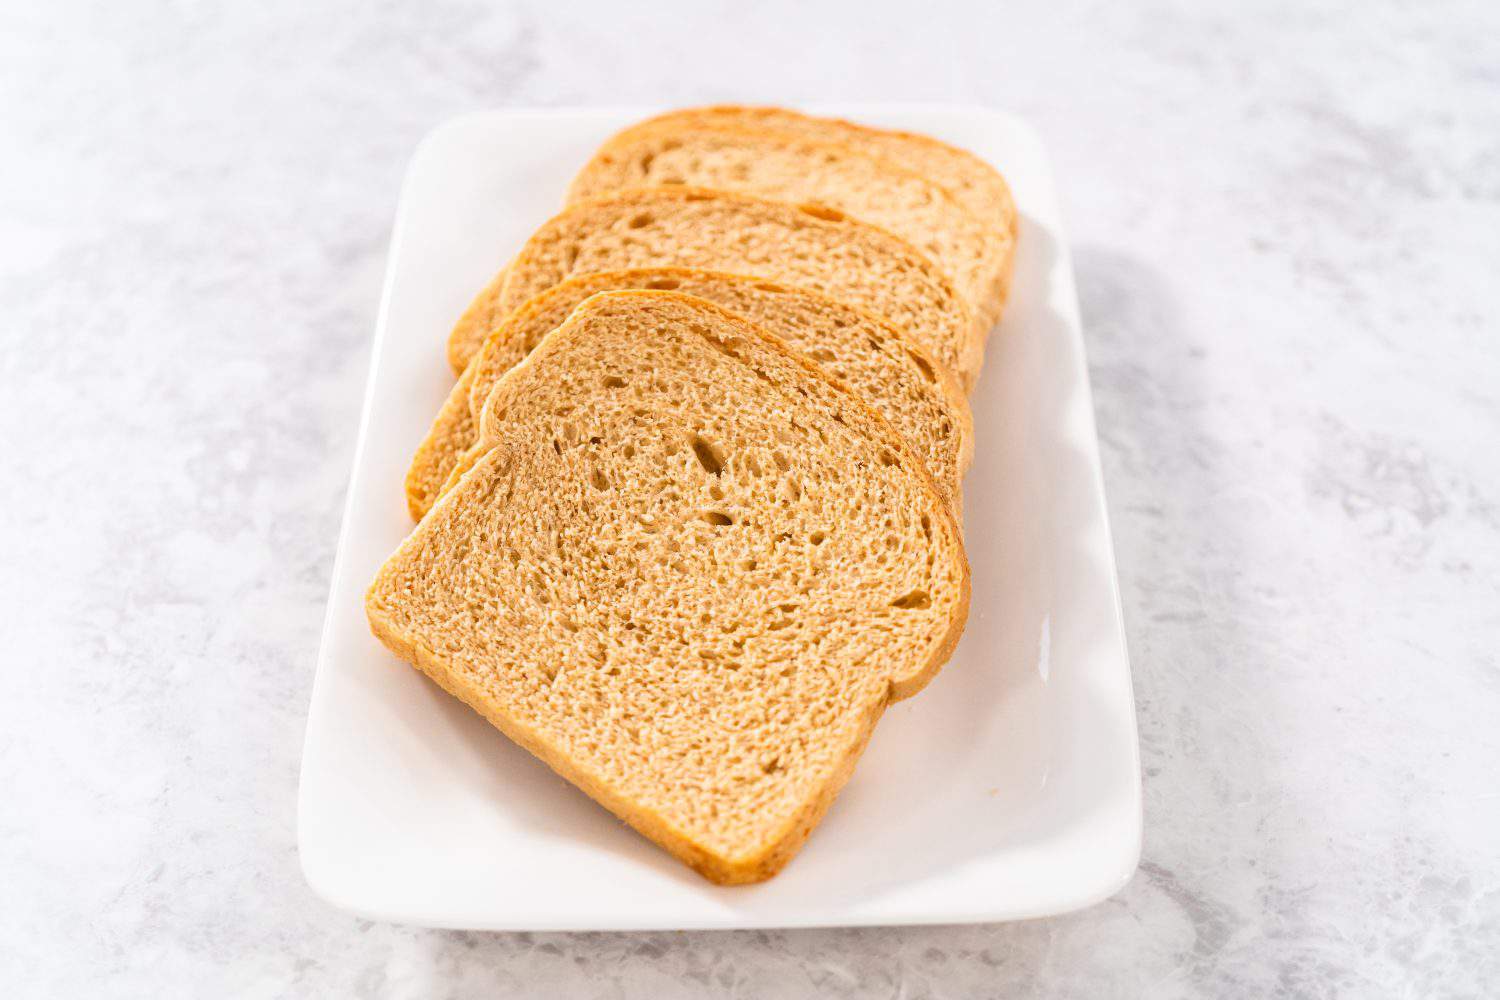
Bread that’s gone hard isn’t necessarily headed for the trash. If a crusty loaf or unsliced roll is simply stale, lightly moisten its crust with water and warm it in a 350-degree oven for roughly five to ten minutes, adjusting for its size. The moisture and heat can temporarily soften the inside while bringing back some crunch to the crust. Eat it soon after reheating, because the effect doesn’t last. And there’s an important distinction: stale bread can sometimes be revived; moldy bread should be thrown out, not toasted into submission.
Freeze Extra Herbs for Cooked Dishes
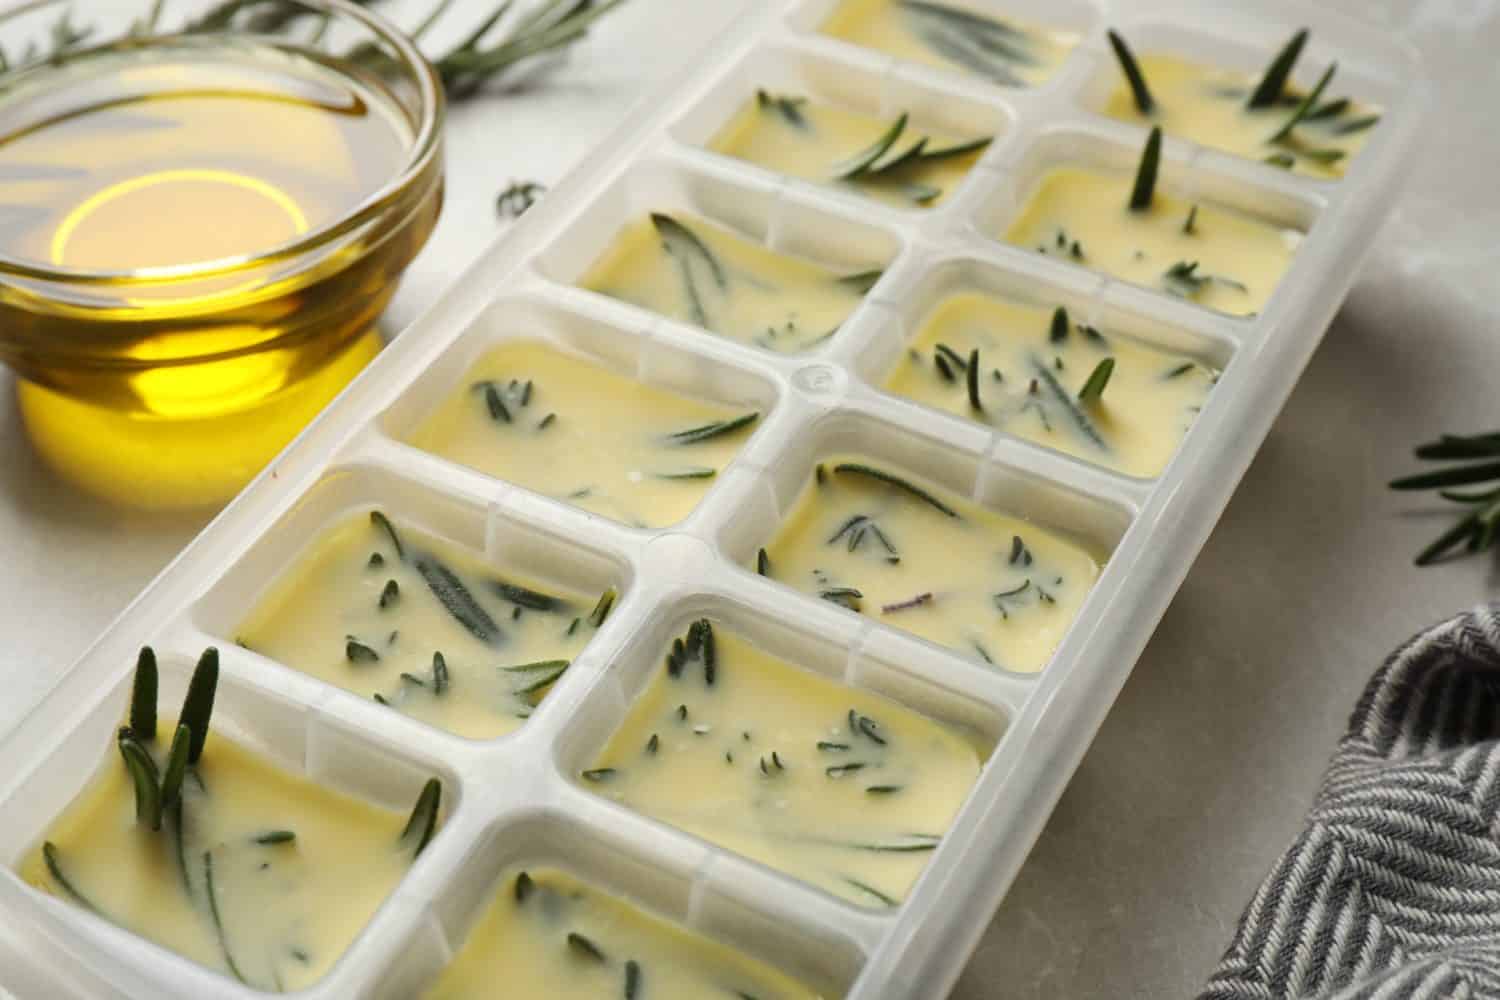
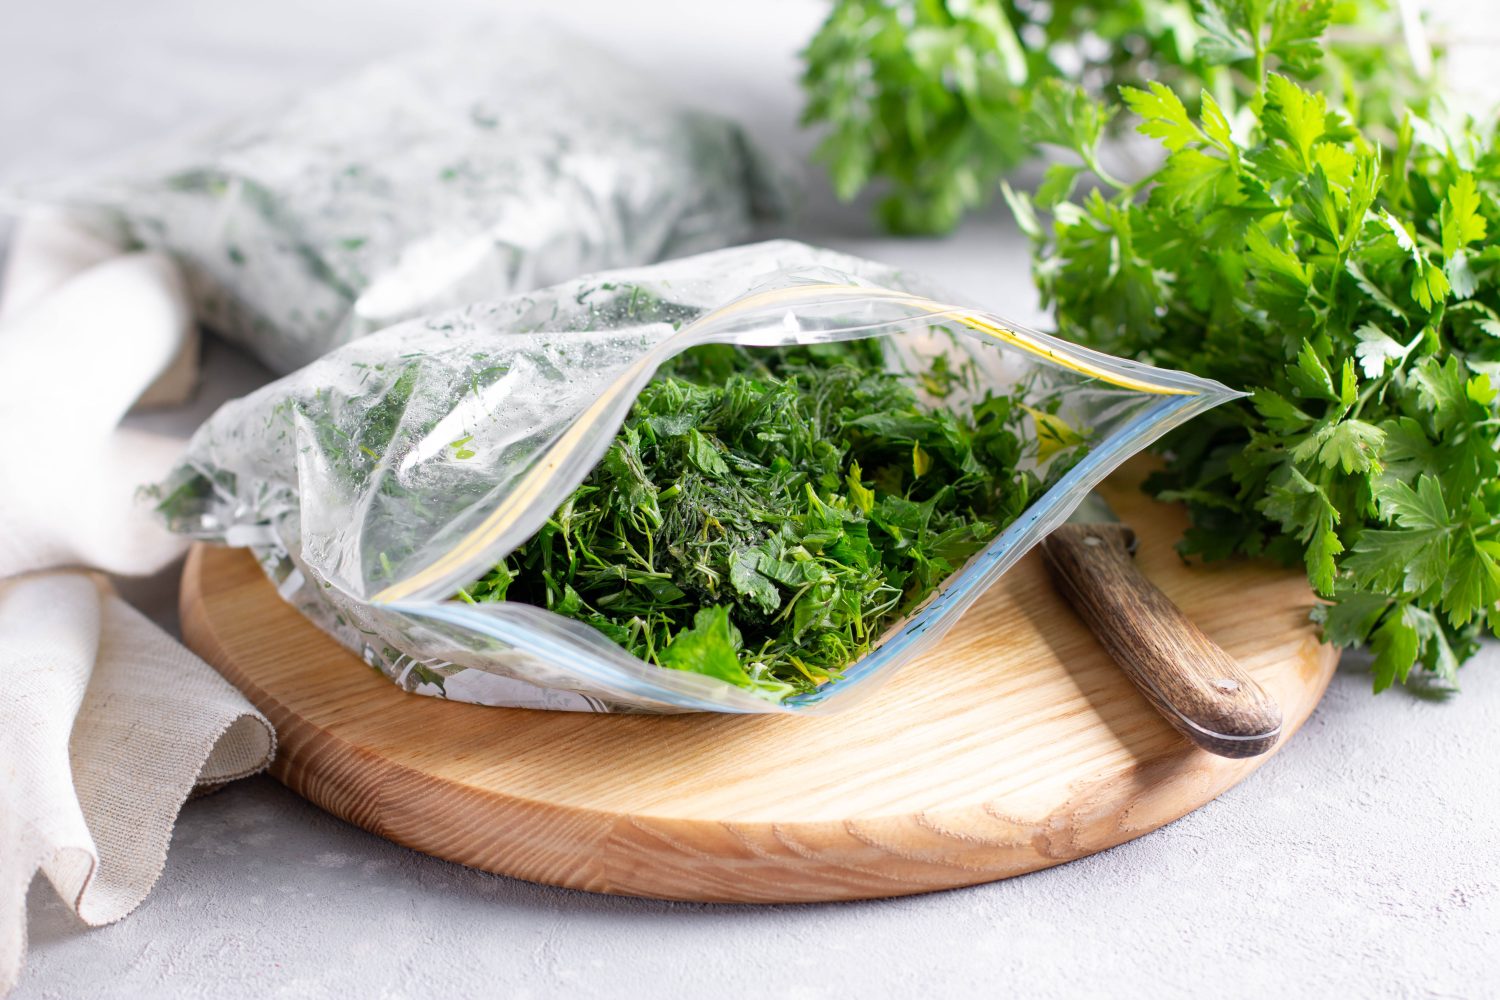
Buying a whole bunch of parsley when a recipe needs two tablespoons can feel like a practical joke from the produce department. Before the rest turns to mush, wash the herbs, dry them thoroughly, and chop them into portions you’ll actually use. Freeze them in an ice cube tray with a little water for soups or with a small amount of oil for sauces and sautés. Once they’re frozen, transfer the cubes to a labeled freezer bag. Add one straight to a hot dish when you need it. Don’t expect thawed herbs to have the crisp texture of freshly chopped parsley on a salad.
If you use oil, the storage part matters. Fresh herbs submerged in oil should never sit out on the counter as a ready-made seasoning. The low-oxygen environment can support the bacteria responsible for botulism if the mixture is mishandled. Oregon State University Extension advises refrigerating herb-and-oil mixtures for short-term use or freezing them for longer storage. For this shortcut, freezing immediately is the simplest plan. It’s a good way to save ingredients, not a reason to turn a little leftover basil into an ongoing science experiment.
Help Bananas Ripen in a Paper Bag
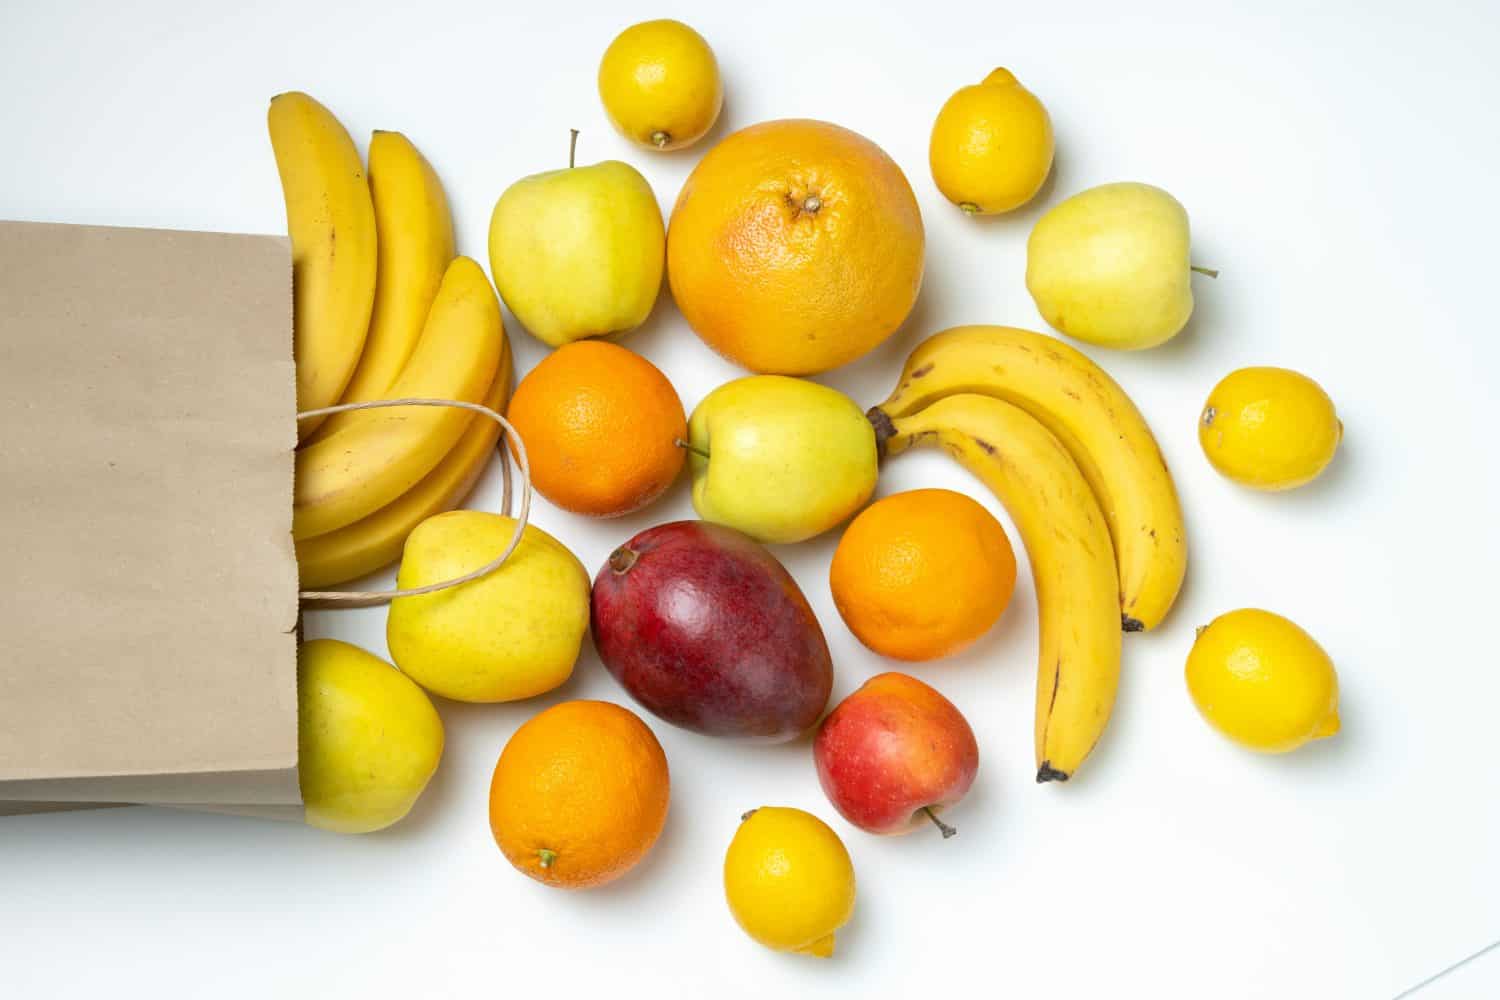
If your bananas are still green but breakfast calls for something sweeter, put them in a loosely closed paper bag with an apple or a ripe banana. Those fruits release ethylene, a natural gas that helps trigger ripening. Keep the bag at room temperature and check it each day. It can speed up the process, but it won’t turn a hard green banana perfectly ripe in an hour. When the bananas get to the stage you want, use them or refrigerate them to slow further ripening; the peels may darken even while the fruit stays usable.
Remove Eggshell Pieces With a Clean Spoon
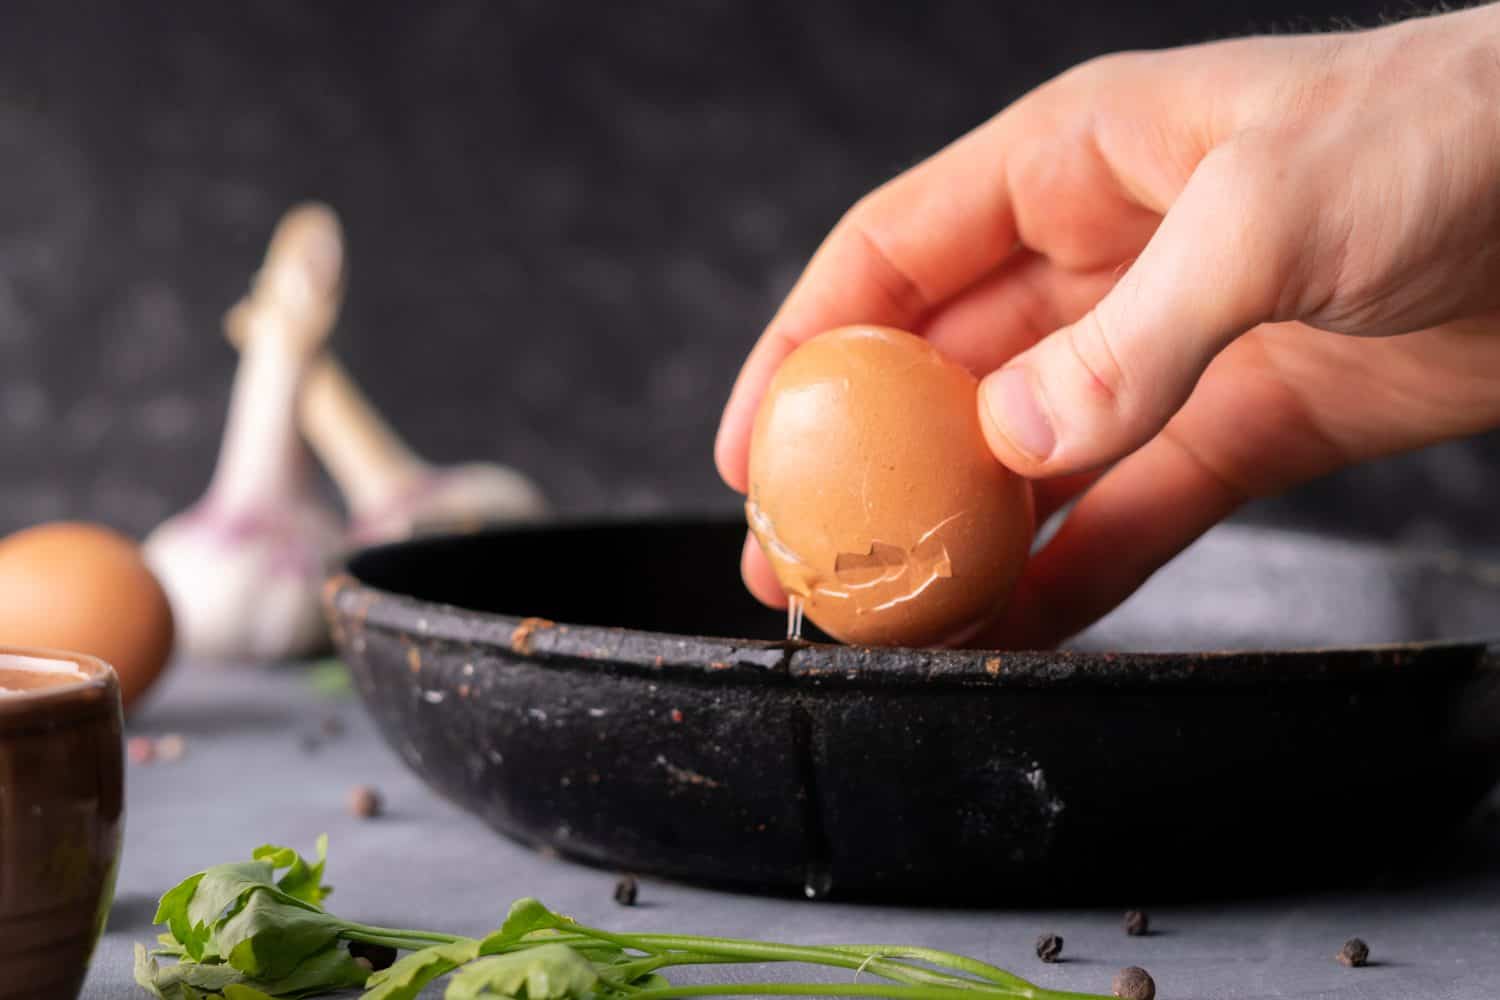
Crack an egg into a bowl and there’s a decent chance a tiny piece of shell will follow it in. Rather than poking at it with your fingers for the next five minutes, use the edge of a clean teaspoon to lift it out. A damp fingertip can work too, provided your hands are clean. The popular trick of scooping the fragment with another piece of eggshell isn’t necessary; raw eggshells can carry contamination, so there’s no advantage to dipping one back into food you’re about to prepare. This is a small fix, but that’s what makes it useful.
Keep Brown Sugar From Turning Into a Brick
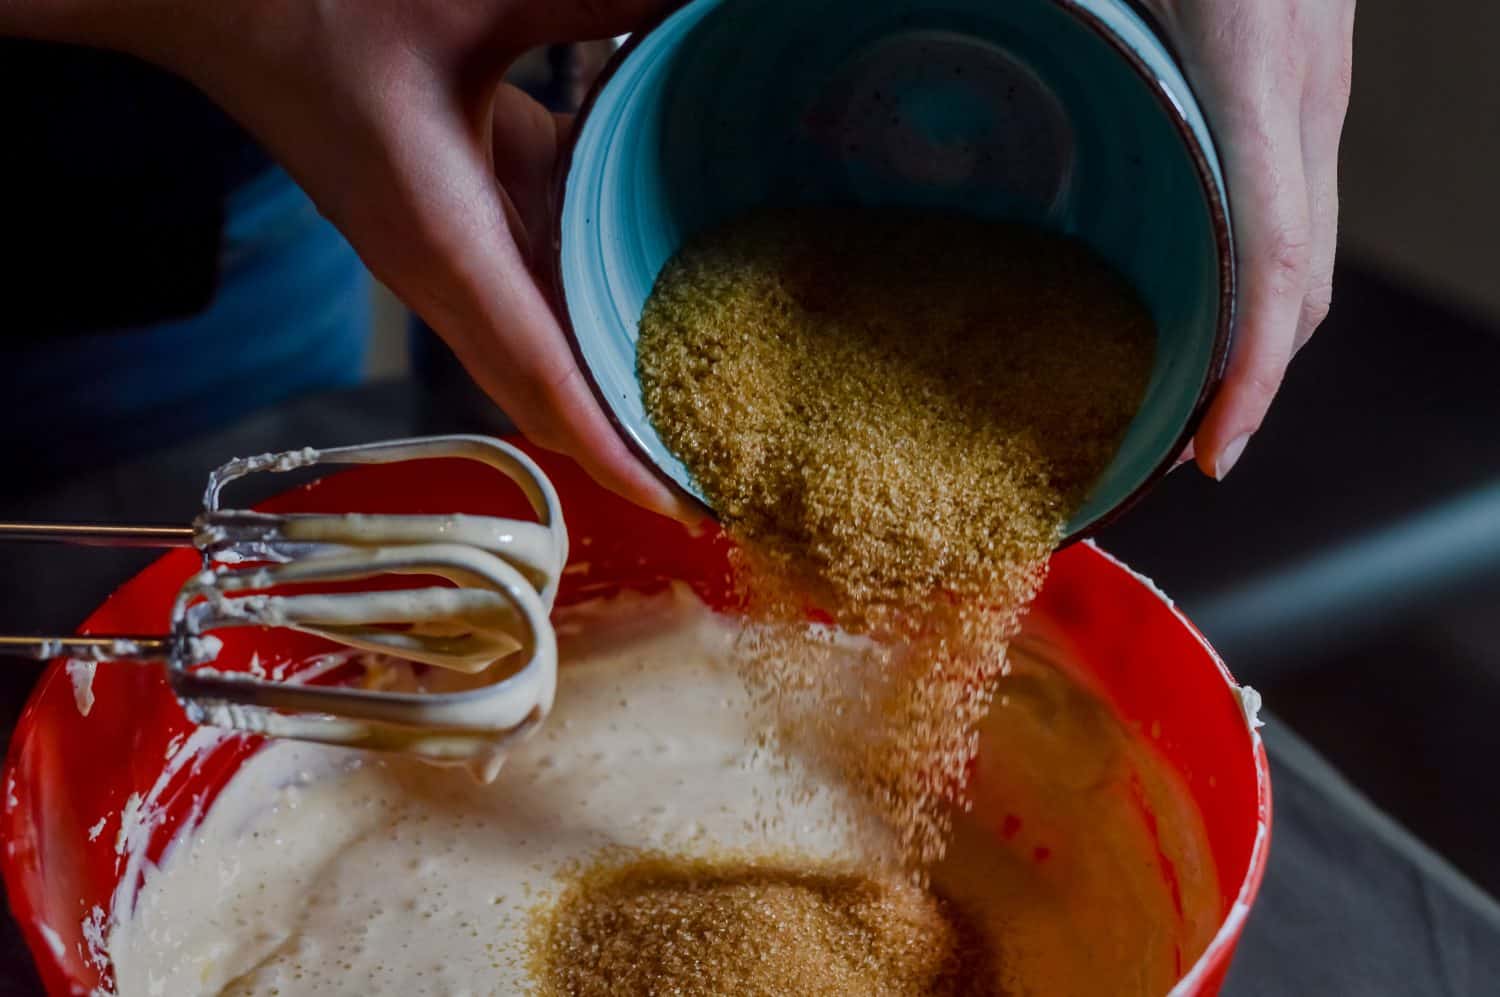
Brown sugar hardens when it loses moisture, which explains why that once-soft bag can eventually double as a doorstop. Transfer it to an airtight container as soon as you open it. A purpose-made brown sugar saver can help maintain moisture, and a small piece of bread can soften already-firm sugar for a short time. If you try the bread method, remove it promptly rather than leaving it in the container to grow mold. For sugar you need right now, a brief microwave warm-up with a barely damp paper towel may help. Use it soon afterward, because it will harden again as it cools.
Use a Spoon to Peel Fresh Ginger
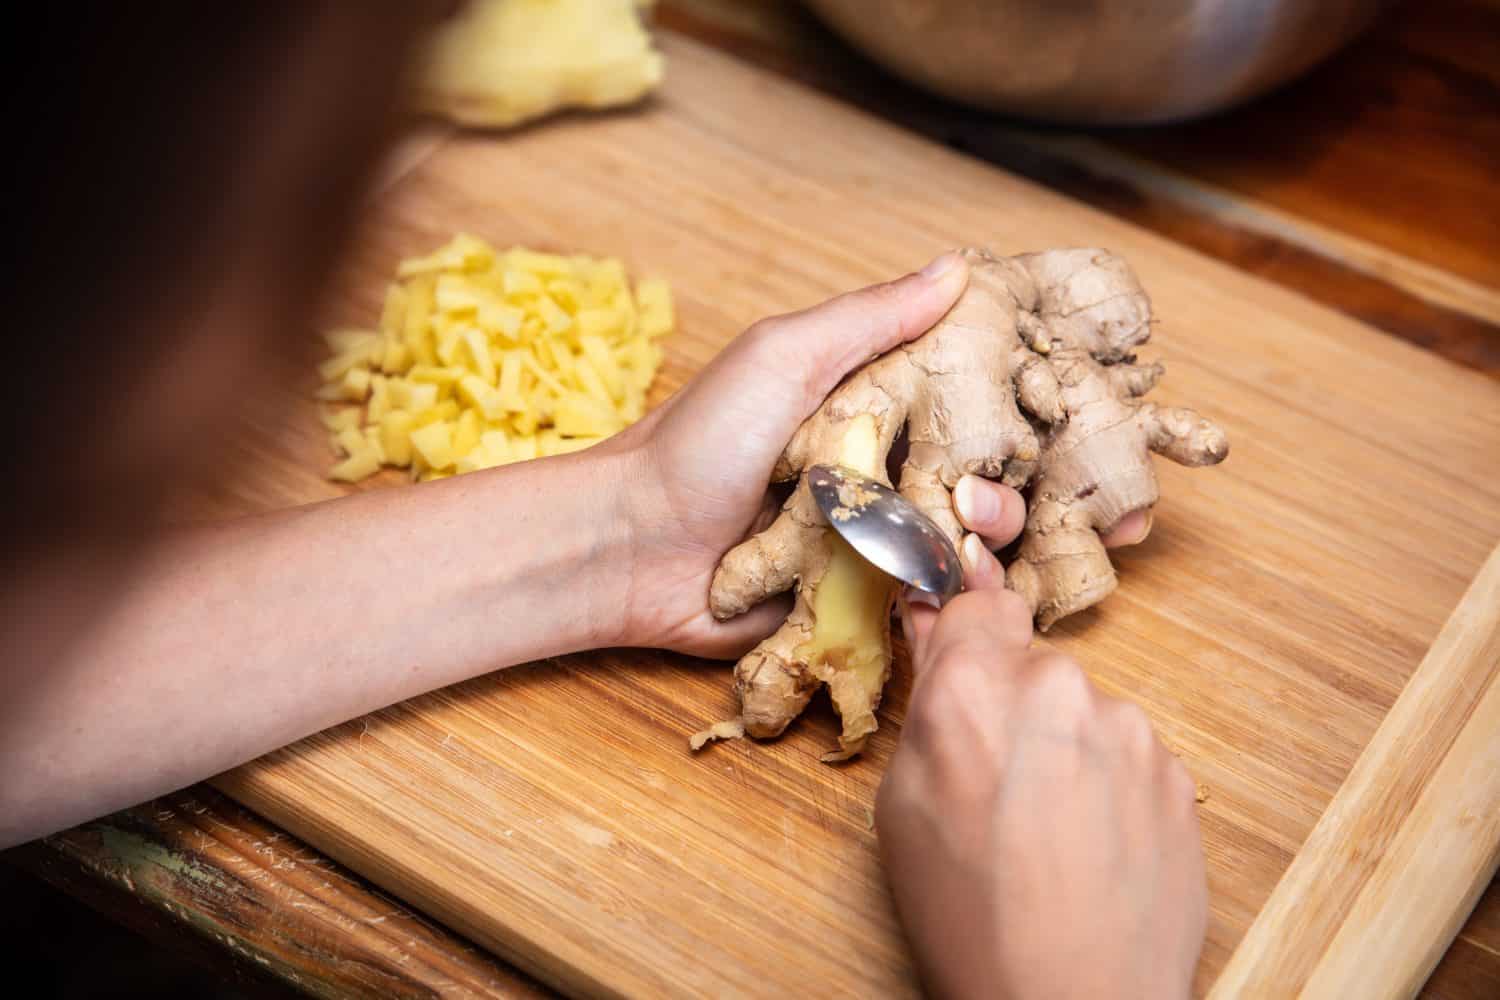
Fresh ginger comes with knobs, bends, and little branches that make peeling with a knife unnecessarily wasteful. Scrape the skin with the edge of a teaspoon instead. The spoon follows those awkward curves without shaving off nearly as much of the ginger underneath. Rinse the root first and trim away any damaged parts. If you’re grating young, thin-skinned ginger for a cooked dish, you may not need to peel it at all. Sometimes the best kitchen tool is the one you already used to stir your coffee.
Slow Browning on a Cut Avocado
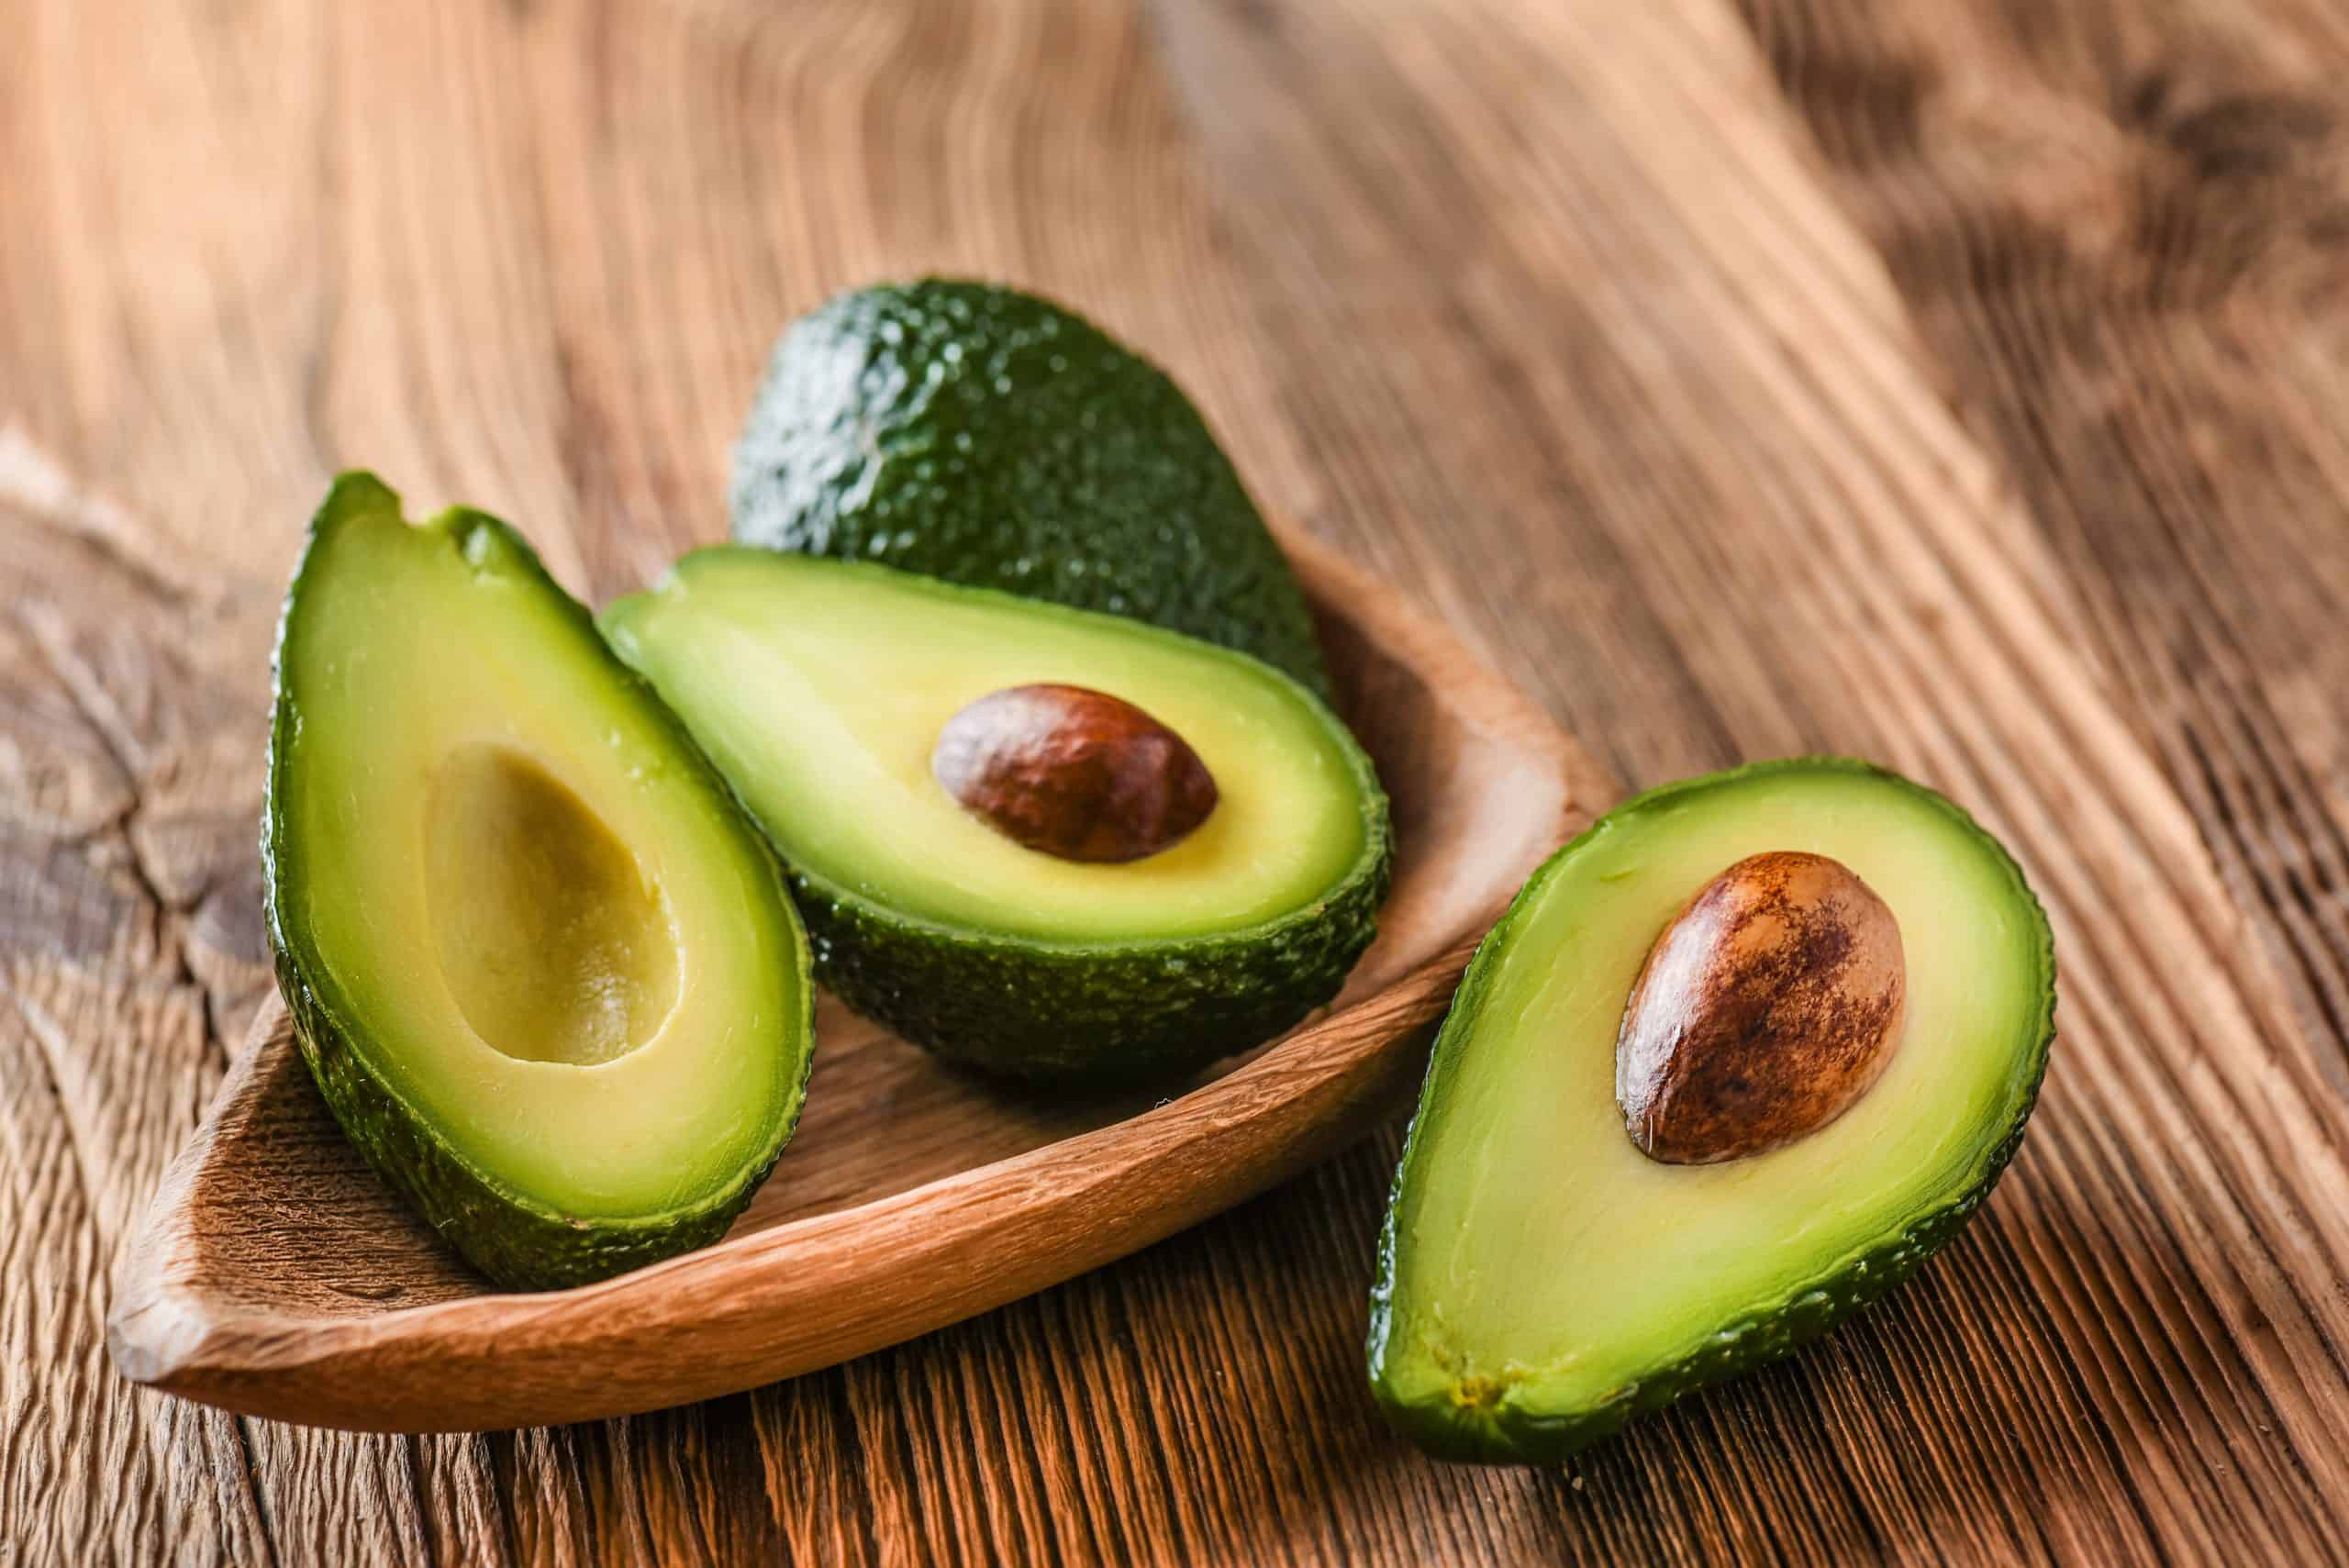
You don’t have to eat the entire avocado because you used half of it for lunch. Dab a little lemon or lime juice over the cut surface, press reusable wrap or plastic wrap directly against the flesh, and refrigerate it in a sealed container. Limiting air contact slows the browning caused by oxidation; it doesn’t stop it forever. Leaving the pit in place only shields the area it physically covers, despite what the internet may promise. Try to use the remaining half within a day or two, and don’t store cut avocado submerged in water as a supposed freshness trick.
Make a Quick Buttermilk Substitute

When a pancake or cake recipe calls for buttermilk and you don’t have any, mix about one tablespoon of lemon juice or white vinegar with enough milk to make one cup. Let it stand for 10 to 15 minutes before adding it to the batter. That produces acidified milk, not the same thing as cultured buttermilk, but the acidity can help with recipes that rely on baking soda. For something where buttermilk’s flavor is front and center, thinned plain yogurt or actual buttermilk usually tastes closer to the real thing. King Arthur Baking has tested the trade-offs.
Freeze Leftover Wine for Cooking
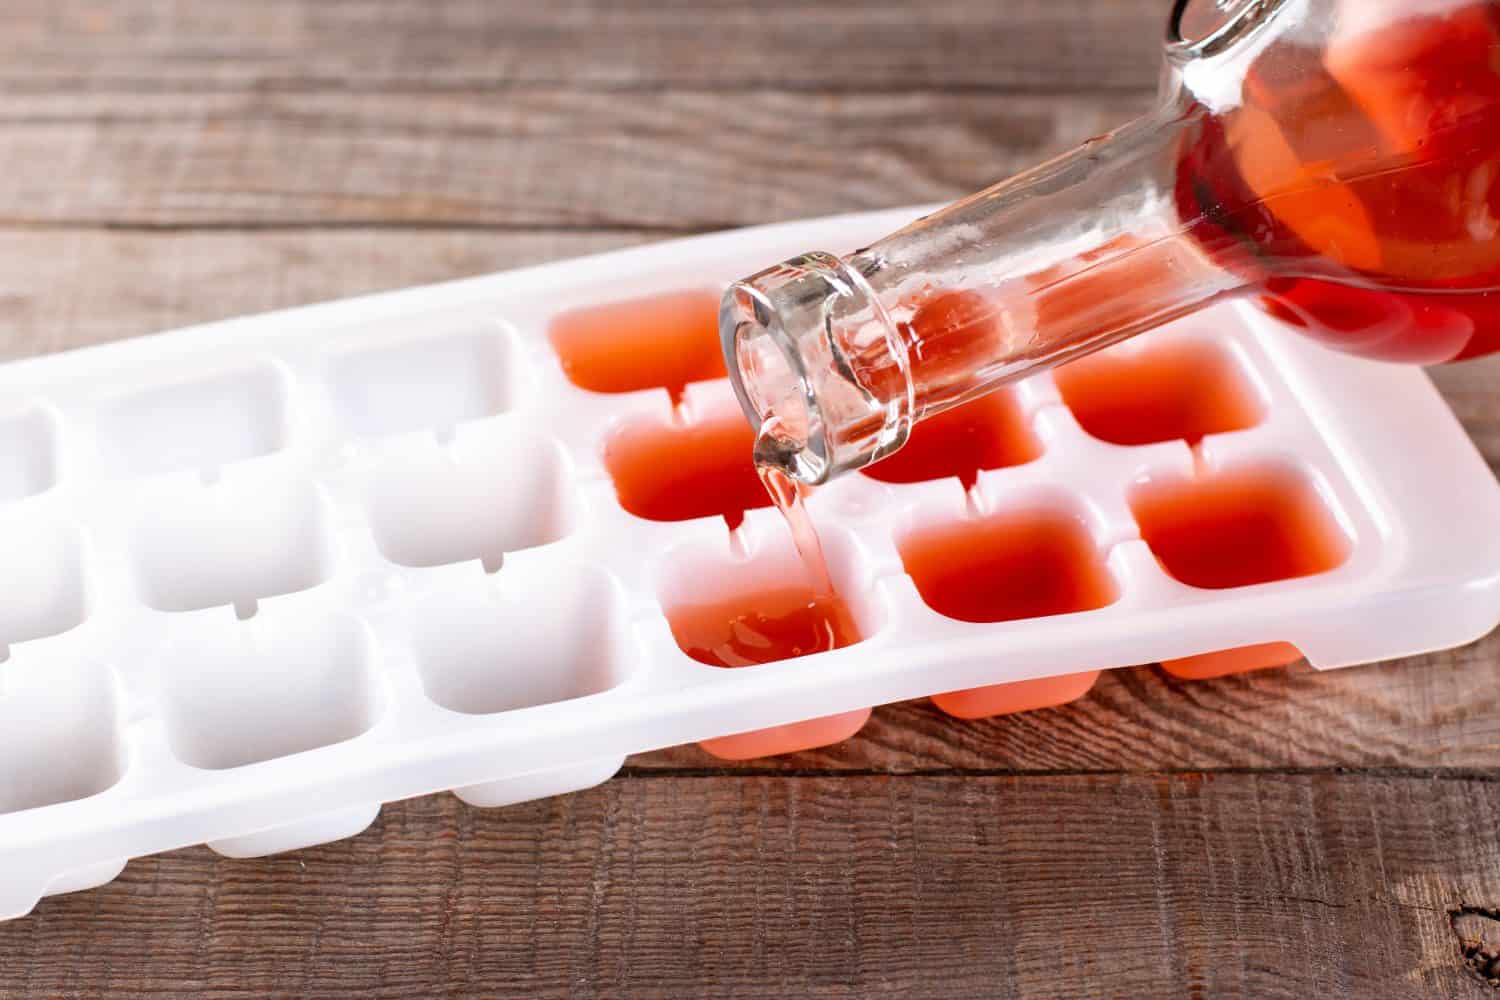
If a sauce needs half a cup of wine and you have no plans to use the rest soon, freeze small portions in a covered tray or freezer-safe container. Once chilled, they’re handy for a pan sauce, stew, or braise. Because wine contains alcohol, it may stay slushy instead of freezing into neat little ice cubes, so a well-sealed container is often easier than an open tray. Label it, keep it frozen, and use it for cooked dishes rather than expecting it to taste like a freshly opened bottle.
Store Berries Dry and Wash Them Before Eating

Those berries that looked perfect at the grocery store can develop mold before you’ve finished the first handful. The easiest way to buy yourself a little more time is to keep them cold and relatively dry. Check the package when you get home, remove spoiled or crushed fruit, and put the good berries into a shallow container with a paper towel to catch condensation. Avoid crowding them; raspberries in particular don’t appreciate having a pound of other raspberries stacked on top.
The original viral tip suggested immediately soaking berries in a strong vinegar mixture to kill germs and keep them fresh. That’s not a reliable food-safety guarantee, and wet storage can speed up spoilage. University extension guidance instead recommends waiting until just before eating to rinse berries gently with cool running water. Dry them carefully afterward. If you won’t get to them in time, freezing sound, clean berries is a better backup plan than trying to preserve every last strawberry through sheer optimism.
Get More Juice From Lemons and Limes
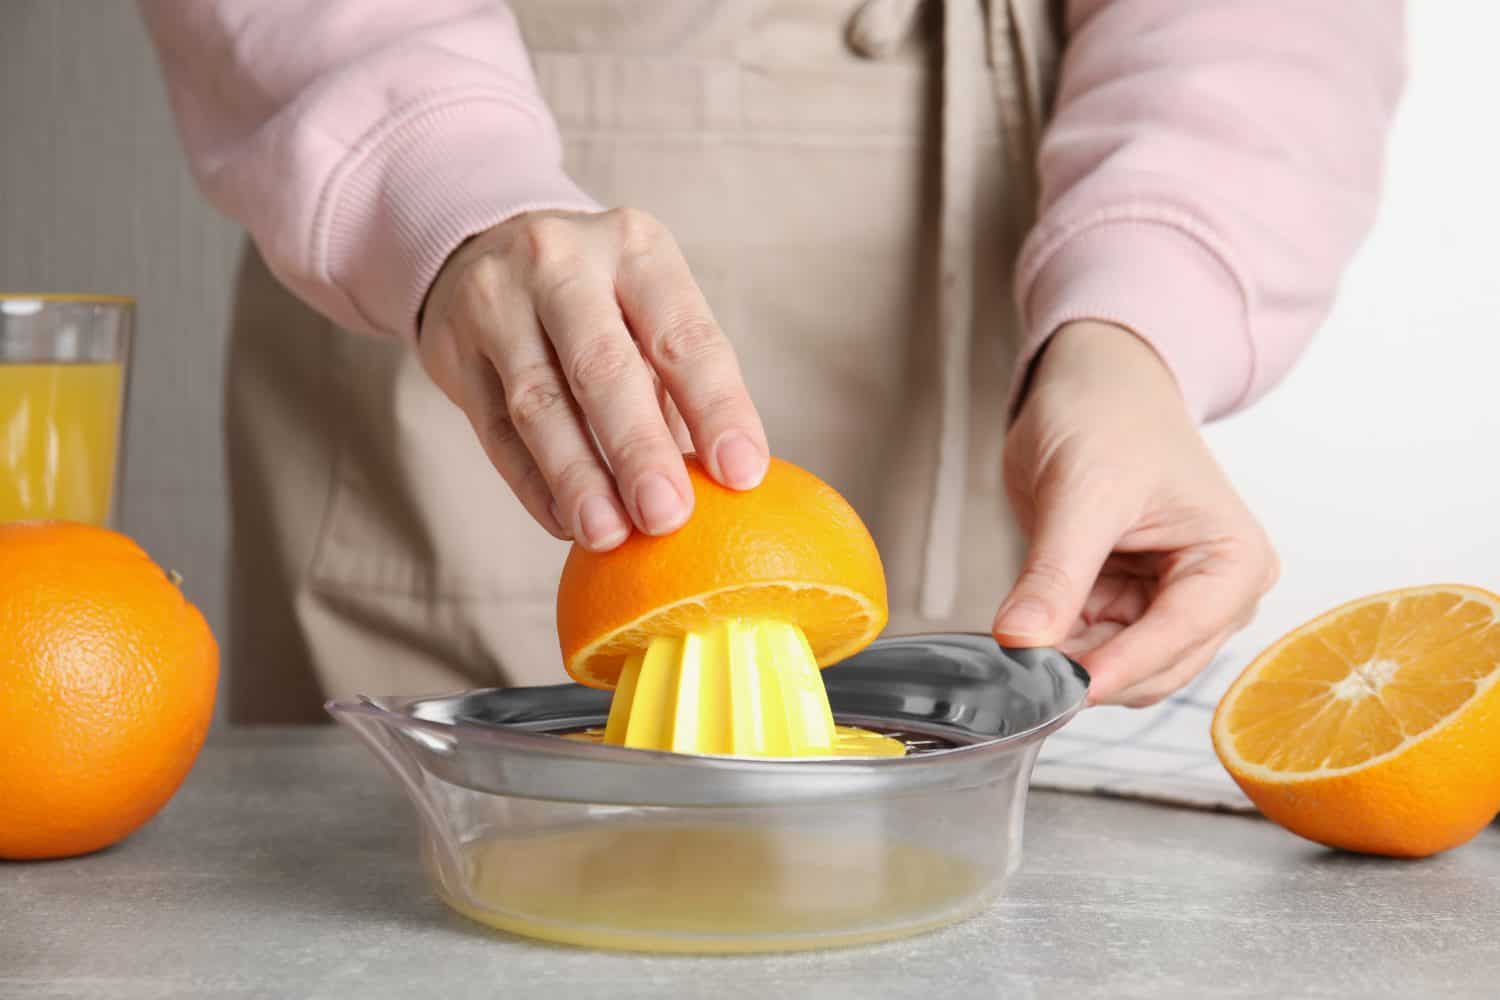
Before cutting a lemon or lime, roll it firmly but gently against the counter with the palm of your hand. The pressure can help loosen the juice-filled segments, which may make the fruit easier to squeeze. Then cut it across the middle and use a citrus reamer or juicer if you have one. Don’t crush the fruit so hard that it bursts before you reach the cutting board. It’s a useful little move when you’re making dressing or squeezing the last drop into a recipe, even if it won’t turn one lemon into three.
Grate Cold Butter When You Need It Softened
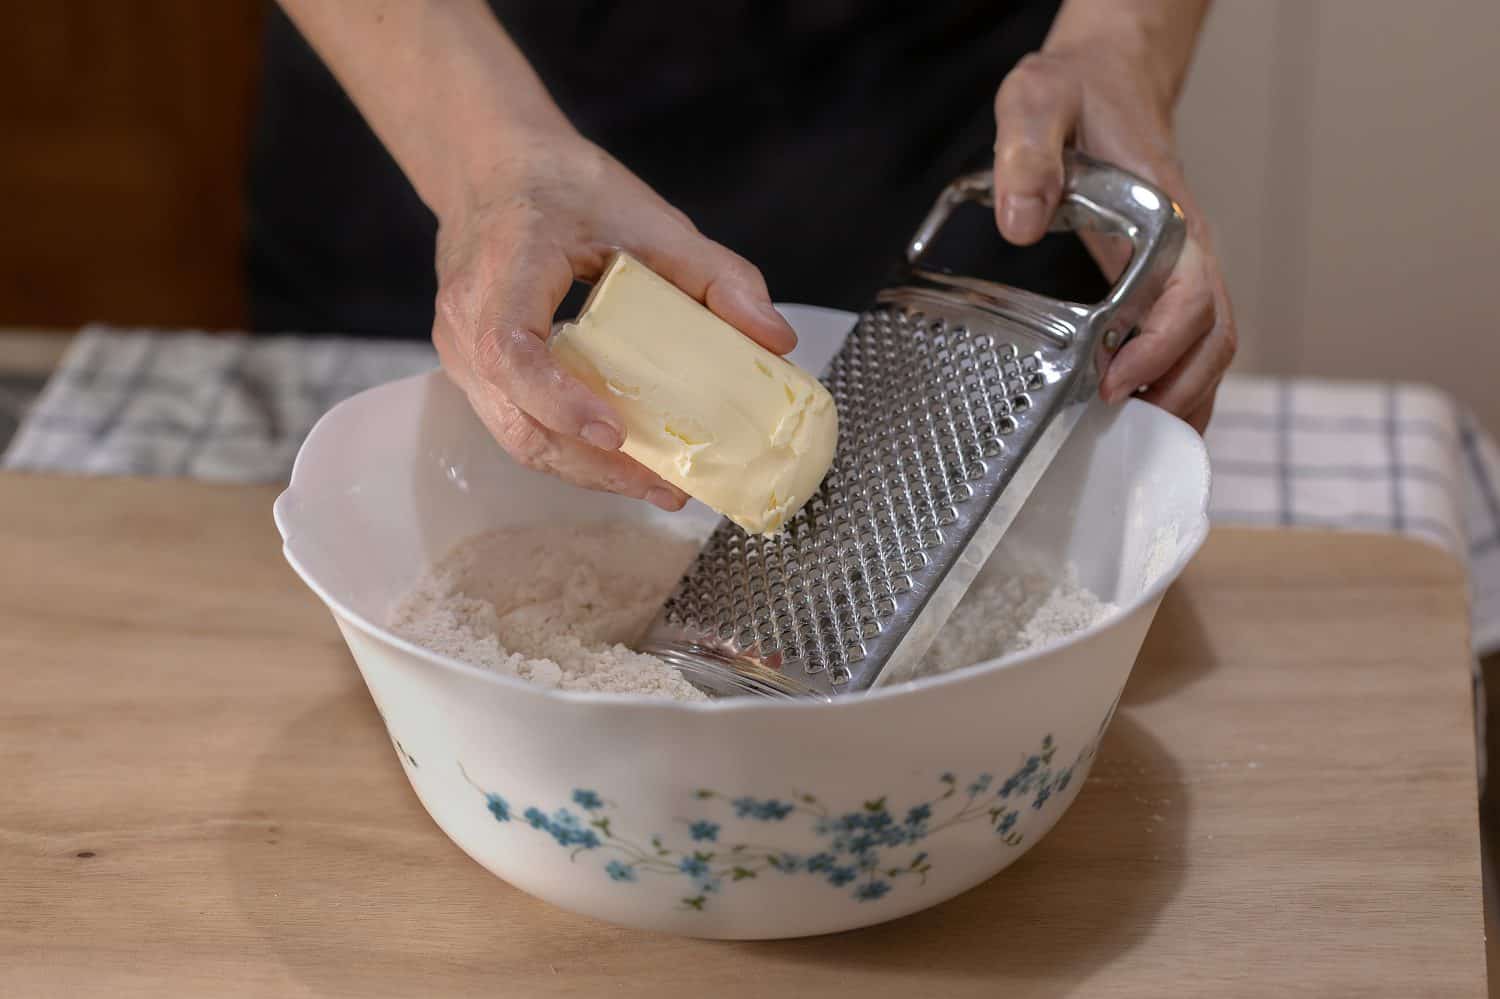
Need softened butter for a recipe but forgot to take it out of the refrigerator? Grate it through the large holes of a box grater and spread the shreds out in a bowl. Those small pieces warm much faster than a whole stick. Don’t confuse softened butter with melted butter, though; baking recipes sometimes depend on the difference. And if you’re making biscuits or pie dough that calls for cold butter, keep the grated butter chilled instead. The trick is about changing the size, not changing what the recipe needs.
Stop a Cutting Board From Sliding
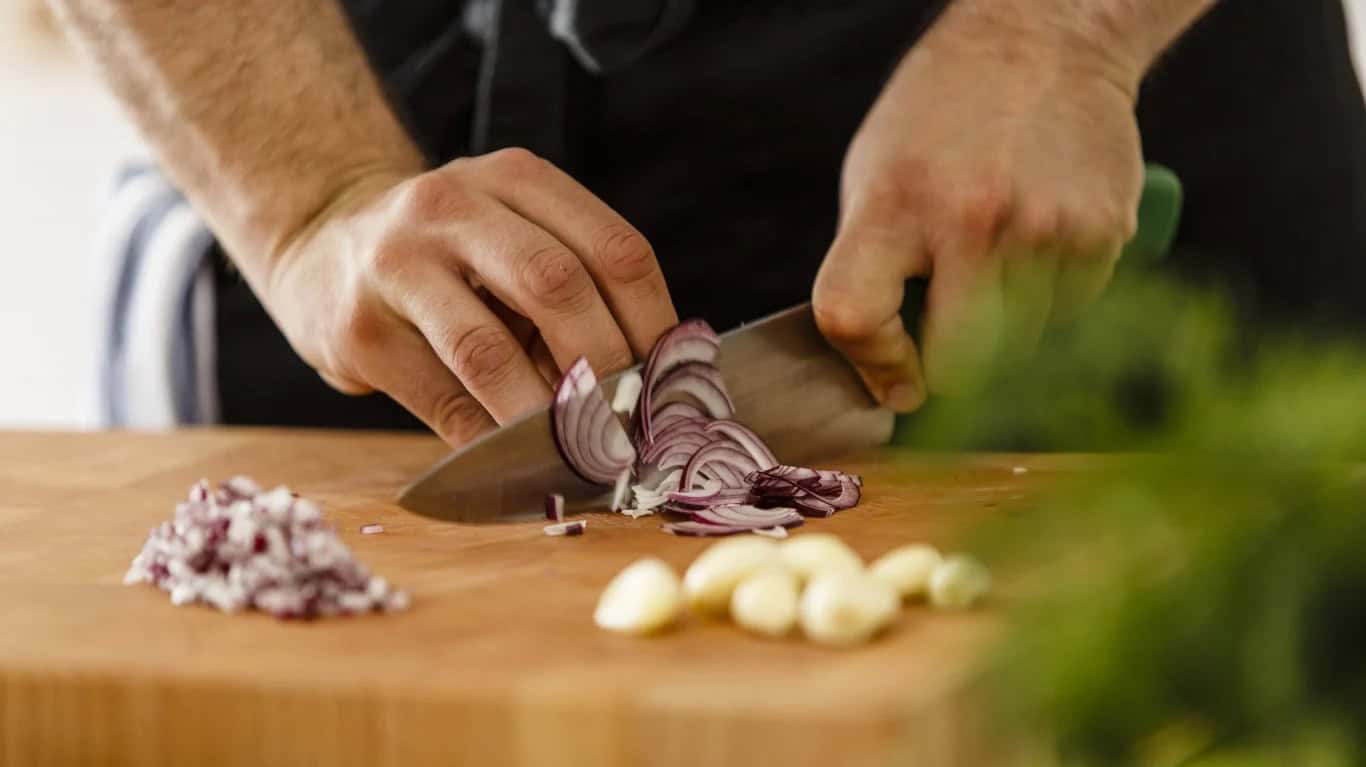
A cutting board that skates around the counter is an accident waiting to happen. Put a slightly damp, folded kitchen towel or a nonslip mat underneath it before you start chopping. The towel should be damp enough to grip, not so wet that it leaves a pool on the counter. Check that the board sits flat and doesn’t rock when you press one corner. It’s especially worth doing when you’re carving meat or cutting anything that needs a little force. One towel can save you a lot of frustration and possibly a finger.
Make Hard-Boiled Eggs Easier to Peel
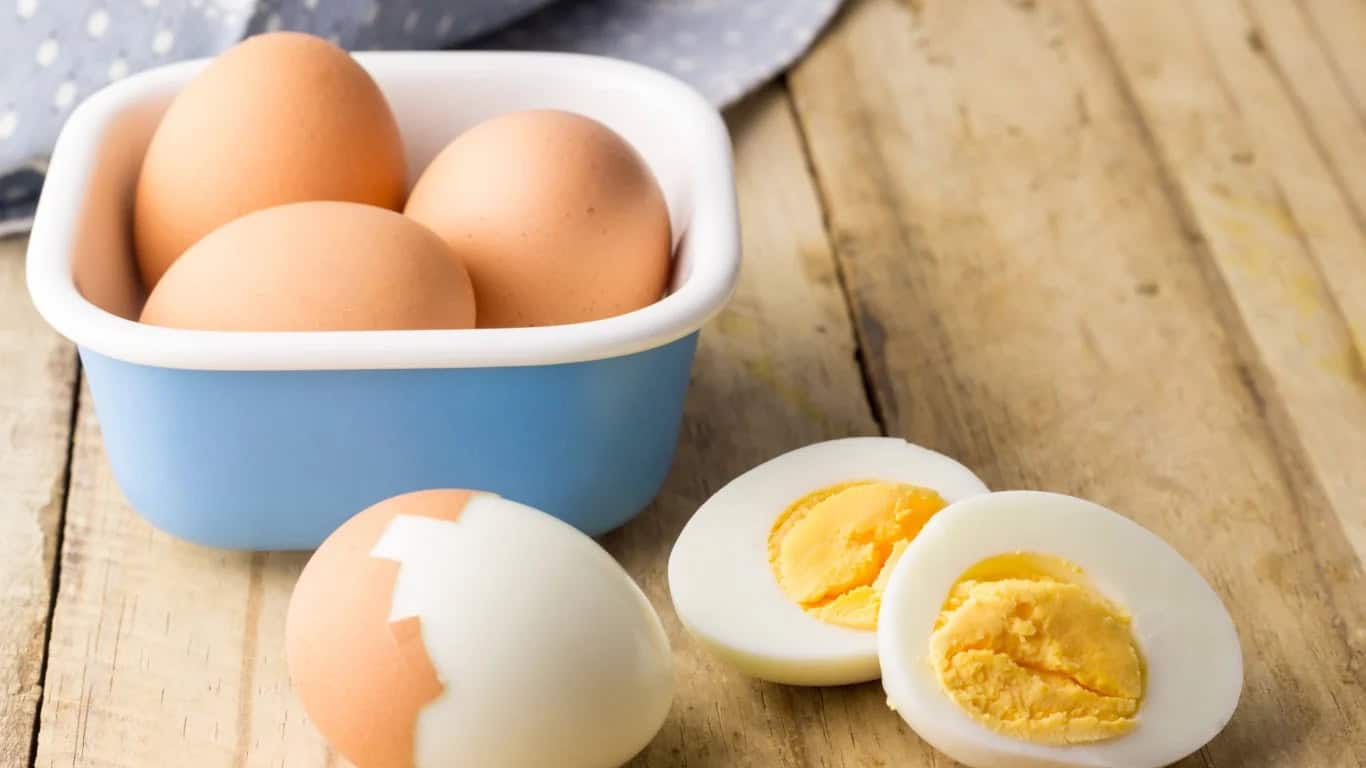
The claim that a teaspoon of baking soda guarantees easy-to-peel eggs has been repeated for years, but kitchen tests haven’t found it consistently helpful. A more dependable approach is to start eggs in already-simmering water or steam them in a covered basket rather than slowly warming them from cold. For fully set yolks, steaming commonly takes around 12 minutes for large eggs, though egg size and equipment can change the timing. Transfer the eggs promptly to an ice bath and let them cool before peeling.
Tap each cooled egg gently all over, start peeling at the broader end, and work under a little running water if the shell is stubborn. Eggs that aren’t absolutely fresh are sometimes easier to peel, too, as long as they’re still within their safe storage period. None of these steps guarantees a flawless egg every time, and that’s fine. North Carolina Cooperative Extension notes that many of the popular additions to cooking water are less certain than the headlines suggest. A slightly ugly egg still makes excellent egg salad.
Clean Cast Iron Without Fear of Dish Soap
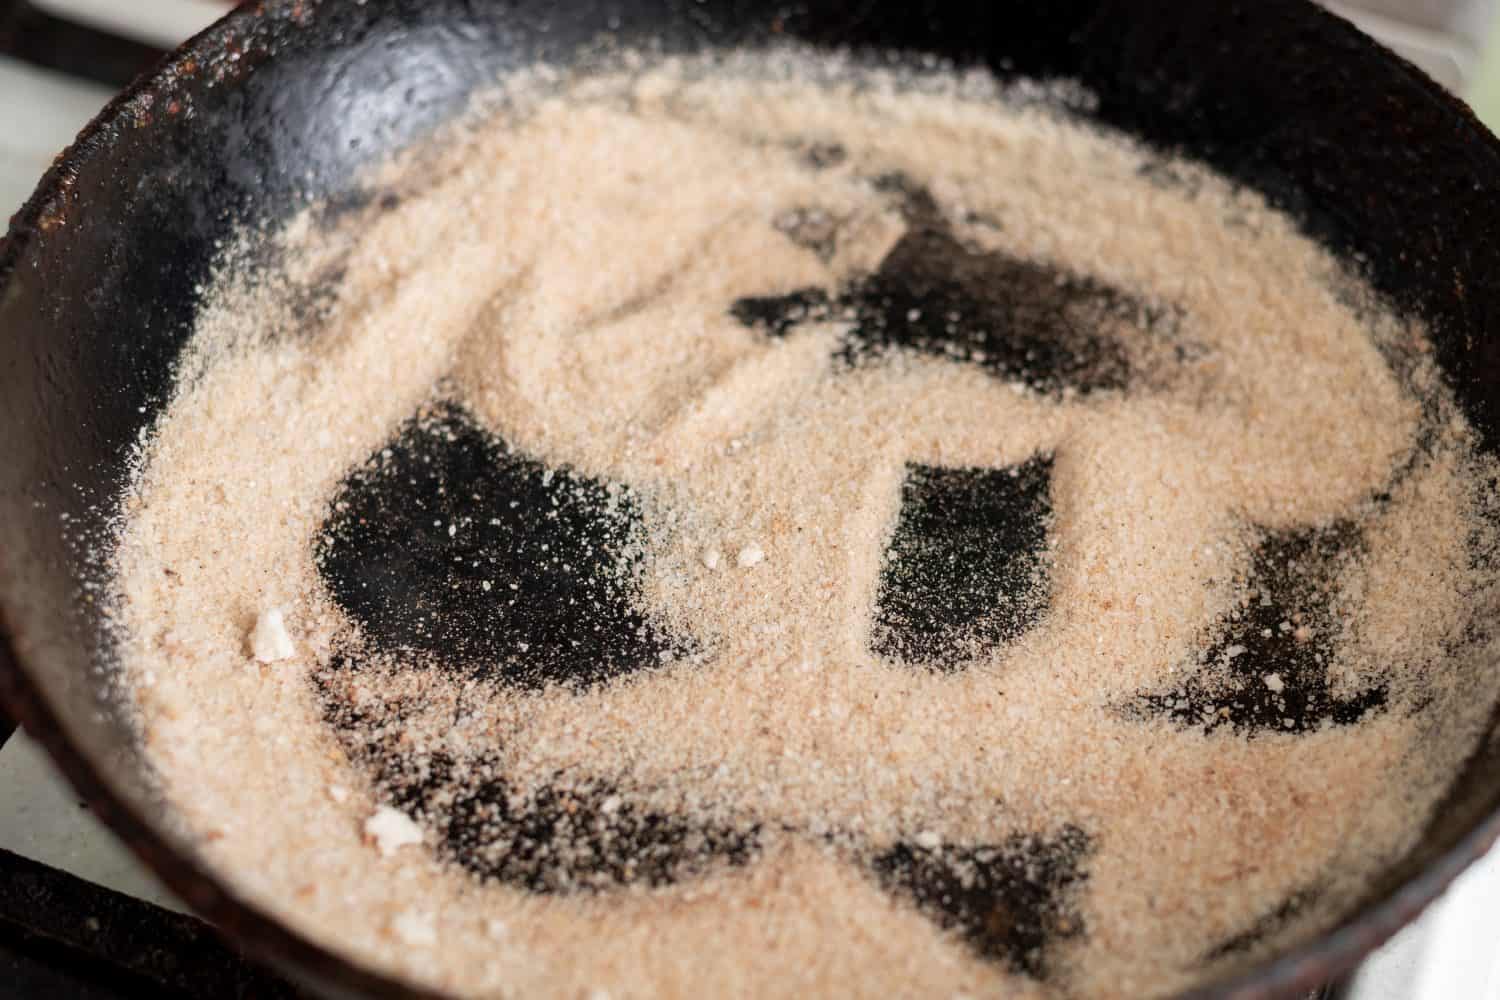
The rule that cast iron must never touch dish soap belongs in the same drawer as a few other kitchen myths. Modern, seasoned cast-iron pans can be washed with a little mild soap and warm water. Lodge Cast Iron explicitly recommends it as a normal cleaning option. If food is stuck on, a pan scraper or brush usually does the job. Coarse salt can help scrub stubborn bits, but it’s optional, not a substitute for getting the cookware properly clean.
The part that really matters is what happens afterward: don’t leave the skillet soaking in the sink, and don’t put ordinary seasoned cast iron in the dishwasher. Rinse it, dry it thoroughly, and apply a very thin coat of cooking oil if the surface needs it. A lot of cast-iron maintenance sounds like a complicated ceremony because people have been arguing about it for generations. In practice, keeping the pan clean and dry does more than most of the rituals.
Cook Bacon on a Rimmed Baking Sheet

Bacon doesn’t have to mean standing over a skillet and dodging hot grease. Line a rimmed baking sheet with foil or parchment, arrange the strips in a single layer, and bake them at about 400 degrees, checking after 15 minutes. Thick slices may take longer, and ovens vary, so watch for the doneness you prefer rather than trusting one exact minute count. Let the grease cool before handling the pan or disposing of it. The oven method is particularly convenient when you’re feeding several people and don’t want to cook a few strips at a time.
Reduce Tears While Chopping Onions
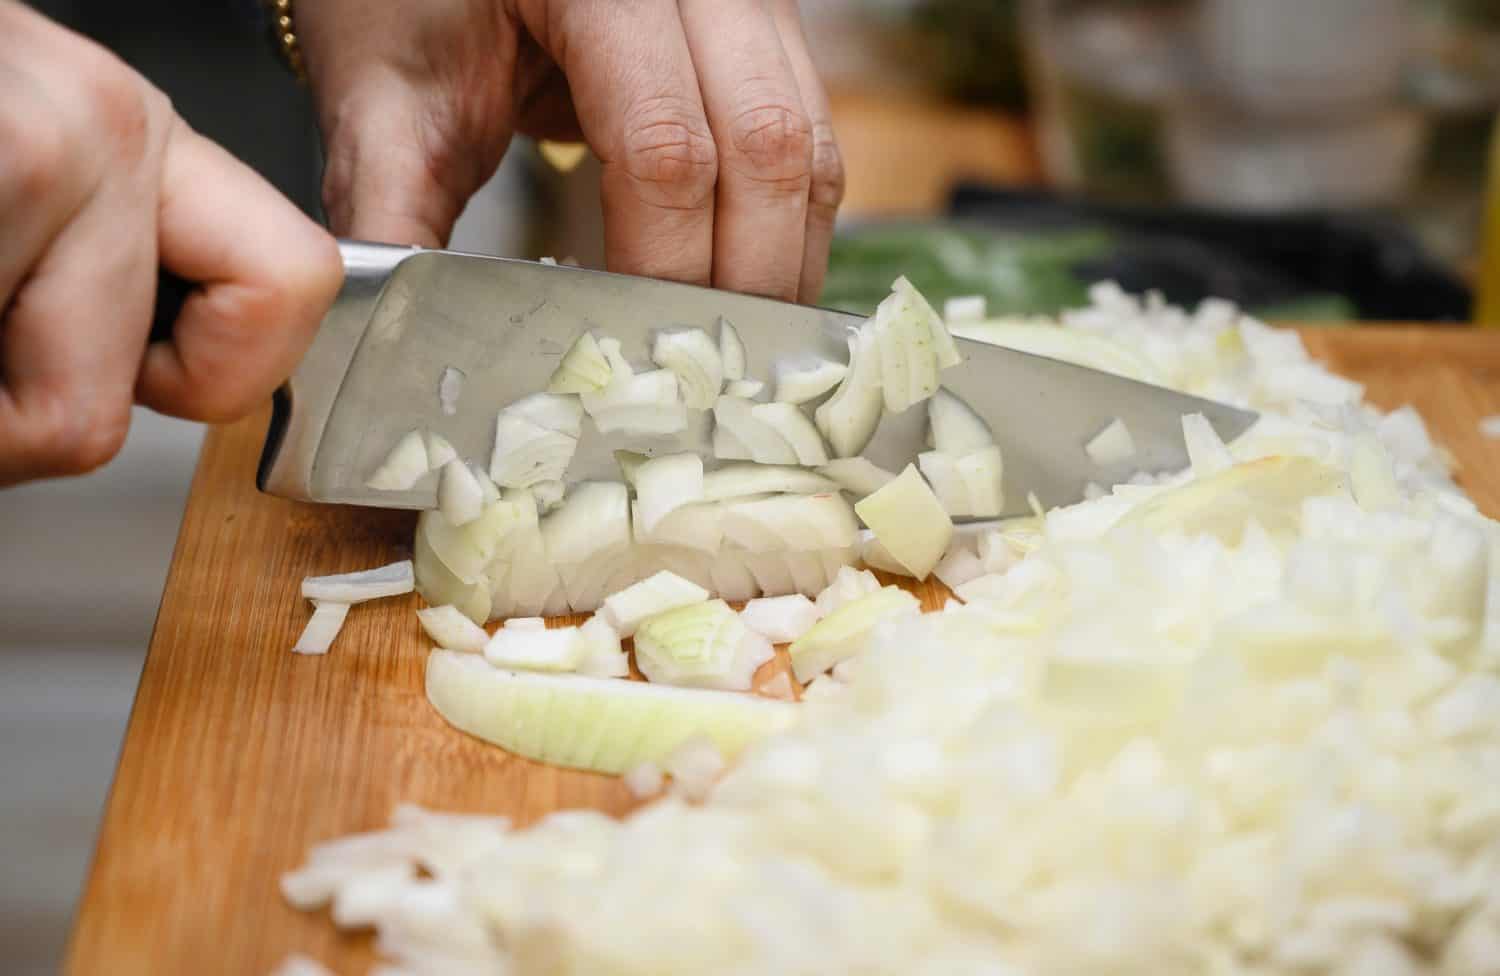
Onions release eye-irritating compounds when you cut through their cells, which is why dinner prep can occasionally look like an emotional breakdown. Try chilling the onion in the refrigerator for a short time before slicing, using a sharp knife, and turning on a nearby exhaust fan. These steps can reduce the irritating mist and gas reaching your eyes. They won’t eliminate every tear, and freezing an onion solid just to chop it is unnecessary. The American Academy of Ophthalmology recommends ventilation and chilling as practical ways to make the task more comfortable.
Microwave Corn in Its Husk

If you’re cooking one or two ears of corn, the microwave can save you from hauling out a big pot. Leave the inner husk around the ear, trim away any obviously damaged outer leaves, and set it on a microwave-safe plate. Cooking often takes about three to four minutes per ear, depending on the size and microwave, and the husk helps retain moisture. Let the corn rest, then remove the husk and silk carefully with a towel or oven mitt. Everything inside will be hot, including the steam. It’s convenient, but ‘silk-free every time’ is a bit more than any ear of corn can promise.
Use Plain Dental Floss for Clean Slices
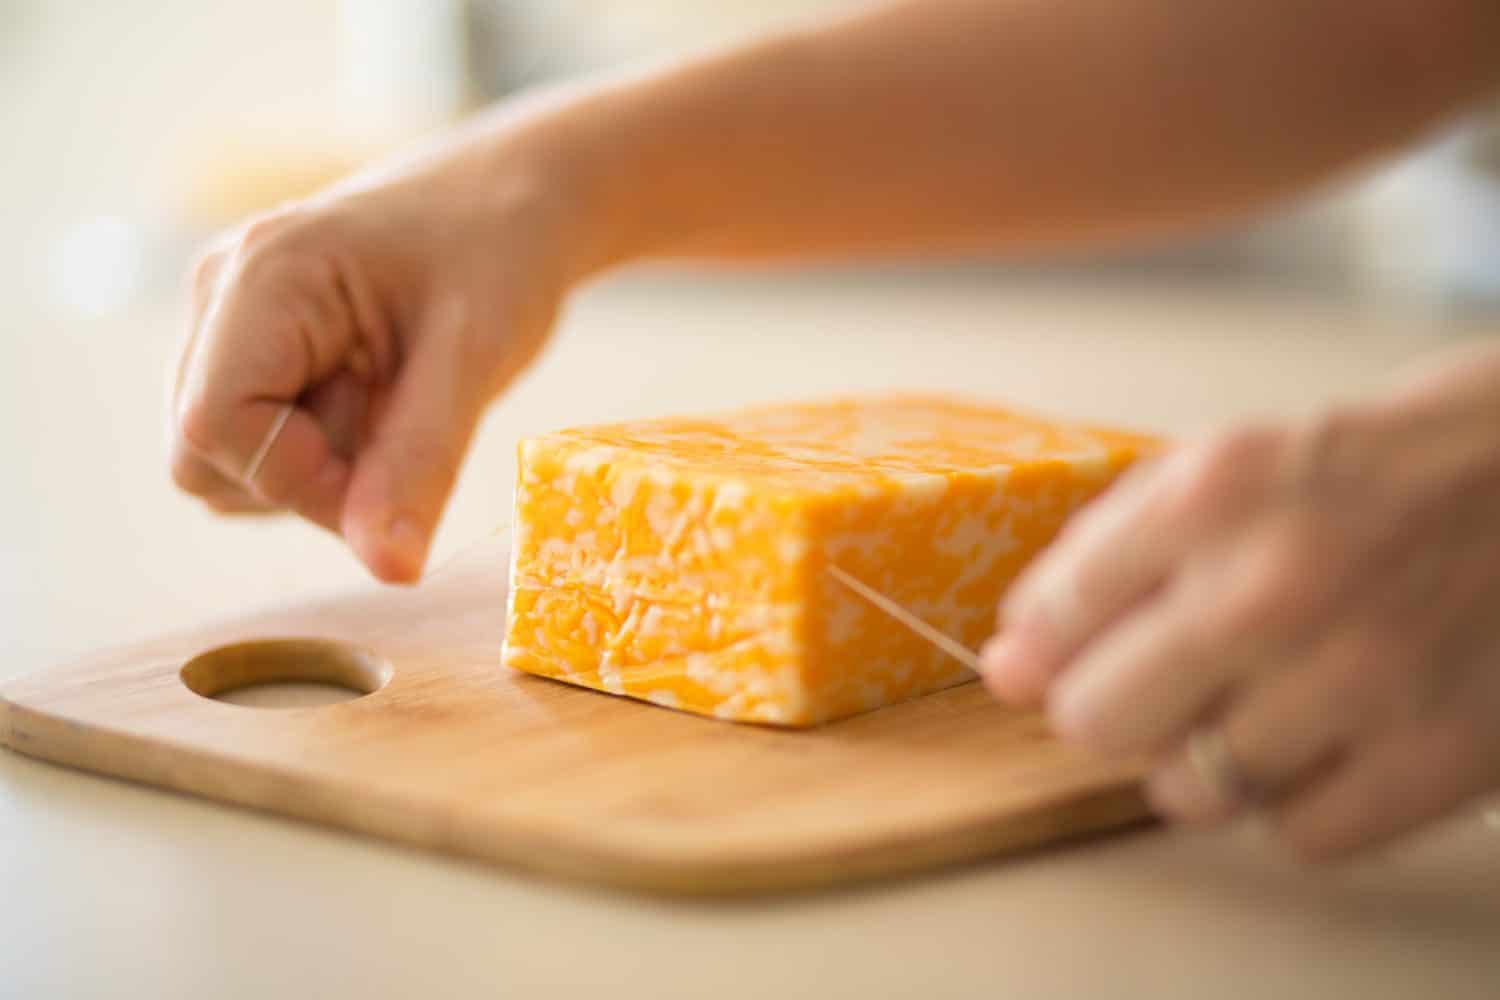
Soft cheese logs, cinnamon-roll dough, and some delicate cakes don’t always cooperate with a knife. A clean length of unflavored, unscented dental floss can cut through them with less squashing. Hold the floss taut, slide it beneath the food, cross the ends over the top, and pull them through. Use a fresh, food-only piece, not something that’s been sitting loose in a bathroom drawer, and skip mint-flavored floss unless minty cheesecake was your plan all along.
Keep Brownies Soft in an Airtight Container
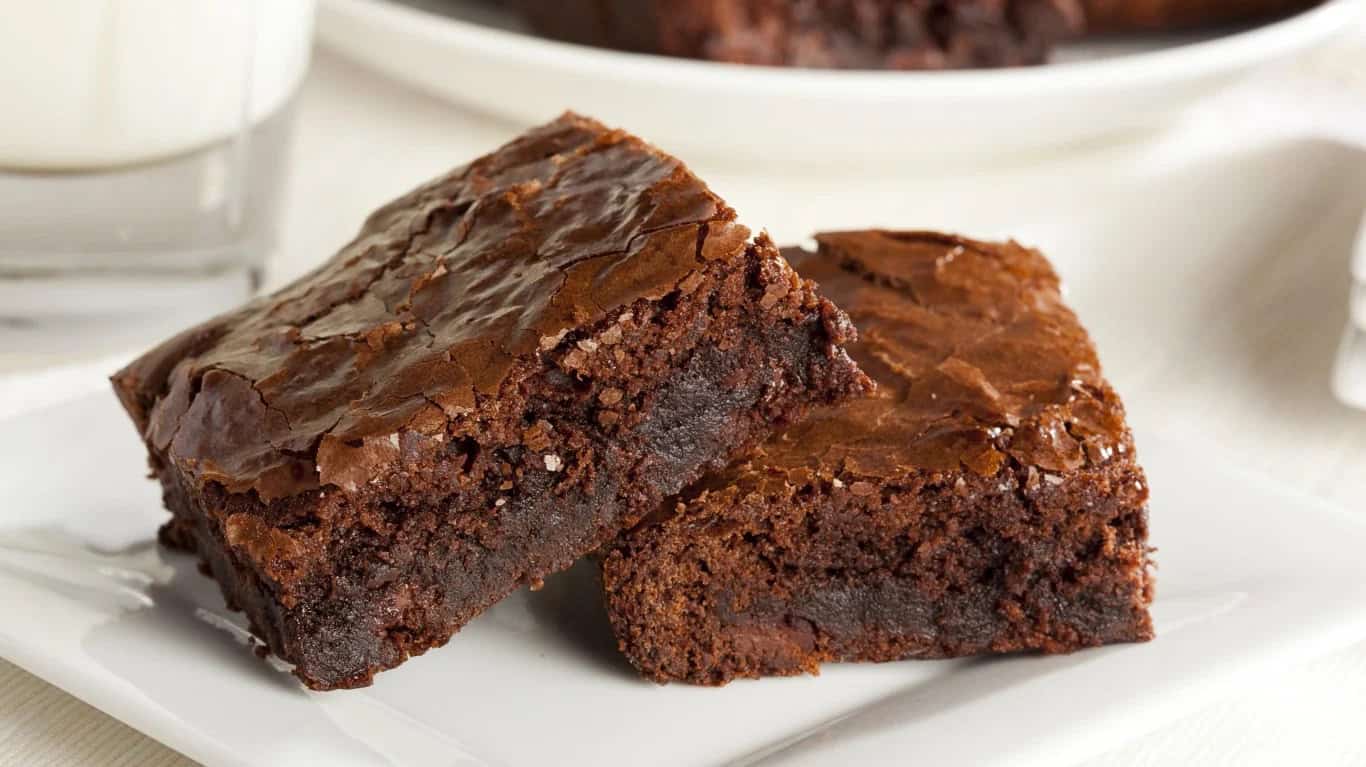
The refrigerator isn’t automatically the best home for brownies. For a plain batch you expect to finish soon, let the brownies cool completely, then store them tightly covered at room temperature, away from heat and sunlight. Cutting the entire pan into squares right away exposes more edges to air, which can make them dry out faster. If you won’t eat them within a few days, wrap individual portions and freeze them. Brownies with perishable fillings or toppings are a different story; follow the recipe’s refrigeration directions.
Firm Up Soft Cheese Before Grating
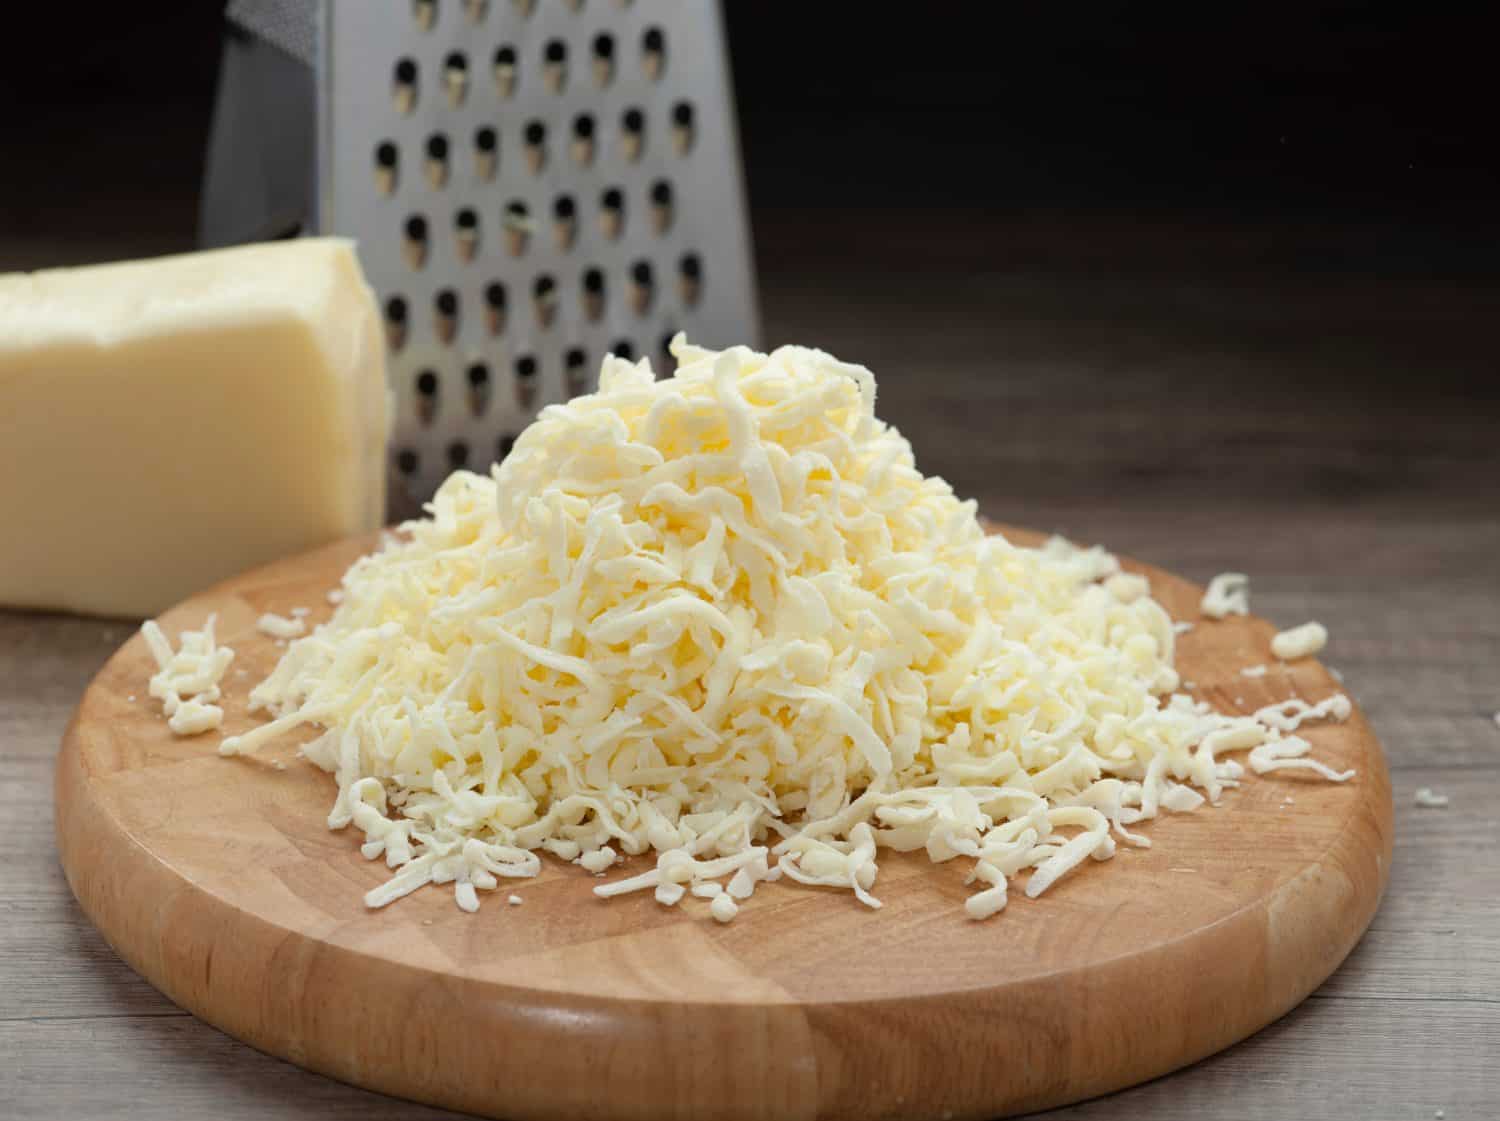
Fresh mozzarella and other soft cheeses have a talent for turning a box grater into a sticky mess. Put the cheese in the freezer for about 15 to 20 minutes, just until it firms up, then grate it while it’s still cold. You want it firmer, not frozen into a solid block. This is particularly handy when you’re topping a pizza or casserole and want shreds instead of a pile of squashed cheese. If the cheese is very wet, pat it dry first.
Poach Eggs in Gently Simmering Water
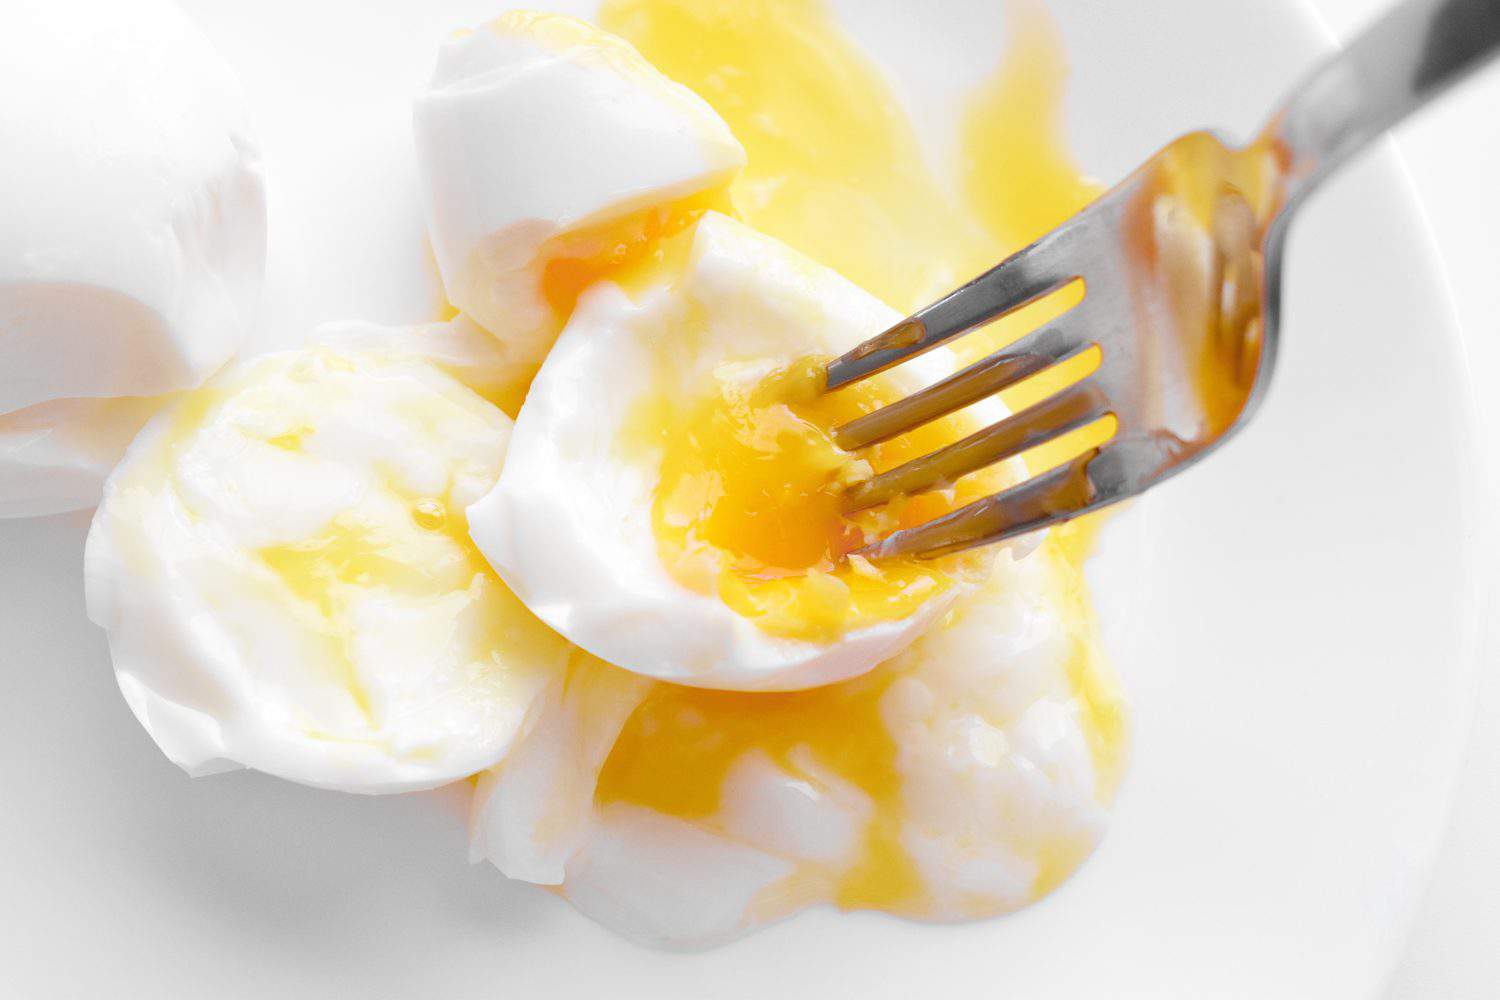
For poached eggs that hold together, skip the rolling boil. Bring a shallow pan of water to a gentle simmer, crack an egg into a small cup, and carefully slide it into the water. Fresh eggs generally have whites that hold their shape better. A small splash of white vinegar can help the whites set, but you don’t need to turn the water into a pickling solution. Cook until the whites are set and the yolk is as firm as you like, usually around three to four minutes for a runny center, then lift it out with a slotted spoon.
Reheat Leftover Pizza Without a Soggy Crust
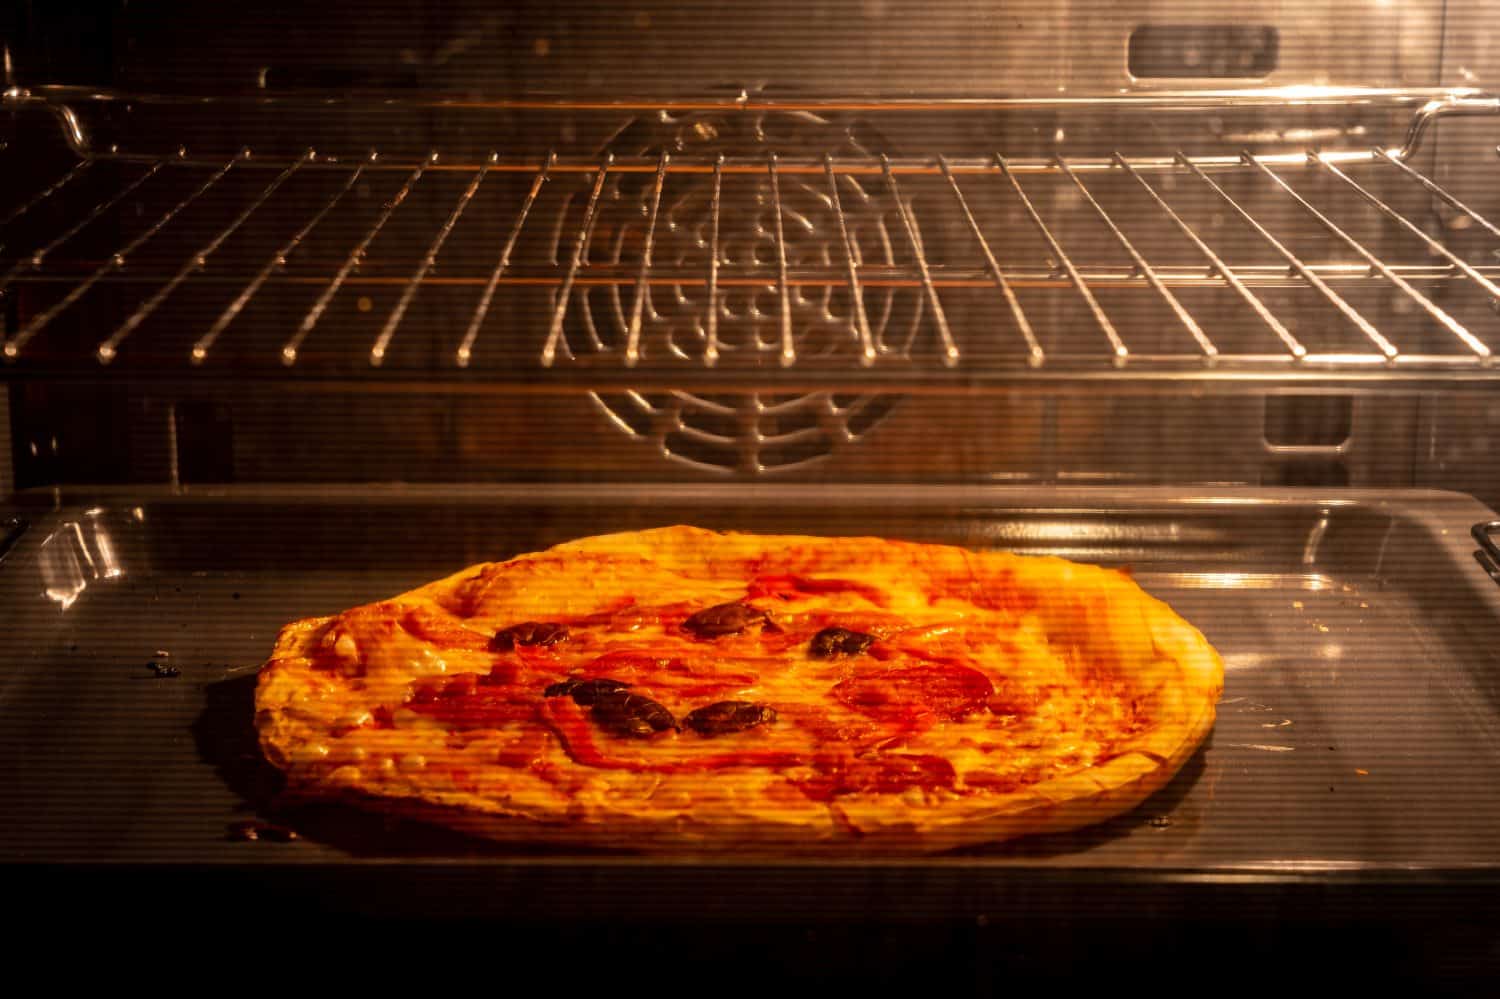
You can get leftover pizza hot and crisp without turning on a 450-degree oven or waiting for cold slices to reach room temperature. For one or two slices, set them in a skillet over moderate heat until the bottom begins to crisp. Add a small splash of water to an empty part of the pan, cover briefly, and let the steam warm the cheese and toppings. Keep the water off the crust. For several slices, a hot baking sheet in a 375- to 425-degree oven works well, too. Watch closely so the crust doesn’t become a cracker.
The food-safety part is just as important as the texture. Refrigerate leftover pizza promptly, rather than letting it sit on the counter for hours, and reheat refrigerated leftovers thoroughly. The USDA recommends heating leftovers to 165 degrees. There’s no need to leave pizza out while the oven preheats, and reheating won’t rescue a slice that sat at room temperature all night. The best kitchen shortcut is the one that makes dinner easier without creating a problem you’ll have to deal with tomorrow.
Peel Tomatoes With a Quick Blanch
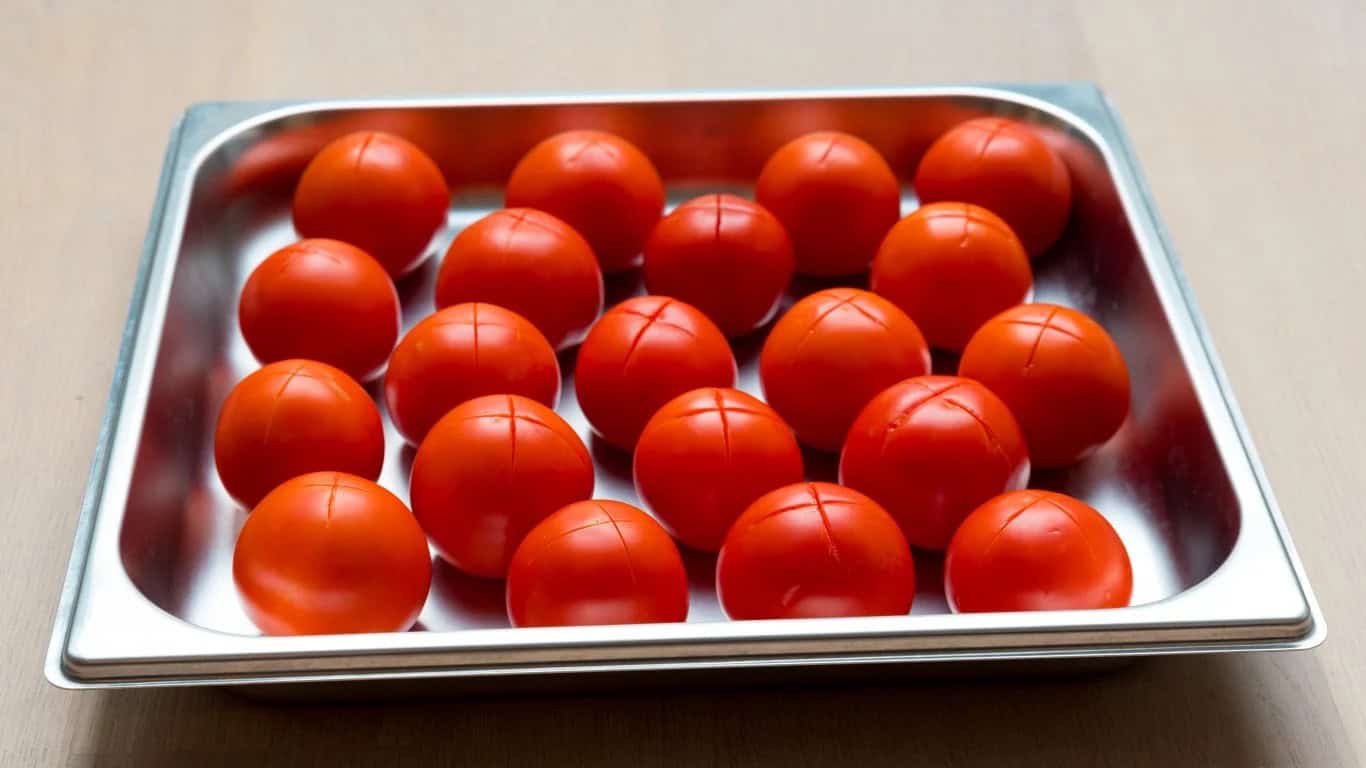
If you need peeled tomatoes for sauce or soup, score a shallow X on the bottom of each one. Drop them into simmering or boiling water for roughly 30 to 60 seconds, just until the skins begin to loosen, then move them into ice water. The peels should slip off with very little effort. Don’t leave the tomatoes in the hot water longer than necessary unless you want them to start cooking. The method is especially useful when you’re handling a whole batch rather than peeling tomatoes individually with a knife.
Treat Fresh Herbs Like Cut Flowers
The best place for a bunch of fresh herbs depends on what you bought. For tender, stemmed herbs such as parsley and cilantro, trim the ends and stand the stems in a jar with about an inch of water. Keep the leaves above the waterline, cover them loosely with a produce bag, and refrigerate. Change the water when it gets cloudy. This is the herb equivalent of giving a sad bouquet a fresh vase, and it can buy you several extra days of usable leaves.
Basil is the exception worth remembering. It dislikes a cold refrigerator, so keep it in a jar of water at room temperature, out of direct hot sun, and use it promptly. More woody herbs, including rosemary and thyme, usually do well wrapped loosely in a slightly damp towel inside a refrigerator container. University of Maine Cooperative Extension makes the basil distinction clear. And despite what the original instructions suggested, a jar of water in the freezer won’t keep herbs fresh; it’ll give you a frozen jar.
Use Leftover Pickle Brine for Flavor
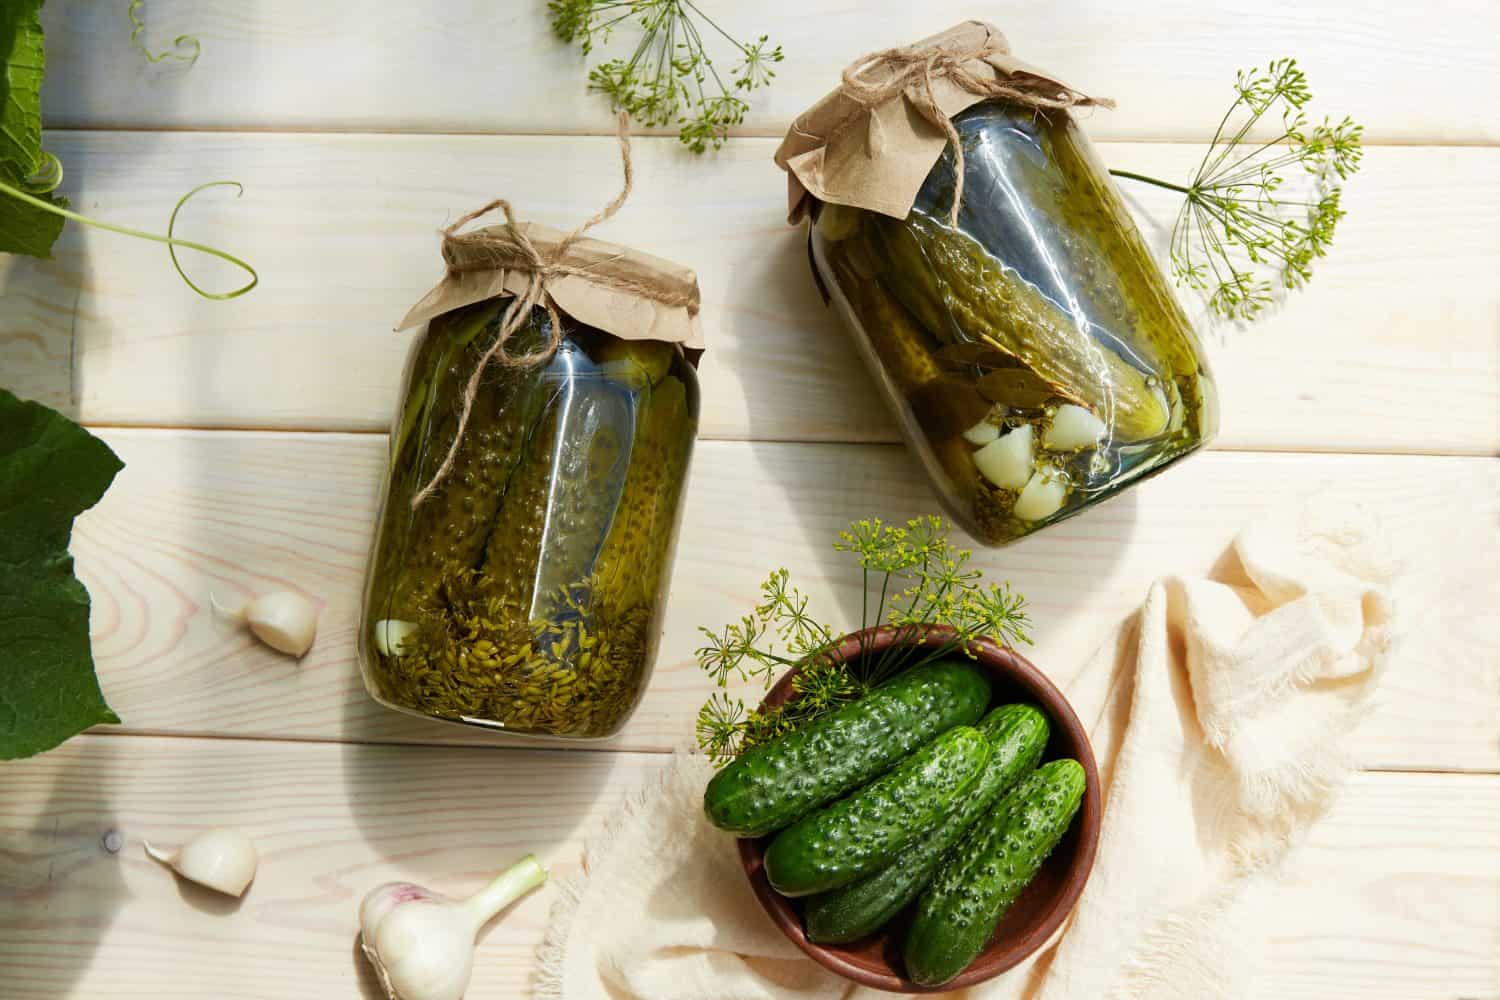
The liquid left in a pickle jar has plenty of flavor, but it isn’t a free pass to make endless new batches of shelf-stable pickles. For a quick kitchen use, a splash can add acidity and seasoning to potato salad, coleslaw dressing, or a sauce. If you’re using leftover homemade pickling liquid, the National Center for Home Food Preservation advises refrigerating used brine and using it within a day or two for applications such as dressing or marinade. Don’t reuse spent brine in a home-canning recipe: vegetables change its acidity, and safe preservation depends on a tested balance.
For leftover brine from a commercially packed pickle jar, you can also use it to flavor a few refrigerated vegetables, but don’t treat it as a reliable preserving liquid or leave the jar on the shelf. Illinois Extension recommends treating that as a short-lived refrigerator preparation, not as a substitute for fresh brine. And, as with any food, throw it away if it looks or smells spoiled. It’s an ingredient worth using thoughtfully, not a miniature canning operation in the back of the fridge.